- TOSIZE.fi
- Do it yourself
- DIY Projects
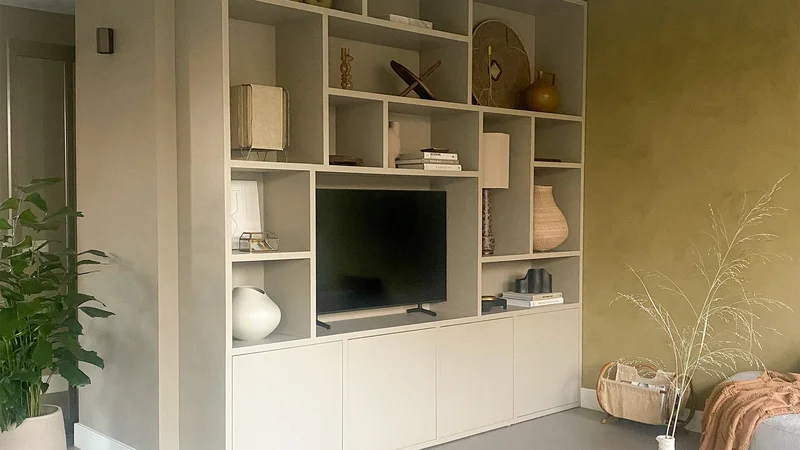
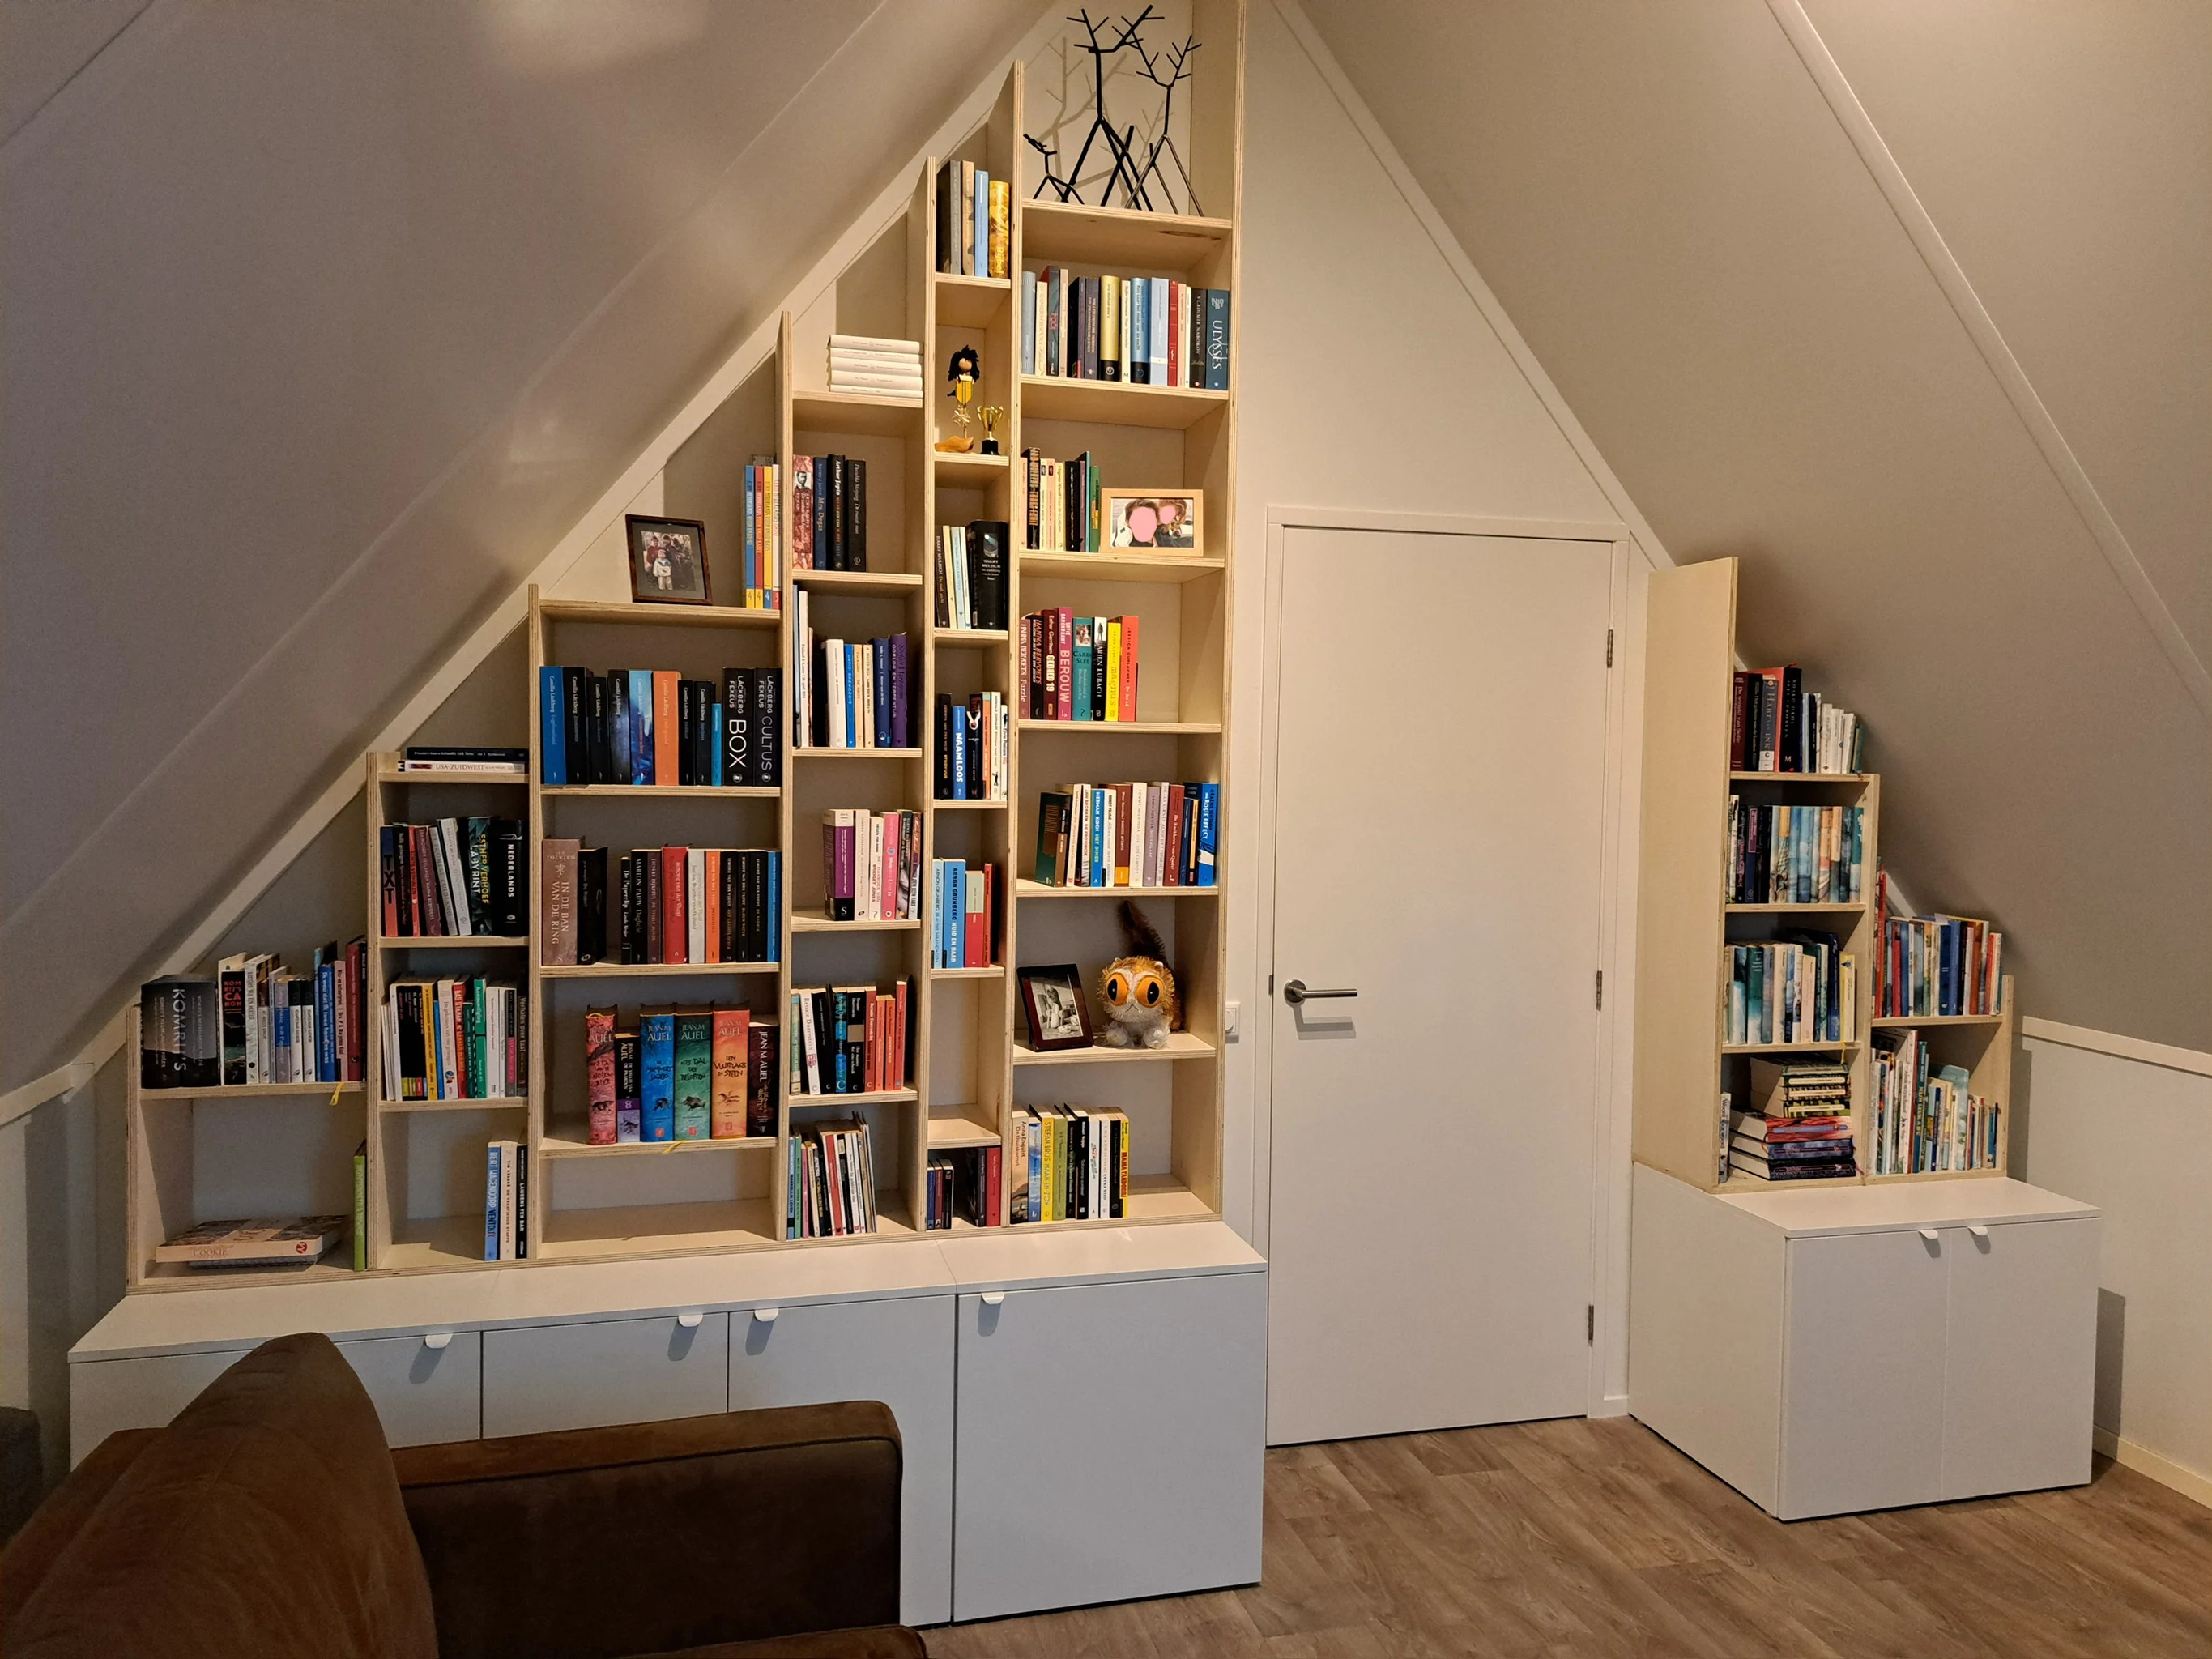
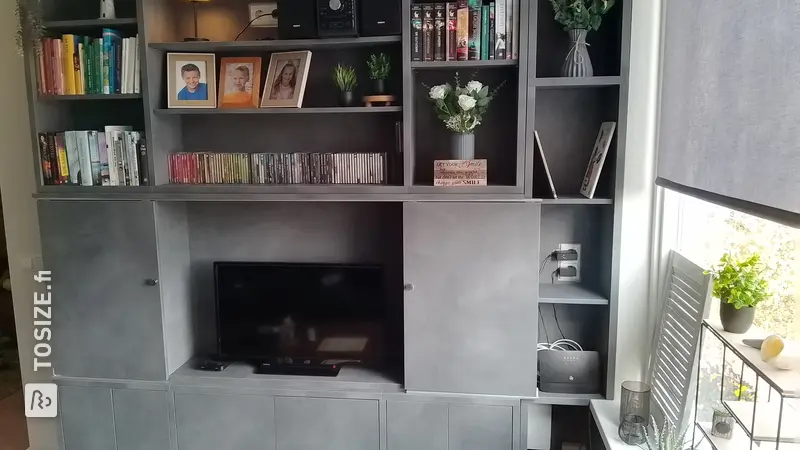
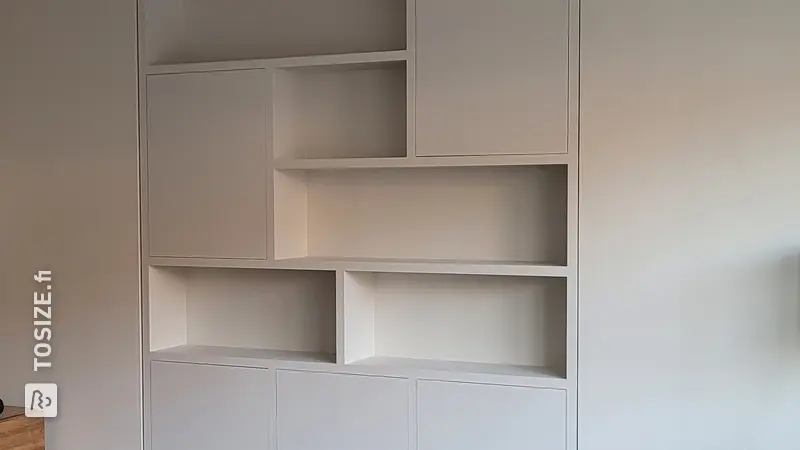
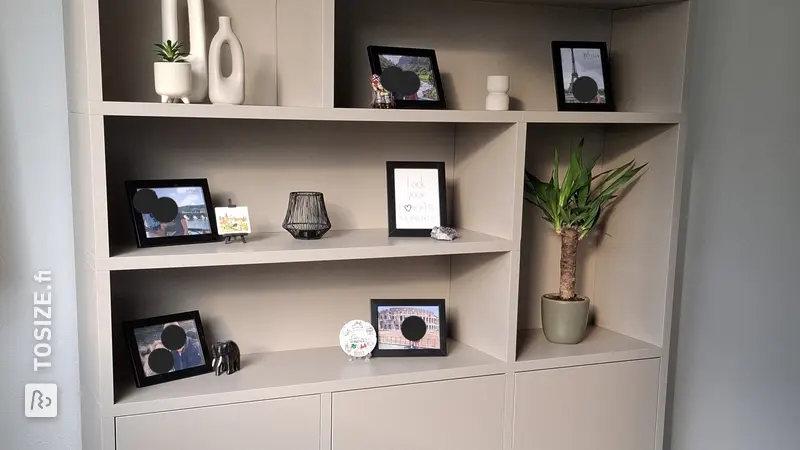
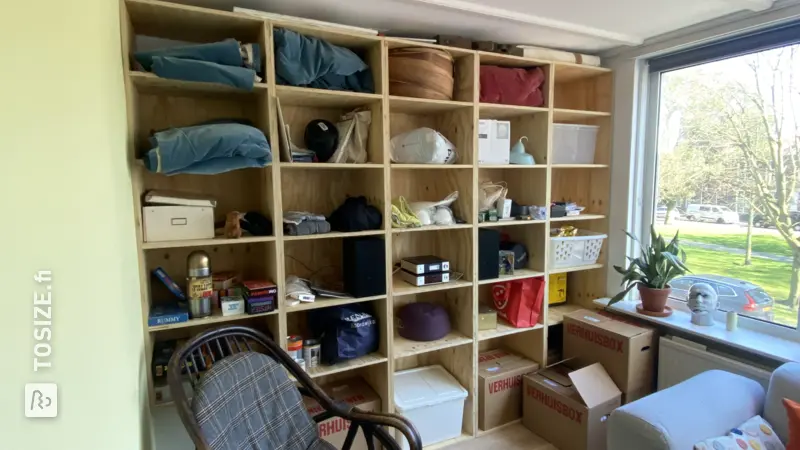
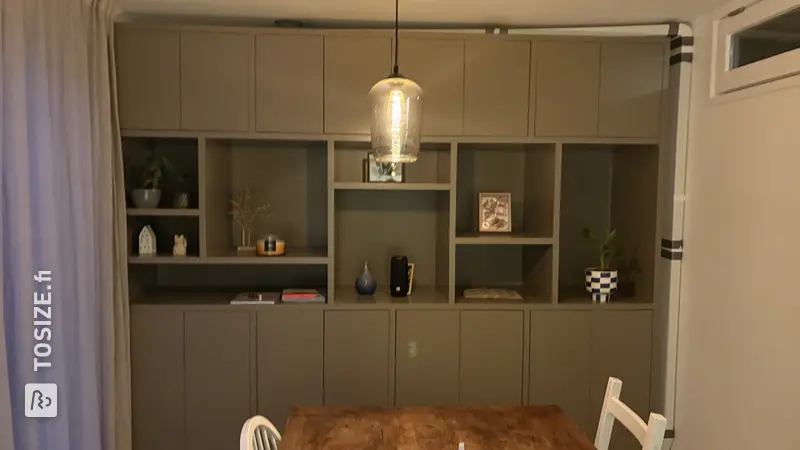
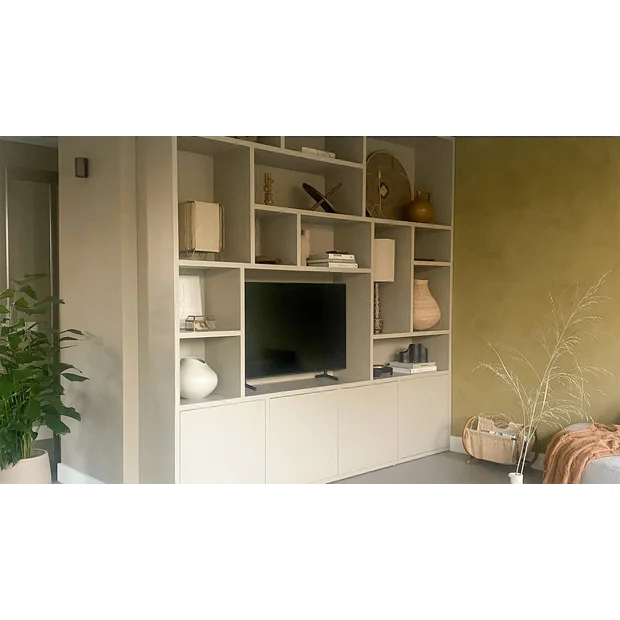
Bookcase wall in the attic made of pine wood, by Daan
Bookcase wall in the attic made of pine wood, by Daan
Create this project yourself with sheet material cut to size by TOSIZE.fi!
Daan
Above average
3 minutes
Daan shares his experiences in creating an impressive pine bookcase wall in the attic. Discover his step-by-step process and admire the beautiful results of this unique and inspiring DIY project.
Description by Daan
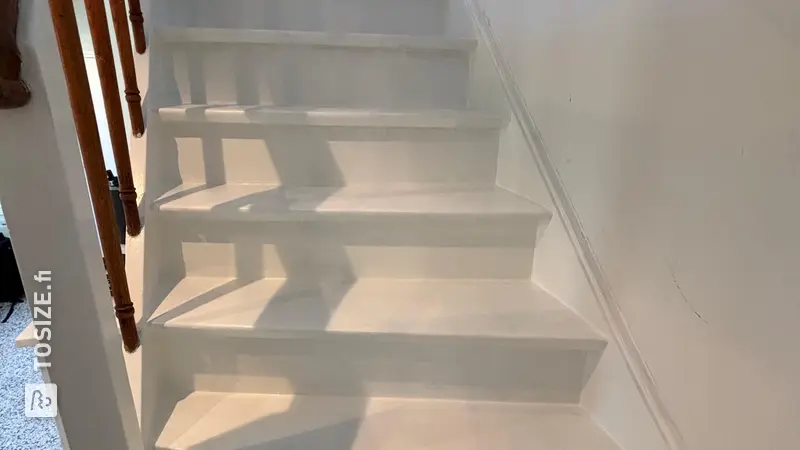
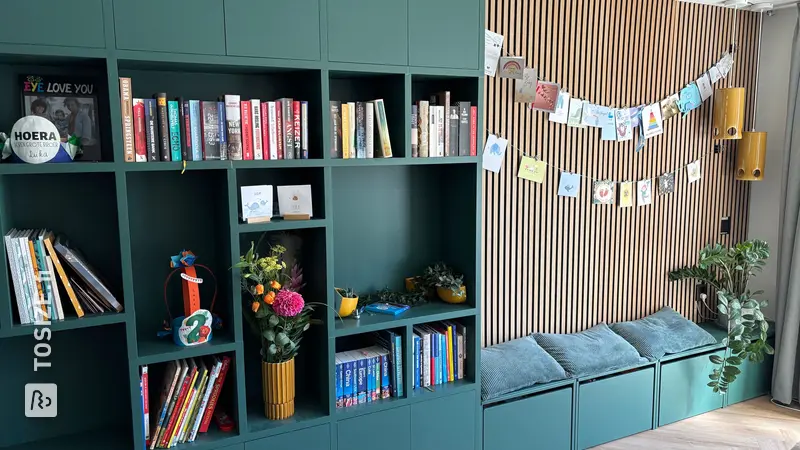
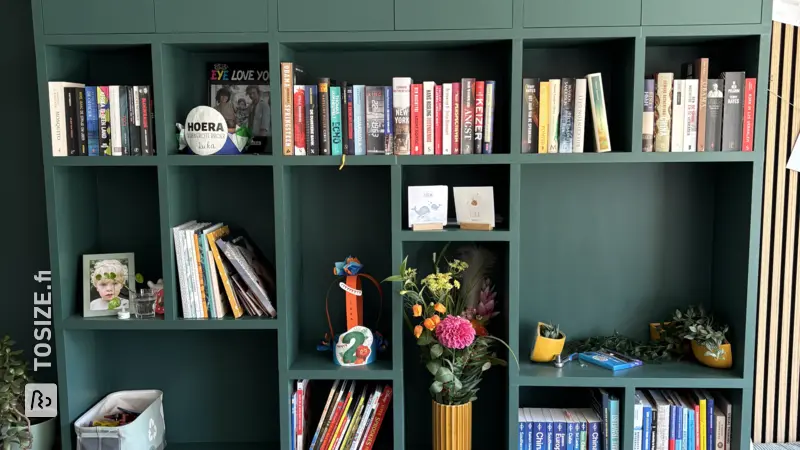
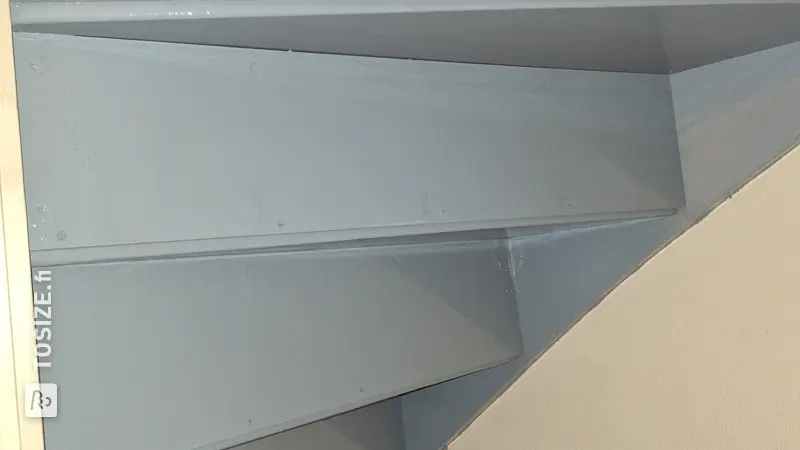
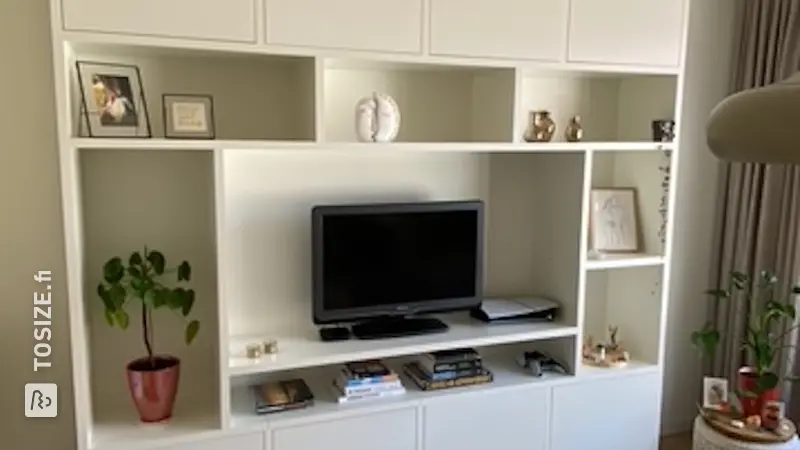
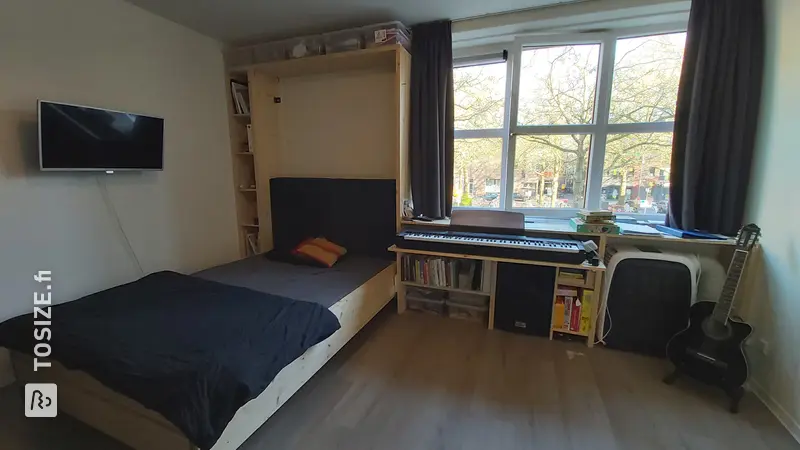
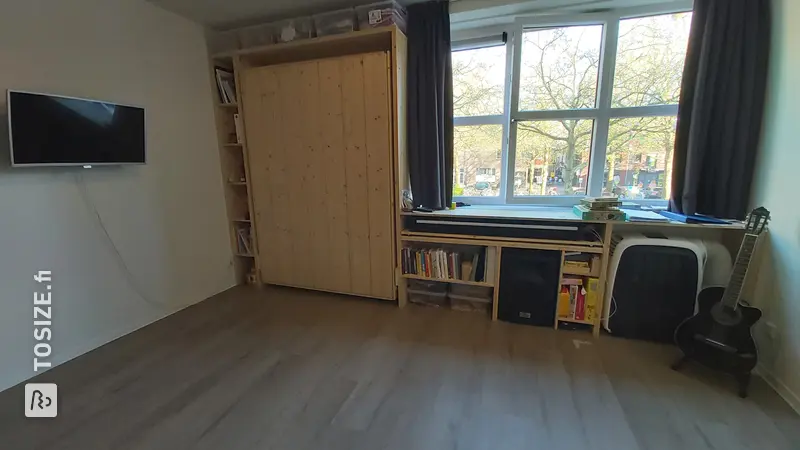
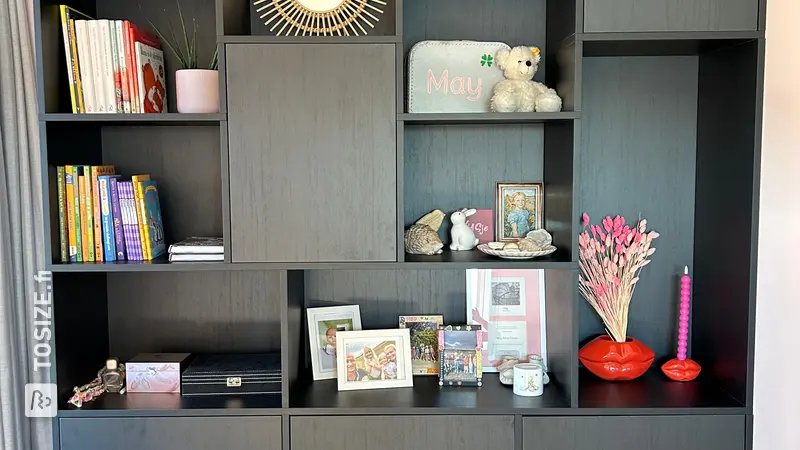
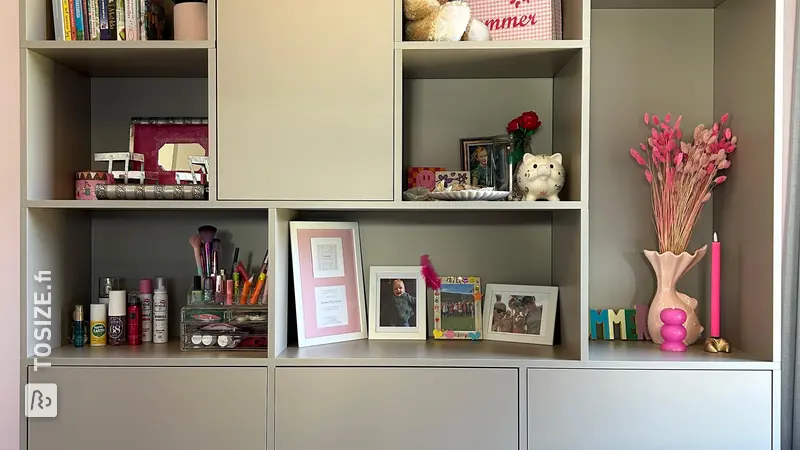
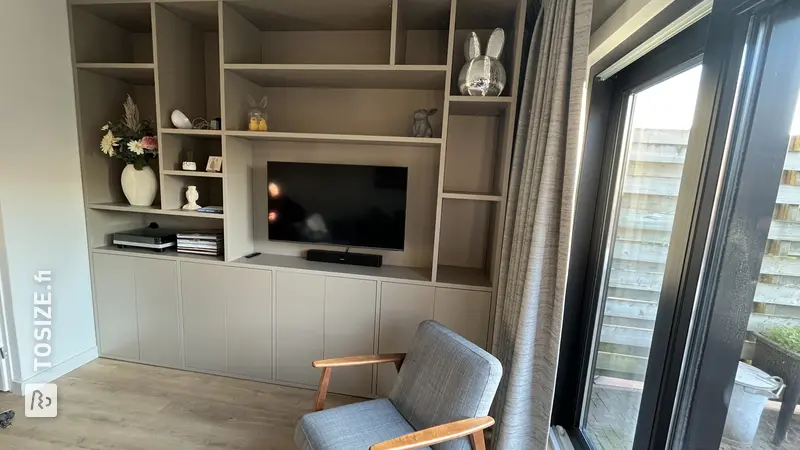
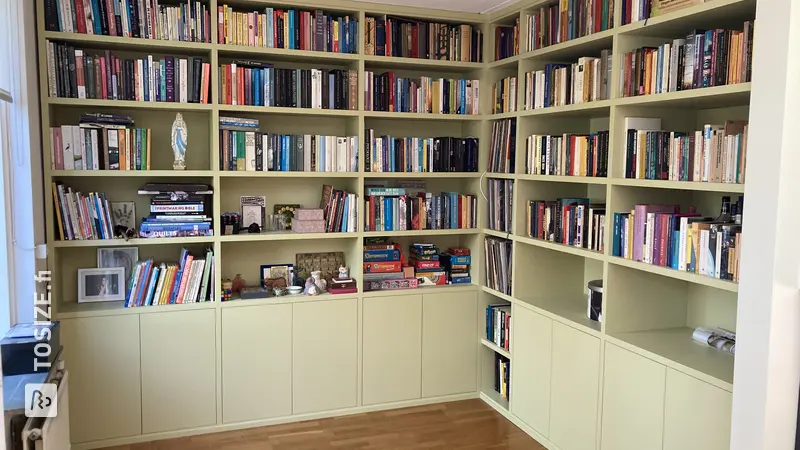
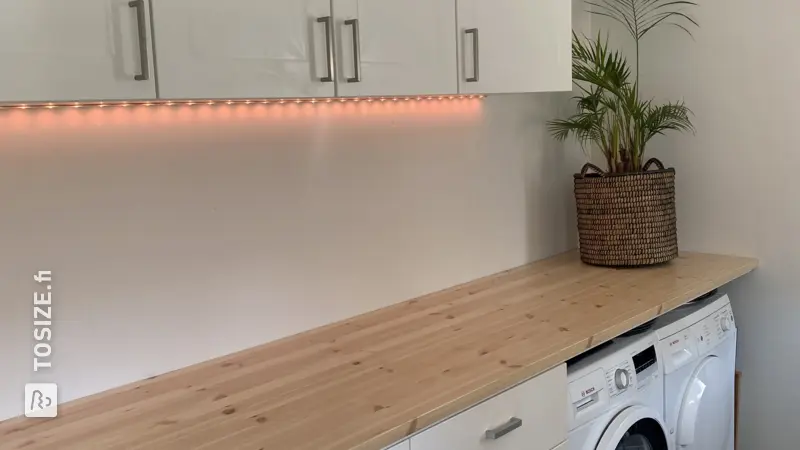
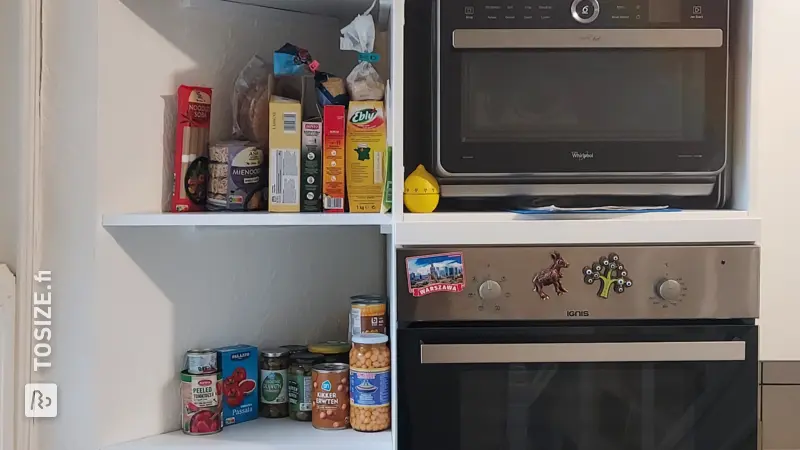
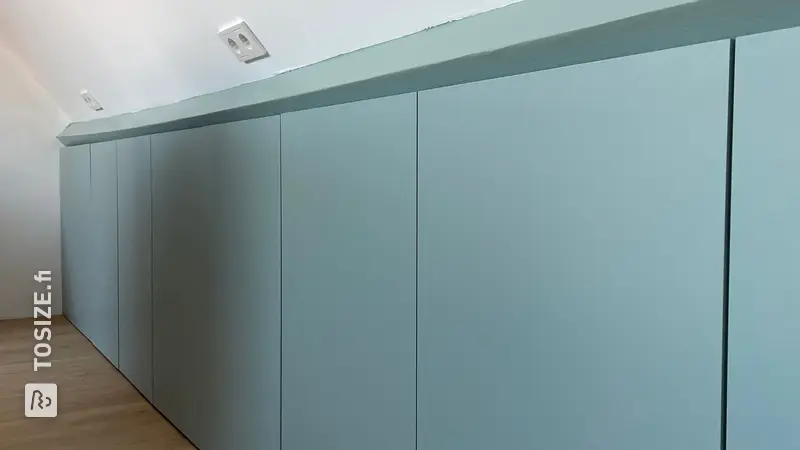
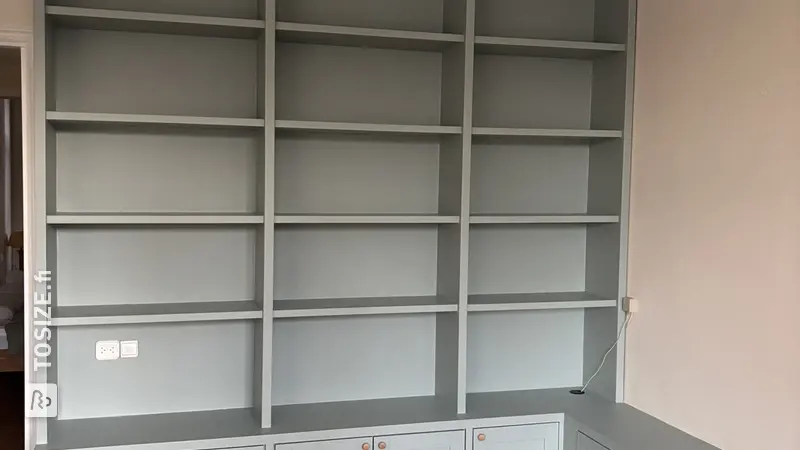
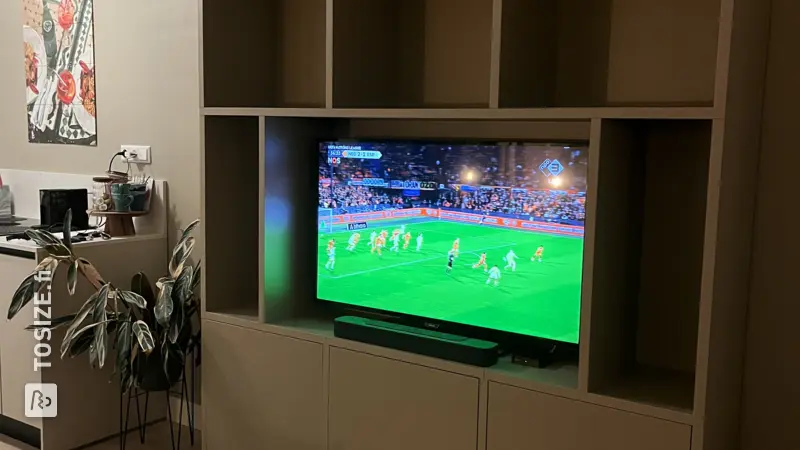
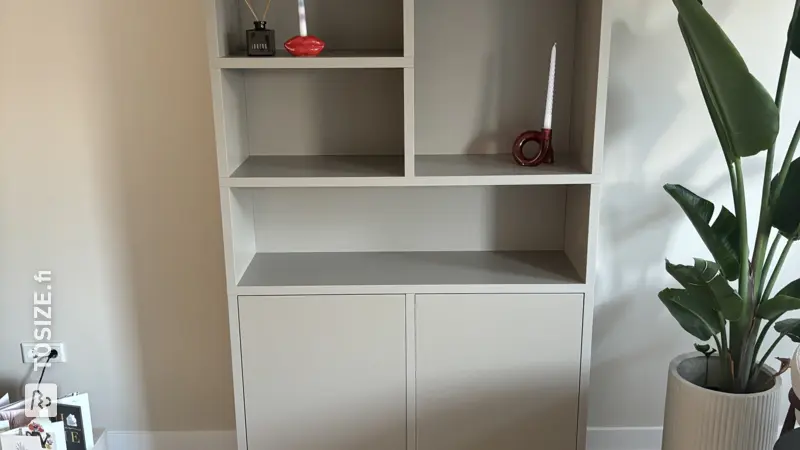
A bookcase wall above the stairwell with a 90 degree angle. The shelves and fronts are made of pine wood panels (18mm). The back is made of MDF 6 mm. The pine part has a transparent finish, the MDF has been painted.
How I made this project
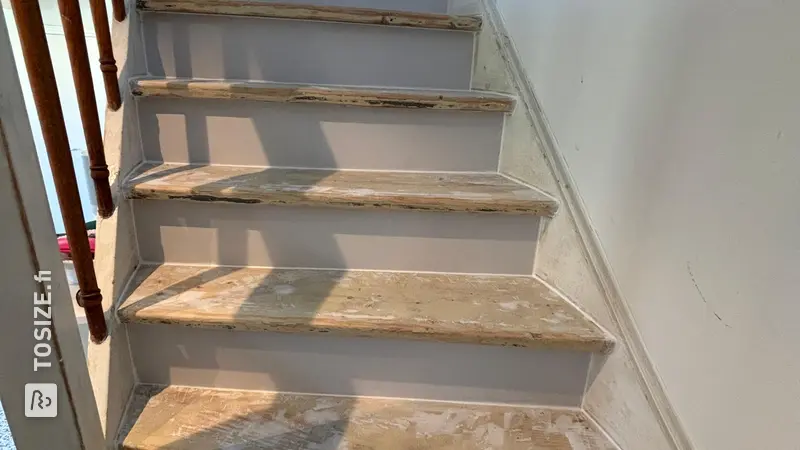
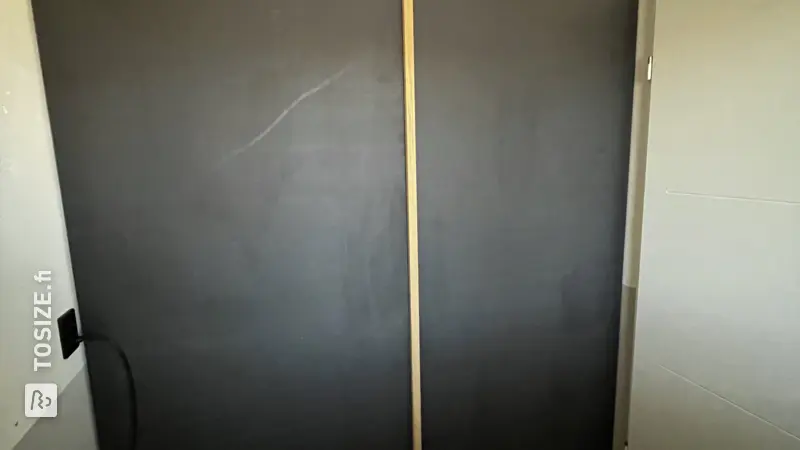
Step 1: Create the wall behind the bookcase. Also include electricity in this.
Step 2: Insulate the wall, I did this with Styrofoam plates.
Step 3: Screw OSB 18 mm plates onto the wall, then you can use anything screws. If you do not have the space, you can omit this step, just make sure that there is a vertical pine beam in your wall where the compartments of your cupboard are located.
Step 4 : Screw the MDF plates (this is the visible back of your cabinet) on. Try to use one plate for each compartment of your cupboard. Prime the back before screwing them on. You can also paint the front. You can easily access it now.
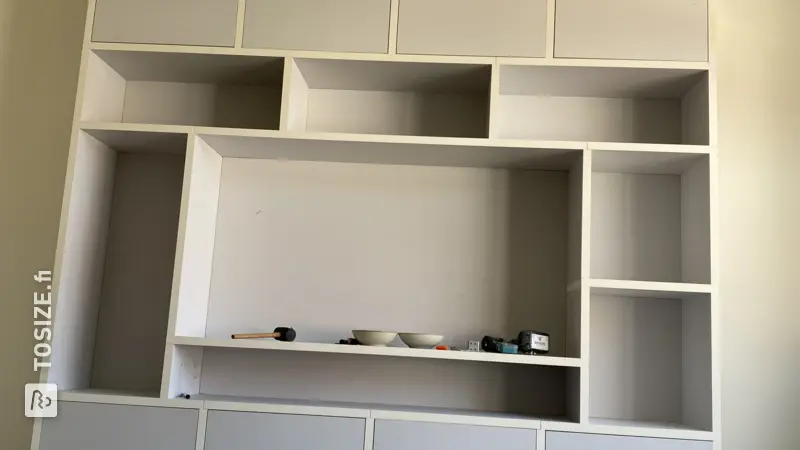
Step 5: Make the compartments of the cupboard with vertical pine beams. This will be the front of the cupboard, but you will still cover it with a pine carpentry panel.
Step 6: Decide how high you want the shelves and attach small pine beams. You can screw this onto the OSB (through the MDF) at the back. Screw them onto the vertical pine beams at the front.
Step 7: Screw MDF on the sides onto the pine beams you have just placed. Again, make sure that the back is primed. You can now also give the front a color.
Step 8: You can use a thin square slat for the shelf supports. Saw many of them to size. Then screw them in place.
Step 9: Cut the planks to size and place them on the plank supports. Screwing is not necessary, but is possible. Also make a top shelf that can hold nothing more, this is the top of your cupboard that you look at from below.
Step 10: Saw the front panels that are above, below, on the sides and between the compartments come to size.
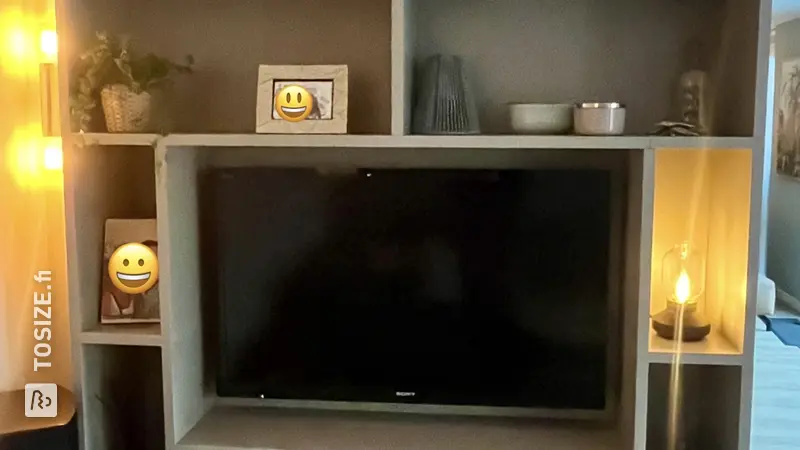
Step 11: Attach the light to the top shelf and cut openings in the top panel for the lamps that stick out. In my case, the shelves on which the books are placed also protrude, so you also have to cut out those openings. You can also choose to have the shelves fall within the cupboard. Then none of this is necessary.
Step 12: Attach the panels, remove the bottom and top shelves (including lighting). Now you can screw everything invisibly. This can be done with metal corners or with the same wood on which you rest the planks. Screw them into both the panel and the pine beam (through the MDF).
Step 13: Connect the lighting to the power you made in the wall and finally do the lower and upper shelves in the cupboard.
Step 14: Place your books in the cupboard.
Tips
Tip: If you are going to work above the stairwell, make a construction so you can't fall down.
Tip 2: Make sure all long sides are cut to size by TOSIZE.fi. You can easily saw the short sides yourself. This is cheaper and also more convenient because you don't have to think everything out in advance.
Dimensions of my DIY project
Height is 213. Long side is 180, short side is 120 cm .
Tip! Also check out our handy DIY tips!
What now?
Want to make this DIY project? Check out Daan's saw list and complete your order easily.
858,33 €
View all sheet materials