- TOSIZE.fi
- Do it yourself
- DIY Projects
Homemade custom speakers from MDF and plywood, by Dick
Homemade custom speakers from MDF and plywood, by Dick
Create this project yourself with sheet material cut to size by TOSIZE.fi!
Dick
Average
3 minutes
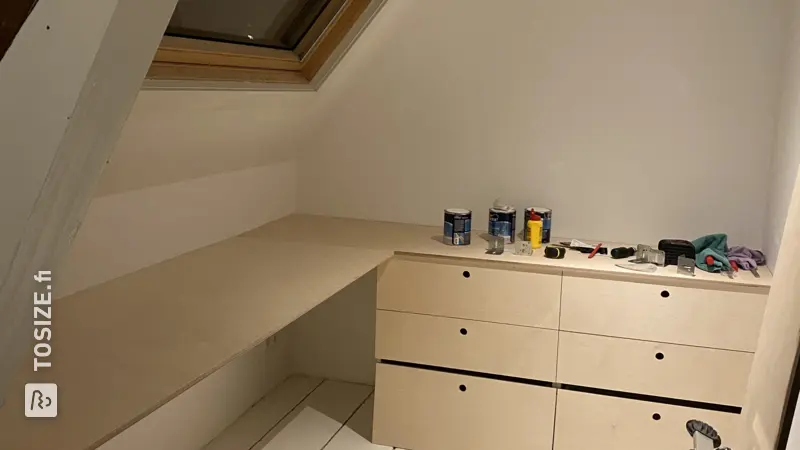
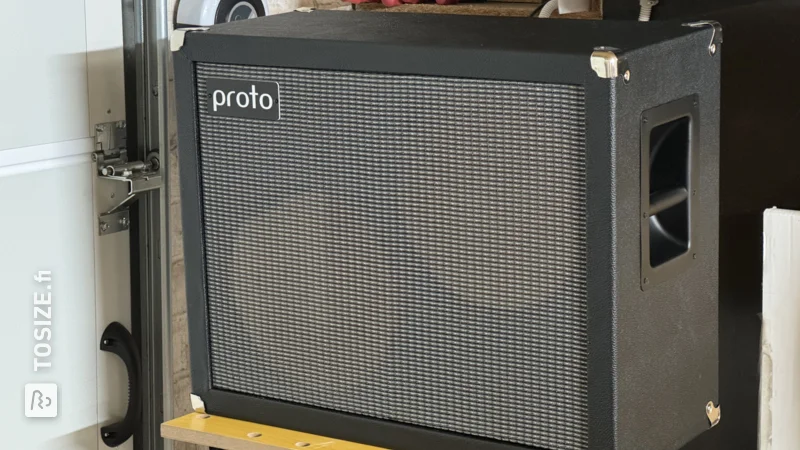
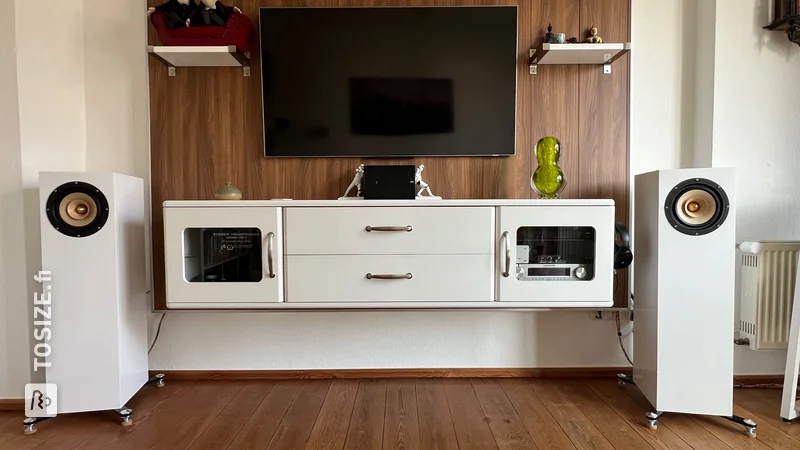
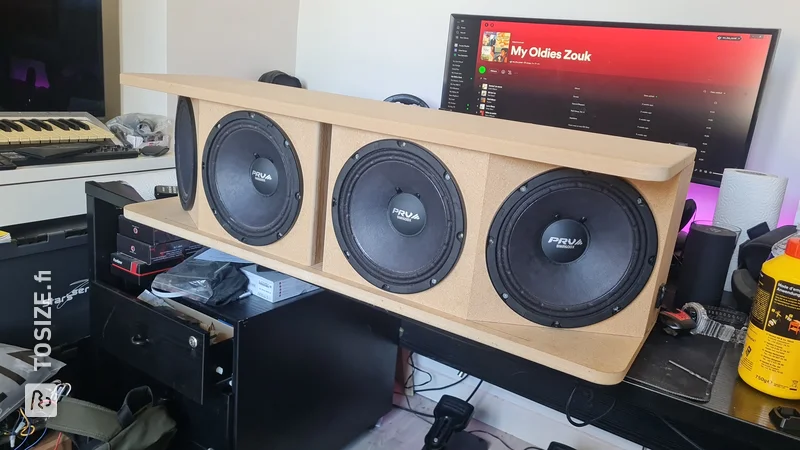
In this DIY project, Dick shows how she started making speakers herself. For this he ordered custom-sawn plywood and MDF; so that he could start his job immediately. Read more about his experience below.
Dick's description
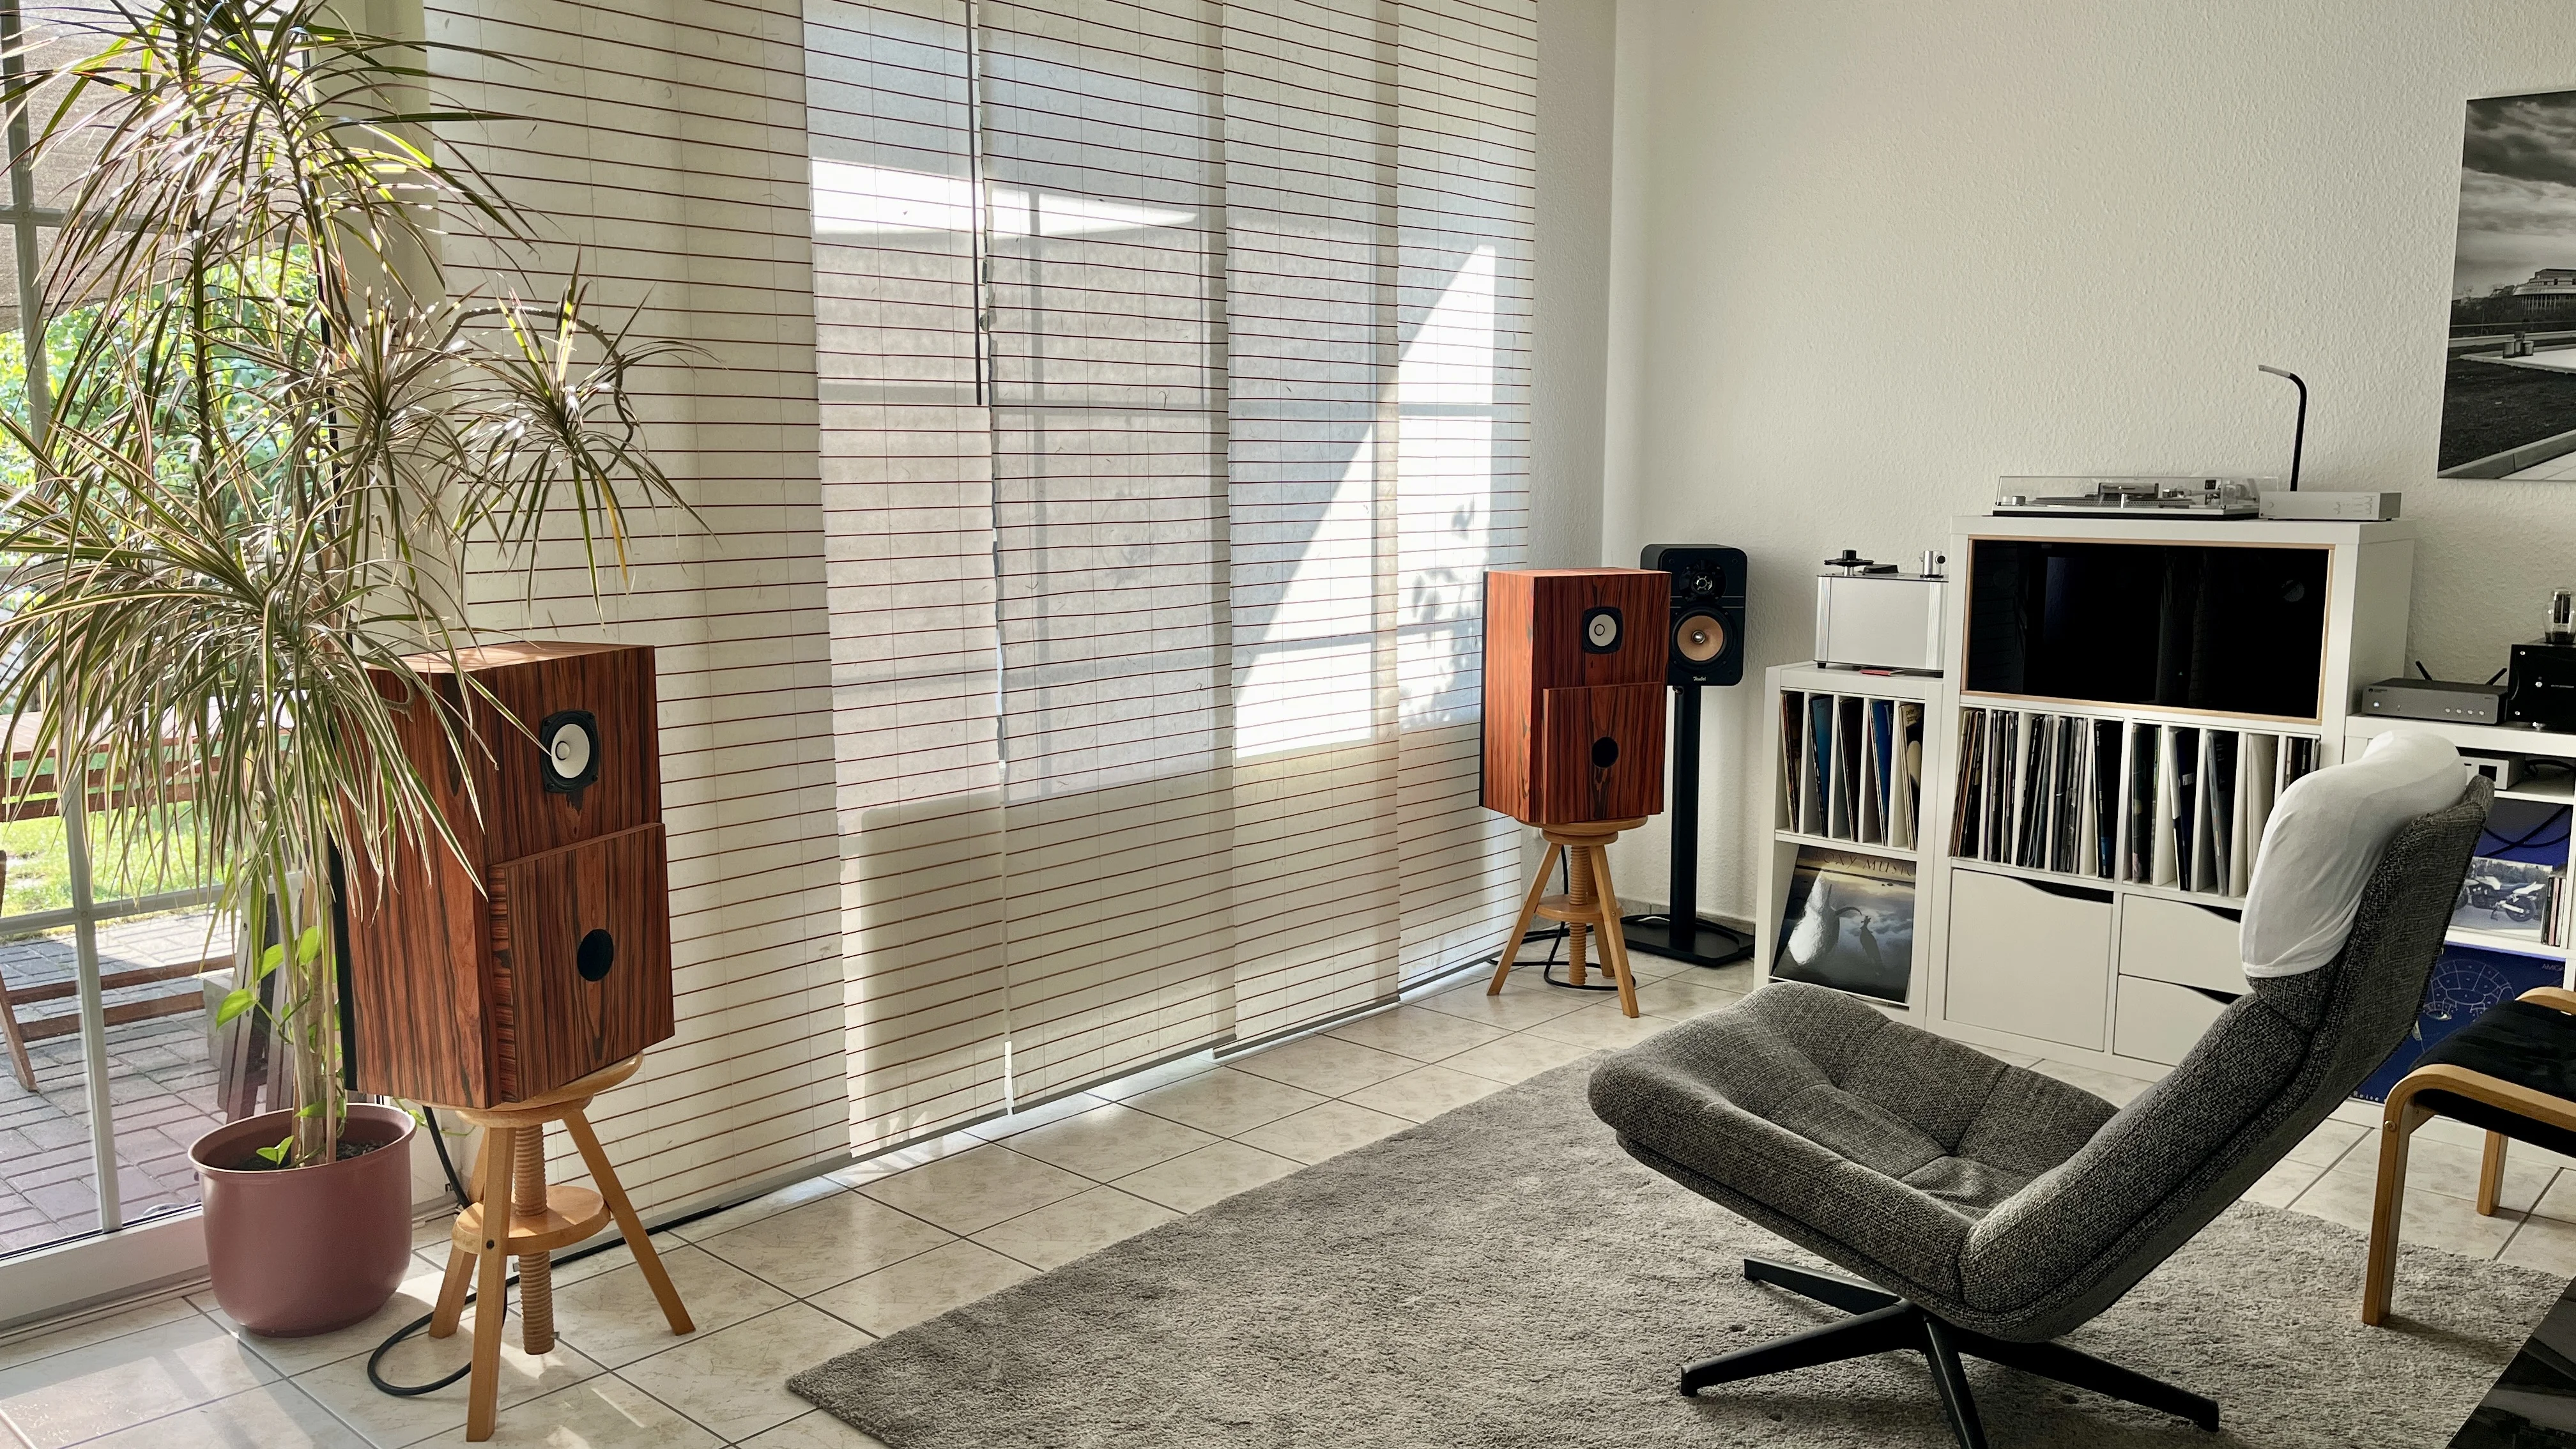
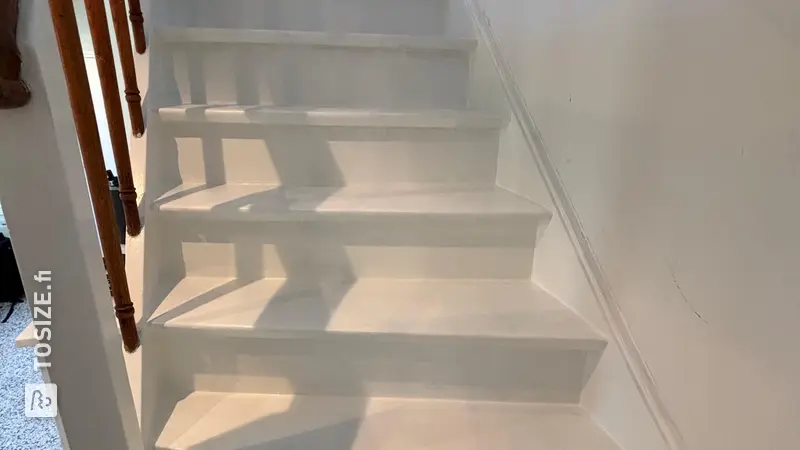
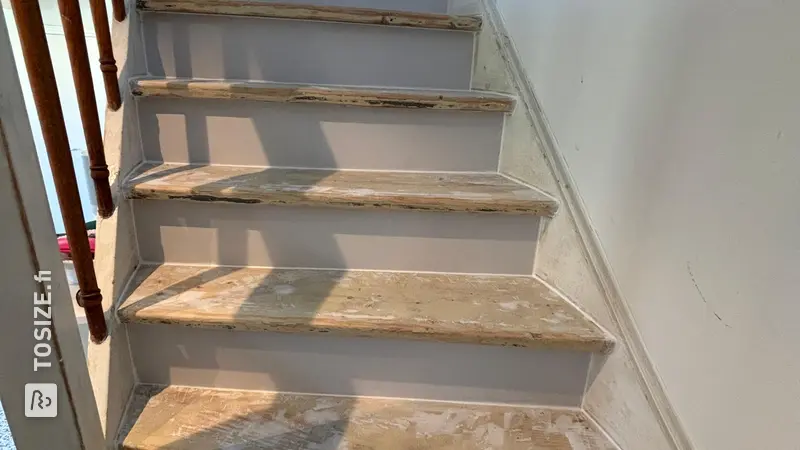
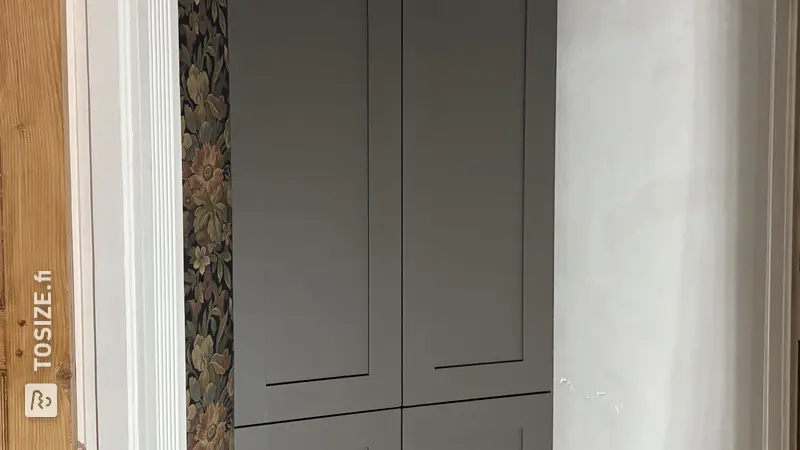
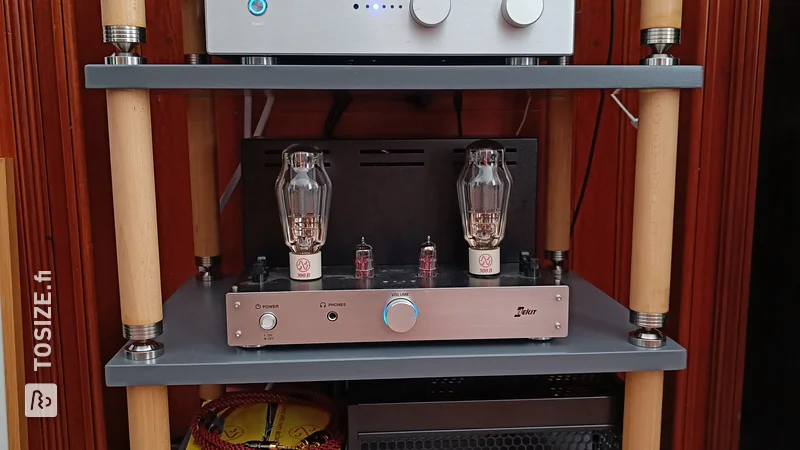
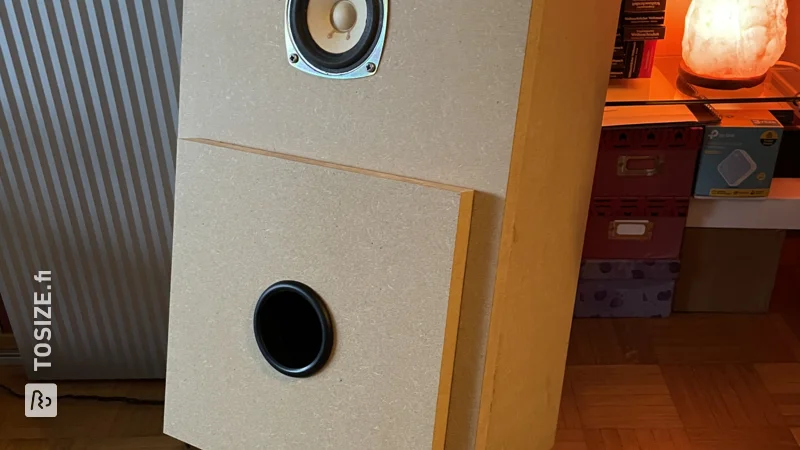
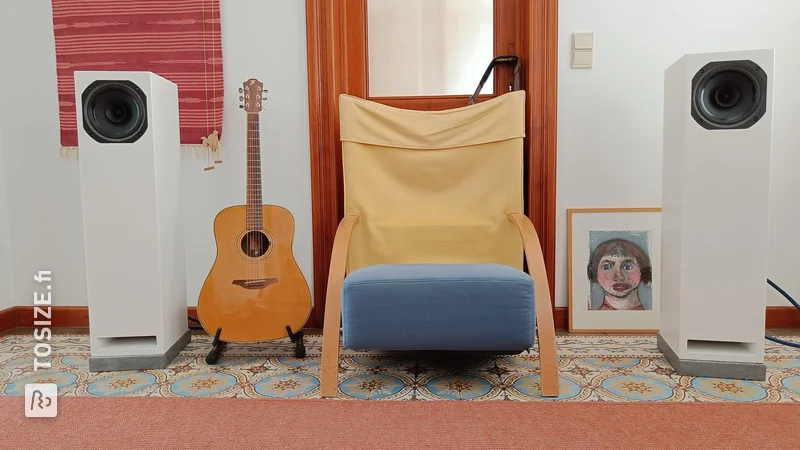
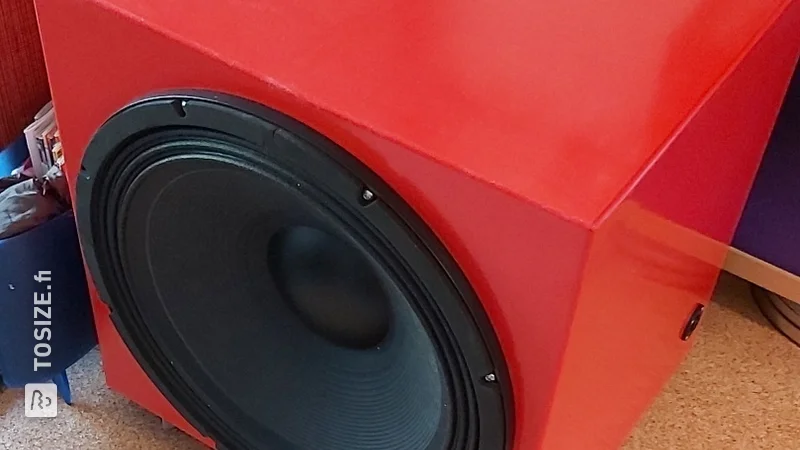
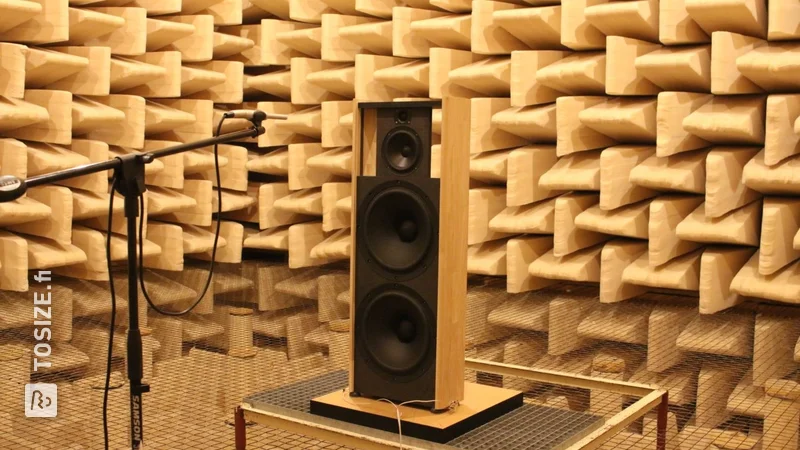
I have built loudspeakers based on an existing design. I wanted to make a sleek cabinet that would perfectly showcase the high-quality hi-fi purchased especially for this purpose. We did it!
How I made this project
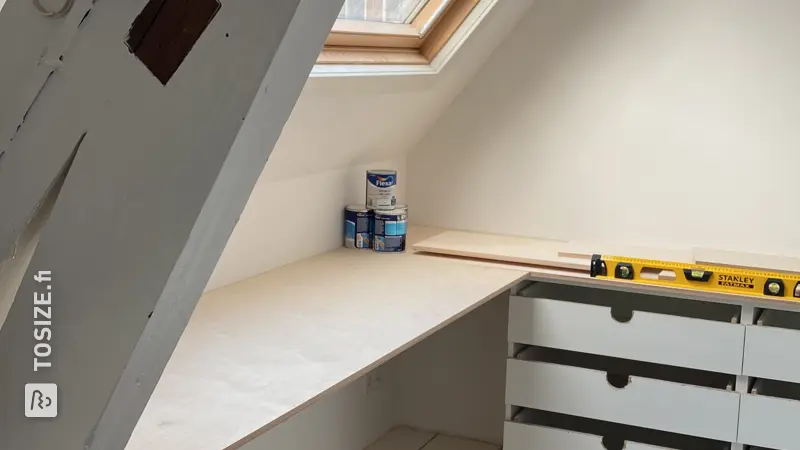
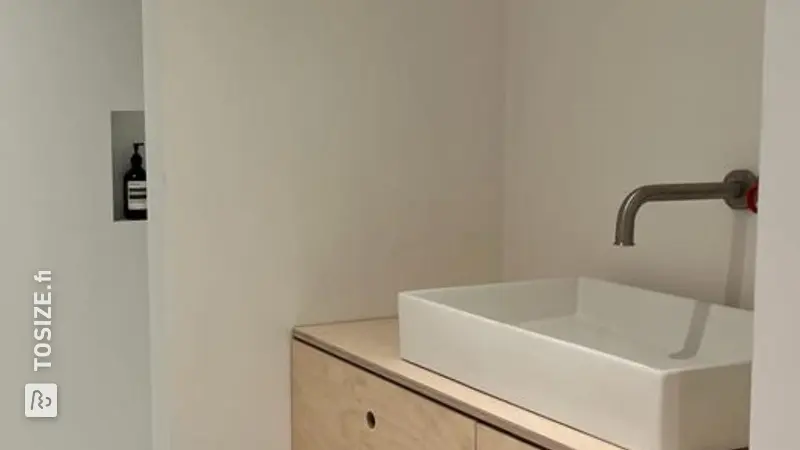
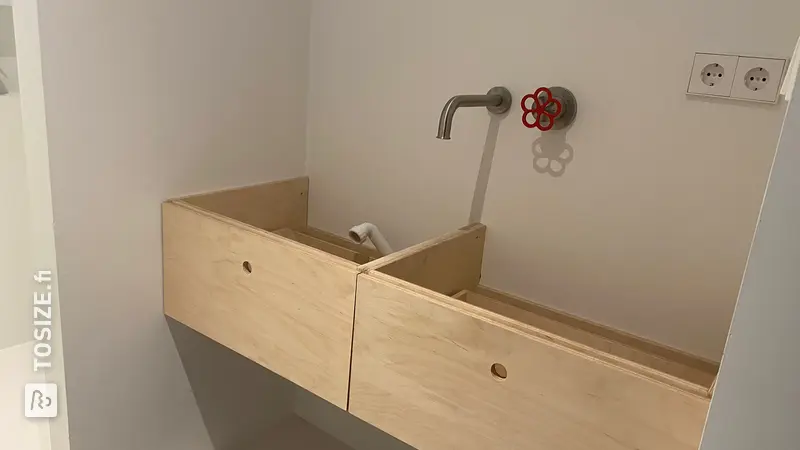
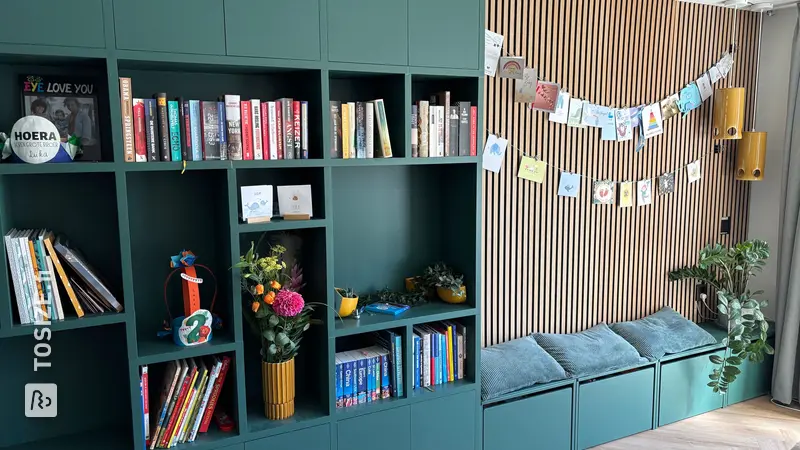
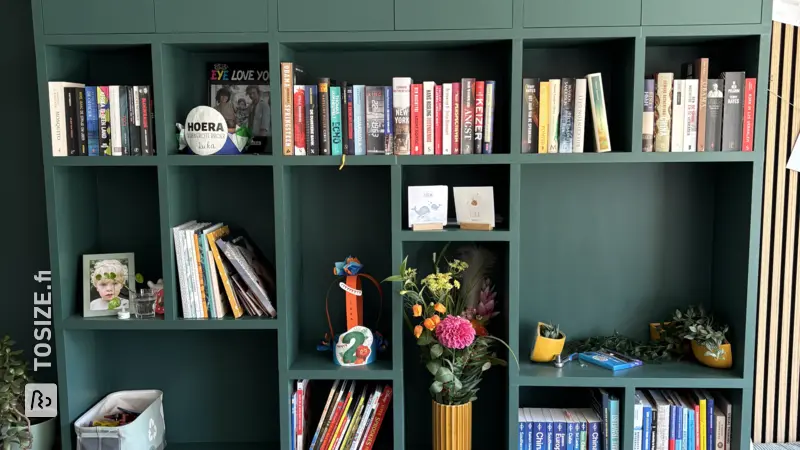
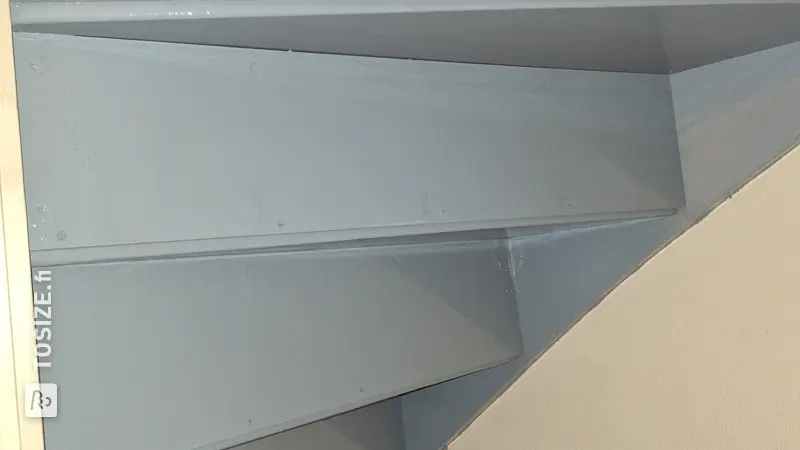
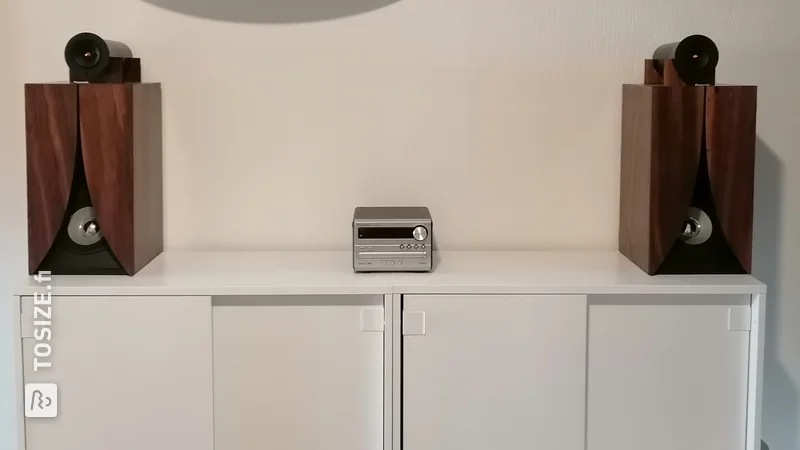
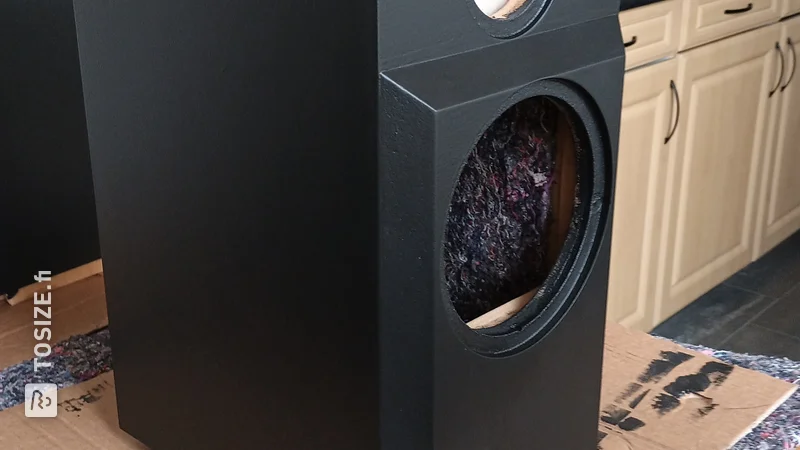
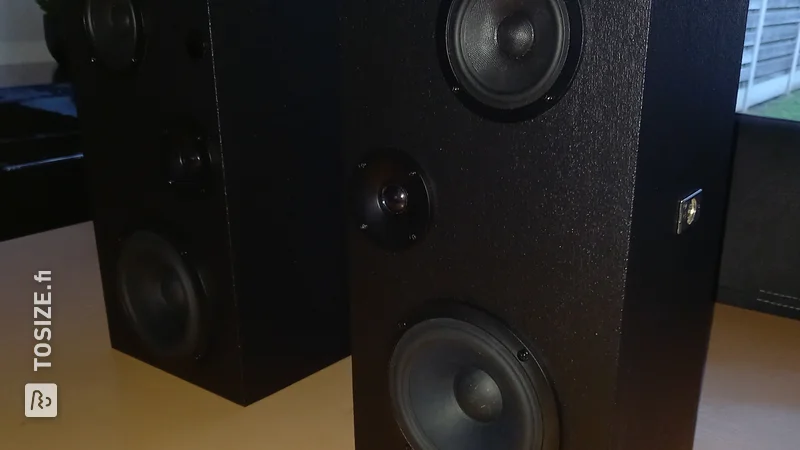
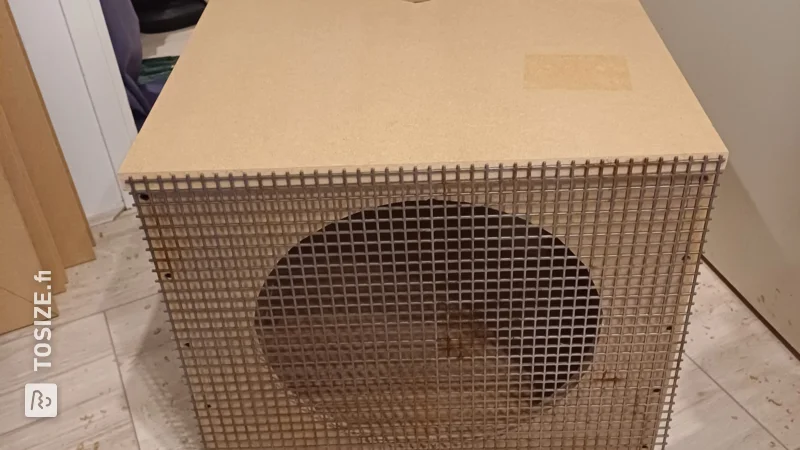
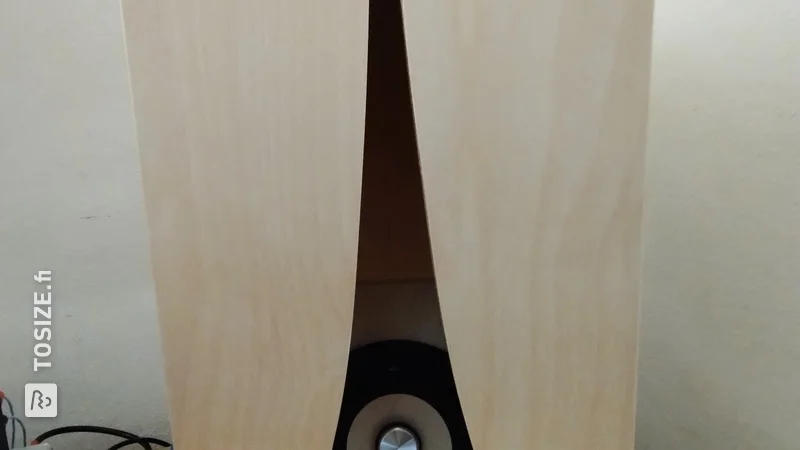
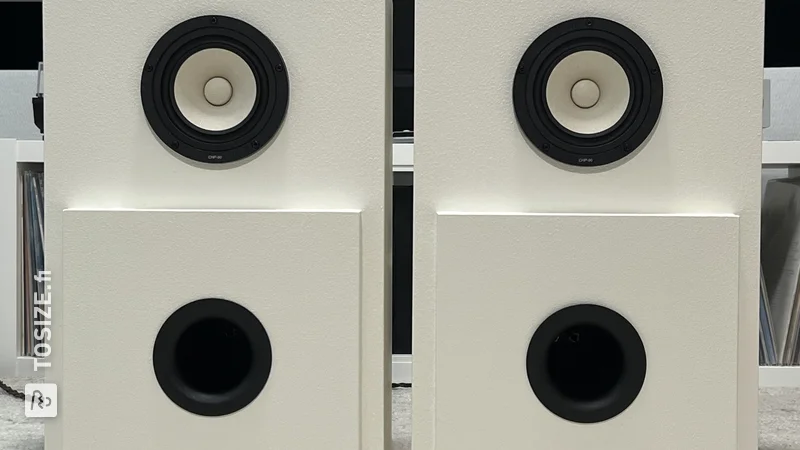
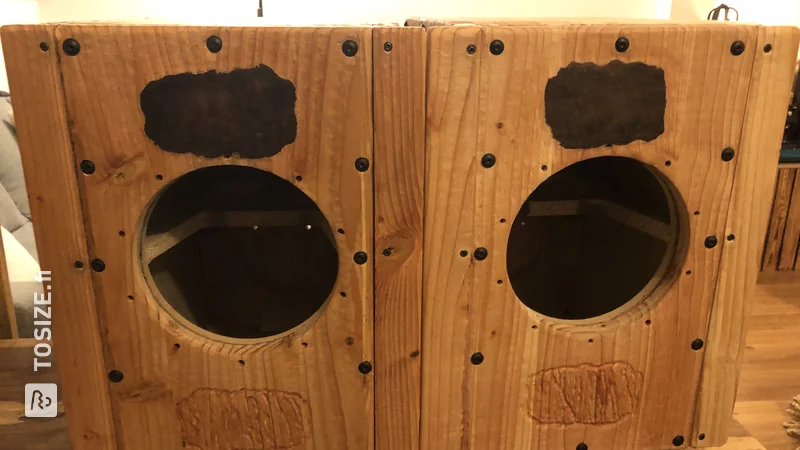
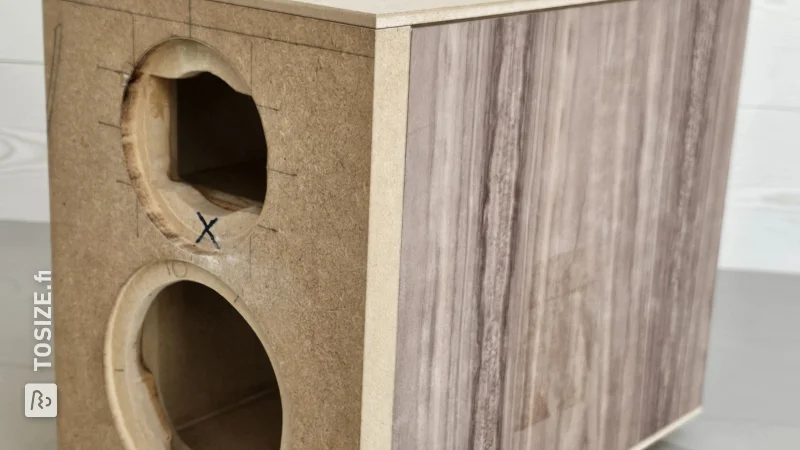
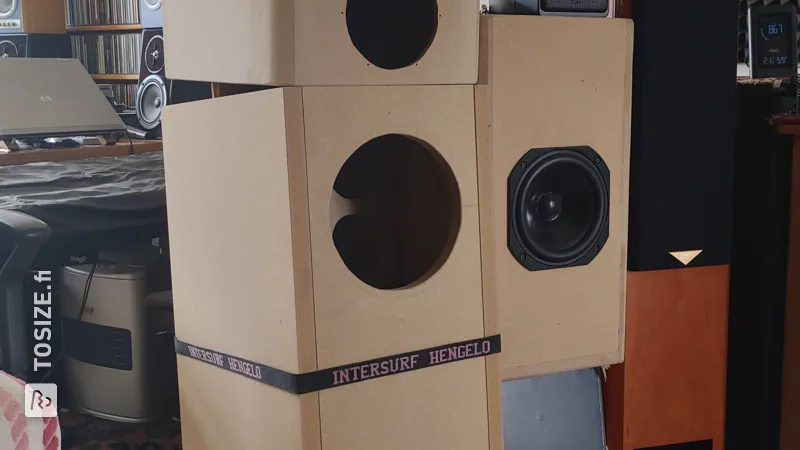
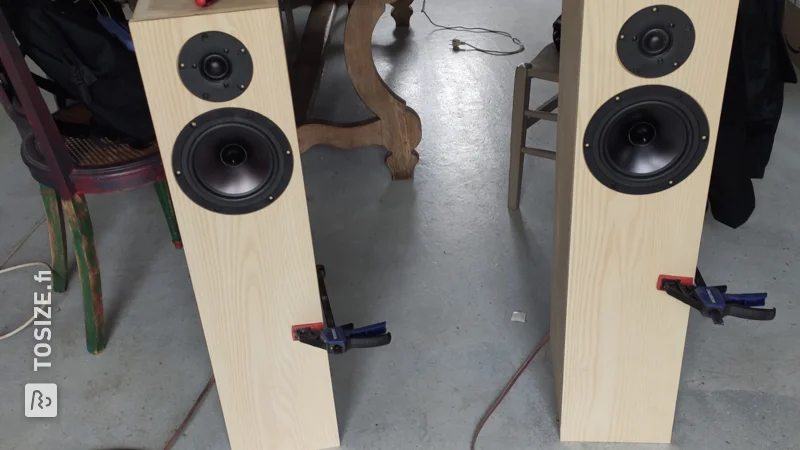
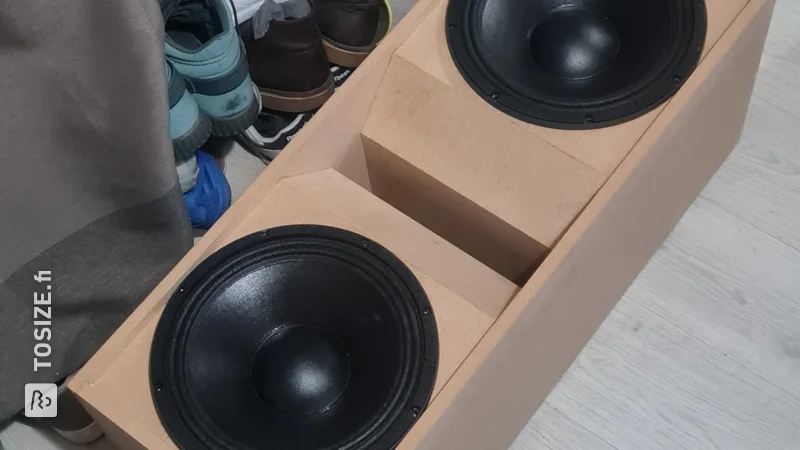
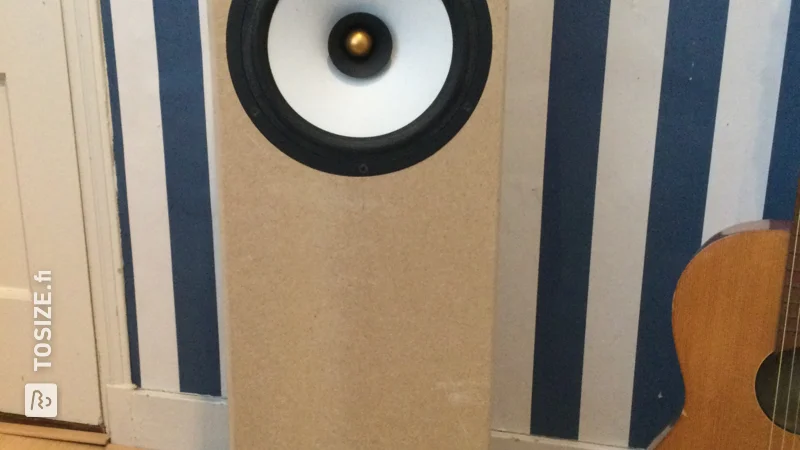
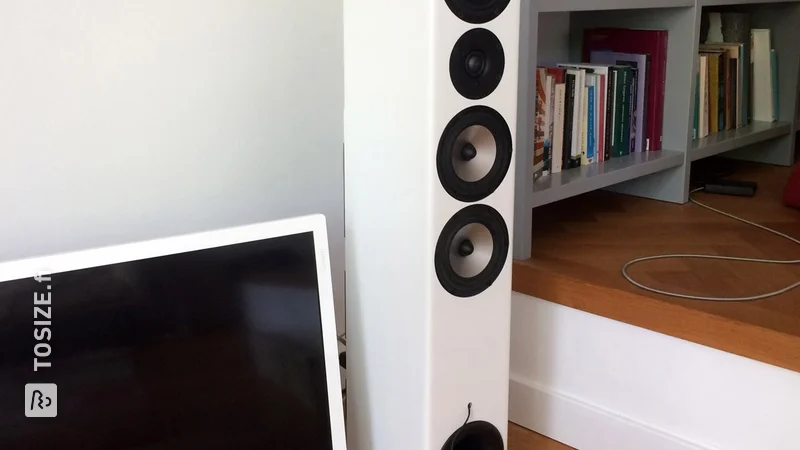
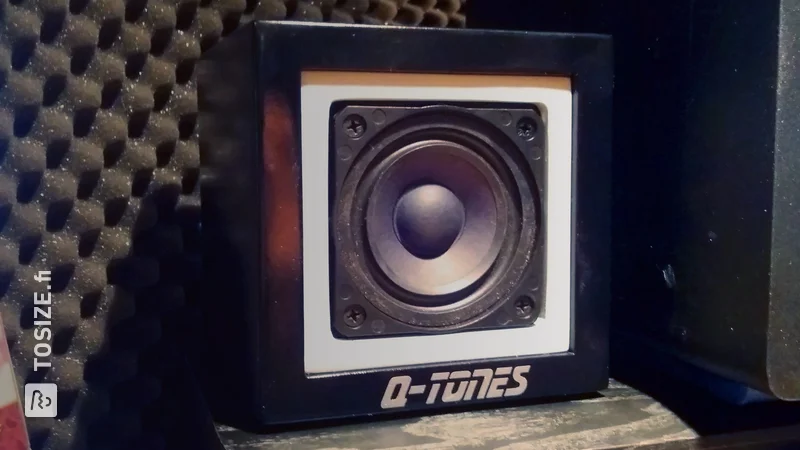
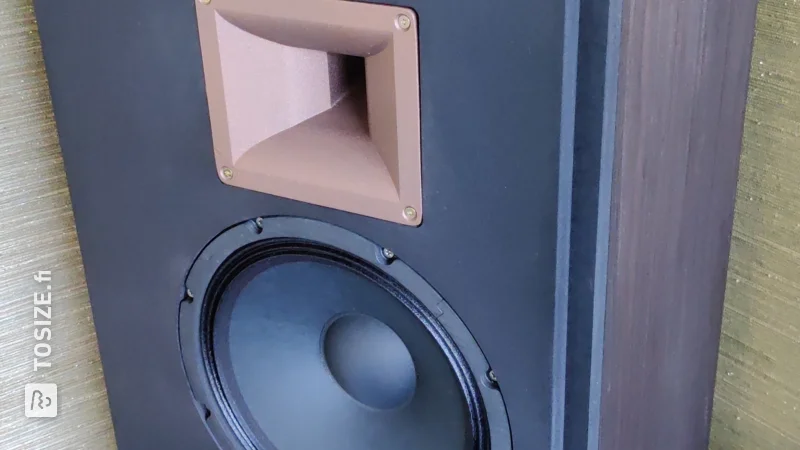
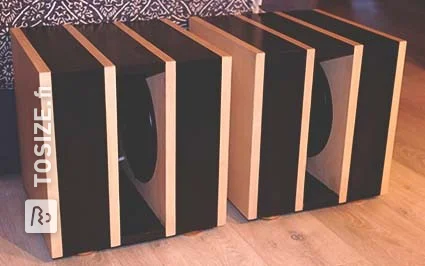
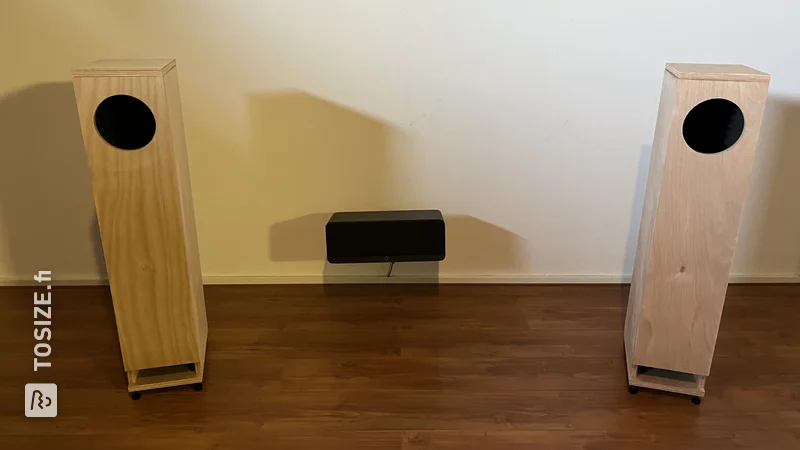
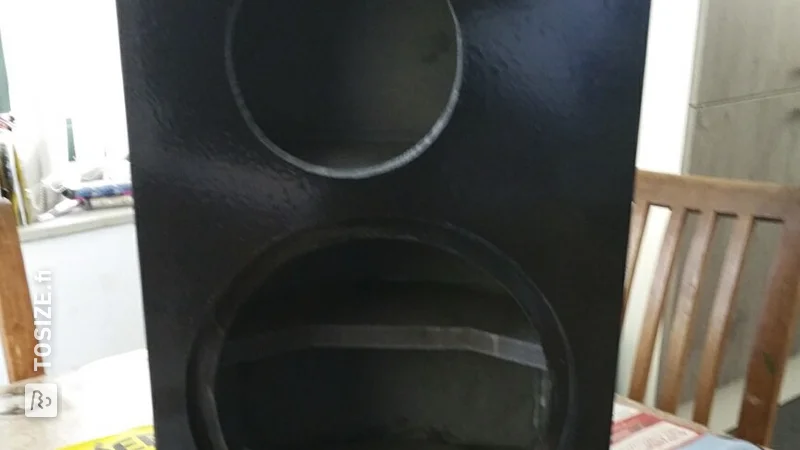
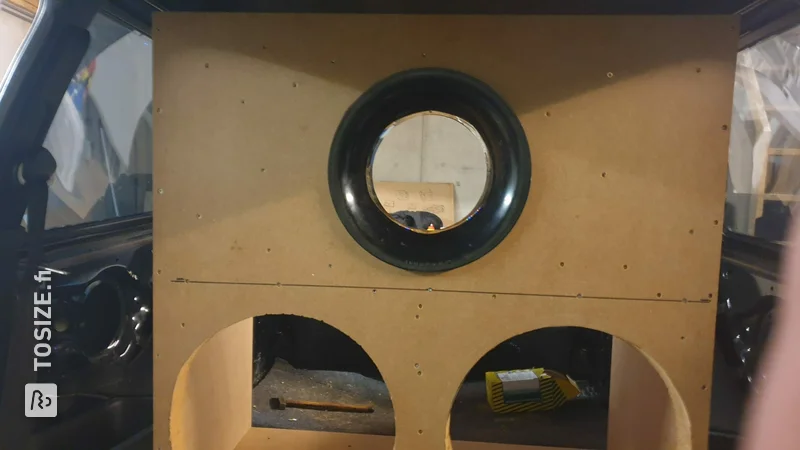
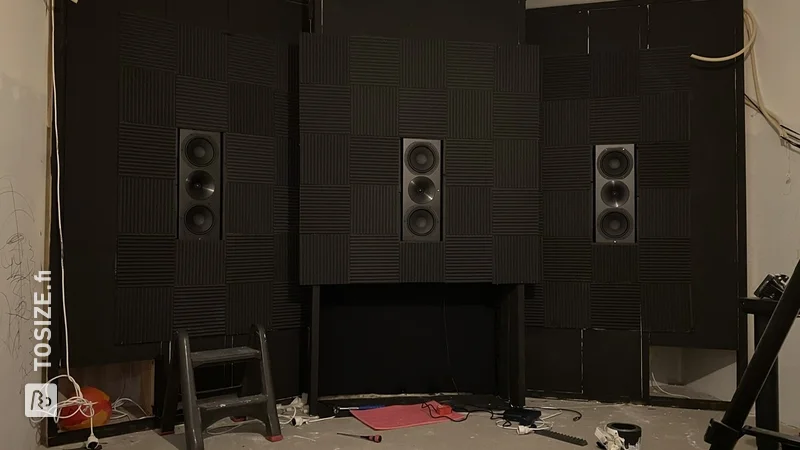
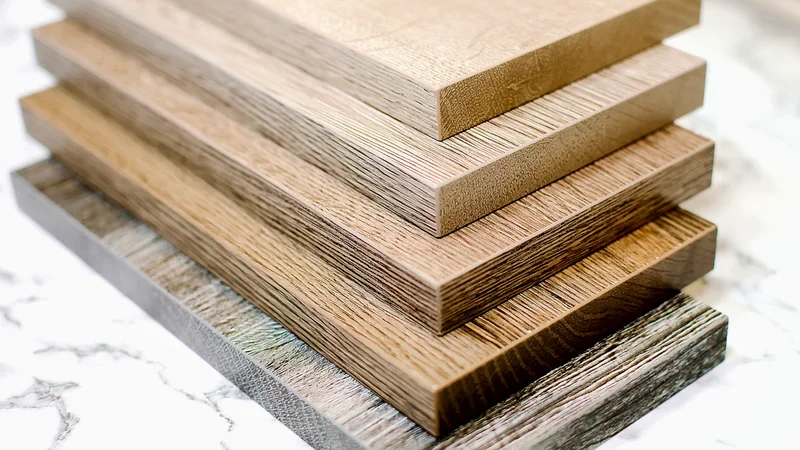
The basis for making these speakers is a ready-made design that I found on www.soundblab.net. To make good speakers, good materials and good components are essential. So good drivers and parts (via www.soundimports.eu), but also good quality wood. I chose birch plywood 18 mm. It had to be well glued, beautiful in color and, above all, neatly sawn. Every small deviation in sawing is immediately visible. At first I planned to saw it myself, but I quickly gave up that thought when I saw this. The wood is the basic material of the boxes and it must be really good. Furthermore, make sure you have a good workshop and tools such as a router and glue clamps. Patience is also important and accept that things will go wrong once in a while. So buy some extra planks that are risky. The steps are nicely described in the soundblab design. First step is to create a "box" gluing the wooden parts, where the wood glue clamp is of great importance. This ensures that the bonding is properly perpendicular and well connected. Then milling the holes in the front. This was the most difficult step: getting the correct diameter and depths of cuts. The front is made of MDF. I had bought several of them and that was necessary. Once the front has holes, you can attach it to the cabinet, again with the adhesive clamp. The last step is to attach the parts of the crossover (resistor, coils, connectors) and the drivers (woofer and tweeter) with wires. Make sure you have a good soldering iron that does not get too hot, otherwise some connection points will melt. Finally, attach the drivers to the holes. I painted them purple as a compensation to my wife. Make sure you have well-balanced and sturdy stands, because the speakers weigh 10 kg each! The final result is beautiful! Very good sound image with nice detail (thanks to good audio equipment). Such speakers in the store cost many times the costs I incurred for them. Making it yourself is a lot of fun. I did it together with my son.
Dimensions of my DIY project
Width 21.0 cm
Height 35.0 cm
Depth 30.0 cm
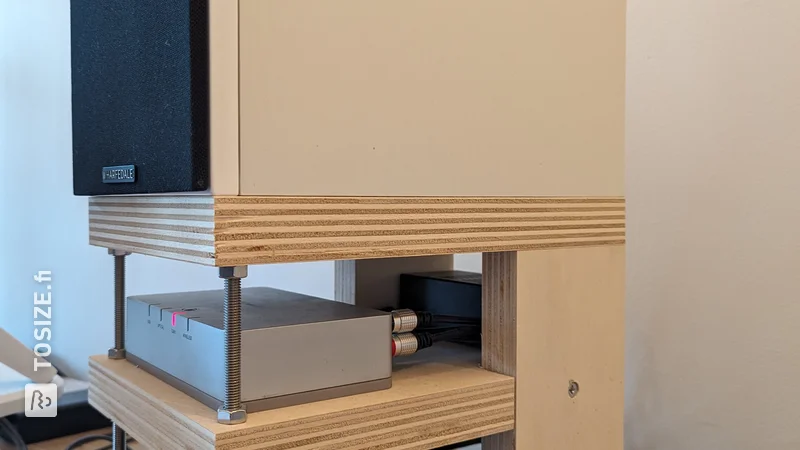
Speaker stand is 65.0 cm high, so the total is 100.0 cm.
Tip! Also check out our handy DIY tips!
What now?
Want to make this DIY project? Check out Dick's saw list and complete your order easily.
175,46 €
All materials used
View all sheet materials