- TOSIZE.fi
- Do it yourself
- DIY Projects
Homemade wooden Christmas tree for Christmas village, by Jennie
Homemade wooden Christmas tree for Christmas village, by Jennie


Create this project yourself with sheet material cut to size by TOSIZE.fi!
Jennie
Average
2 minutes
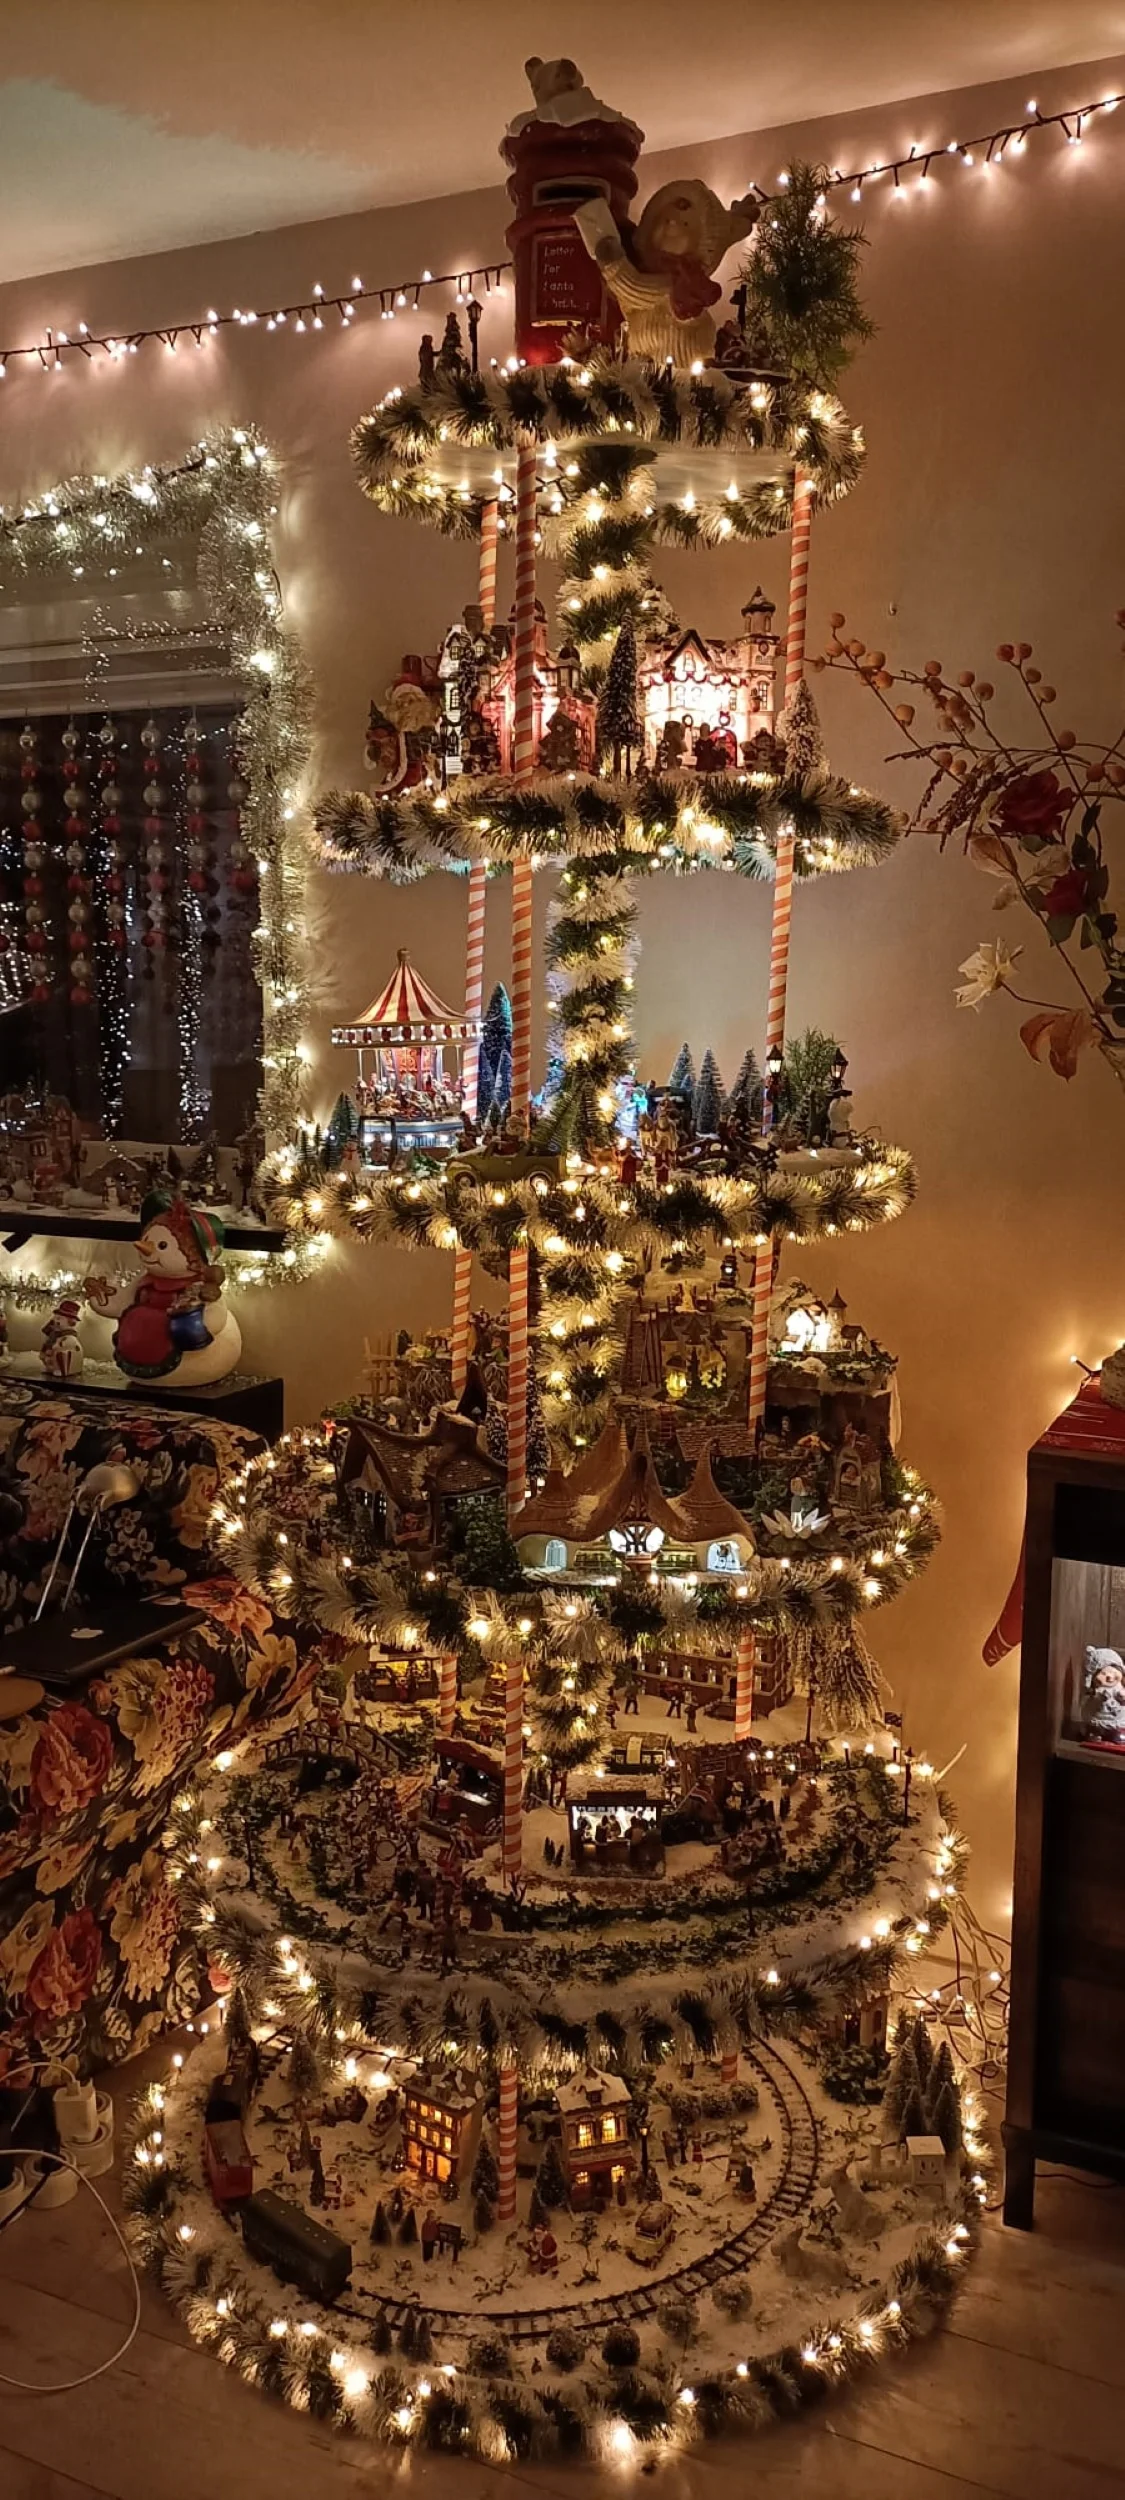
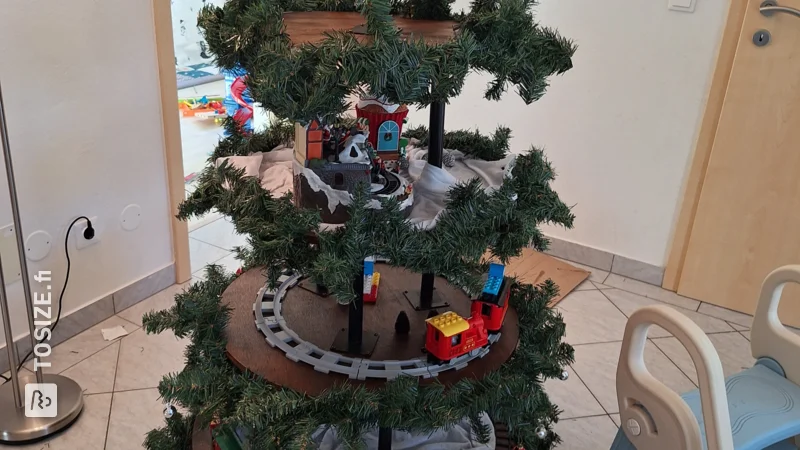
In this DIY project, Jennie's husband describes how he made her a wooden Christmas tree so that she can display her Christmas village on it. For this he had plywood milled into circles of different sizes. Read more about his approach below.
Description of Jennie
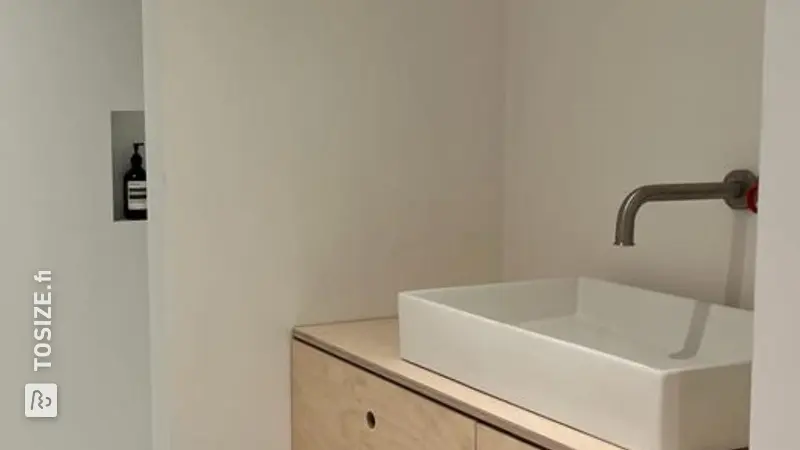
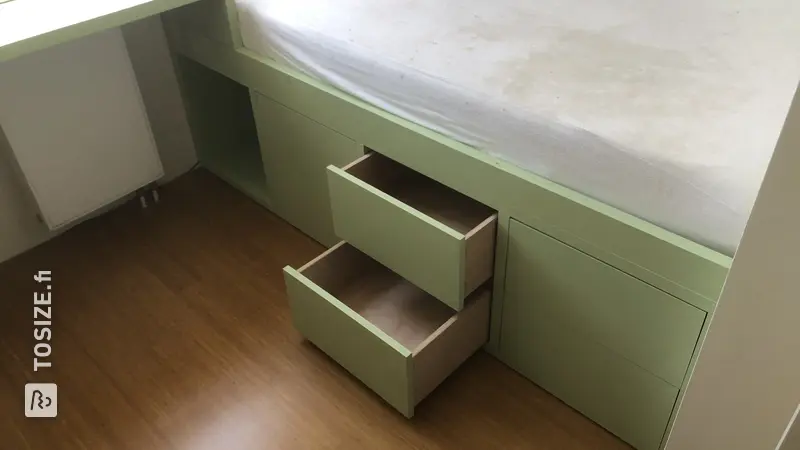
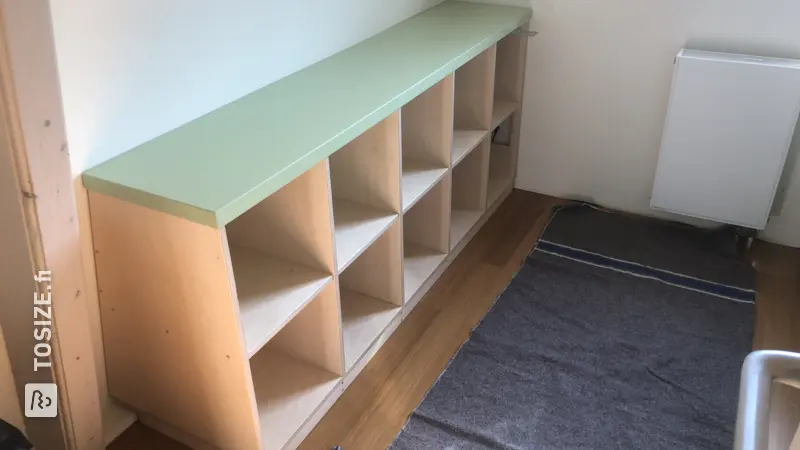
I made a Christmas village tree for my wife, a wooden tree on which she can place her Christmas village. My wife loves Christmas. And so the entire village can be built on it and there is still room for more. It sits on our dining table, but that is of course not necessary. We did this because we have several dogs. And then that's not really useful, otherwise they won't have a village left. In any case, my wife is very happy with it.
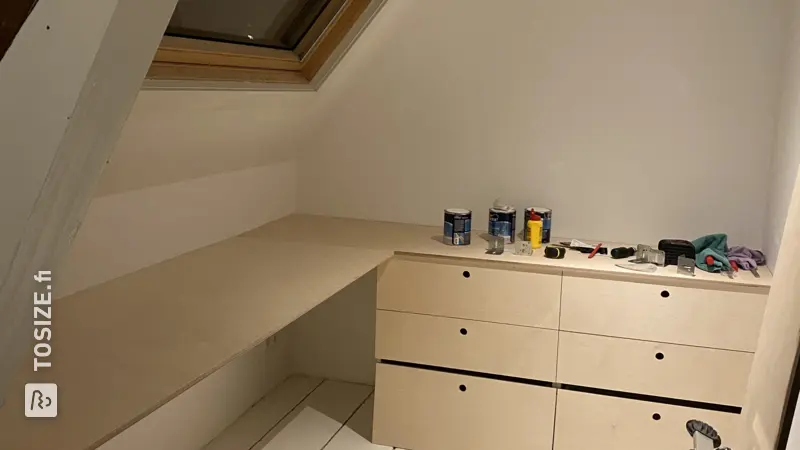
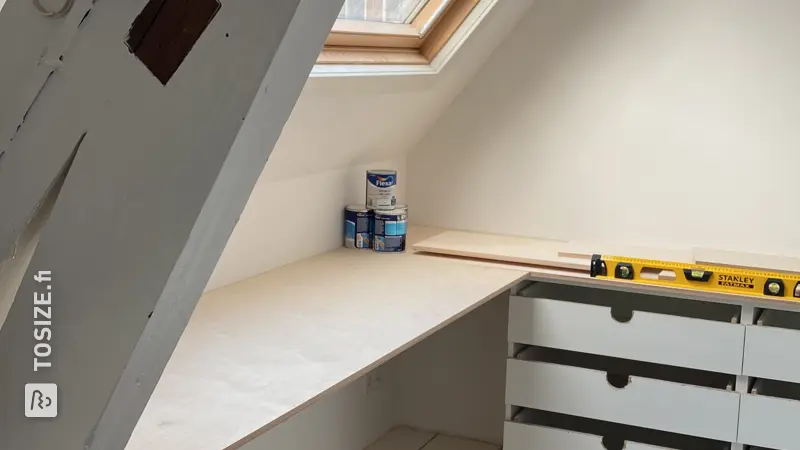
How I made this project
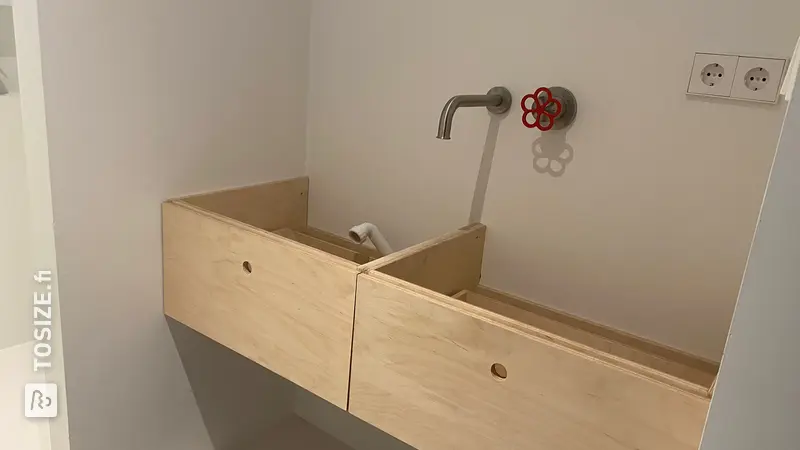
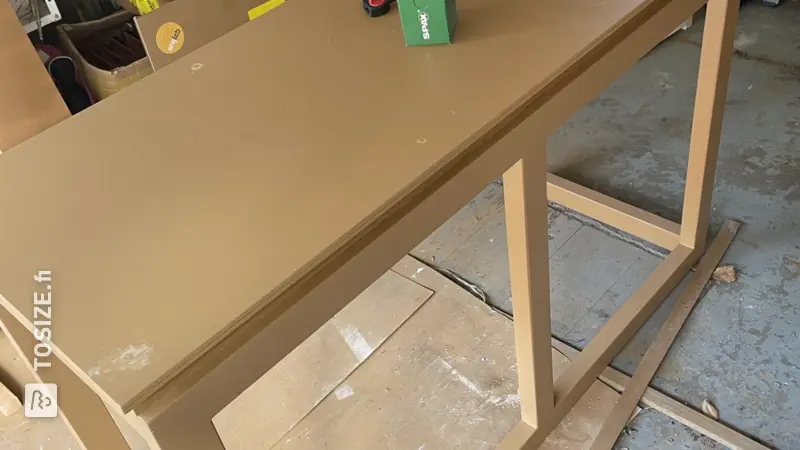
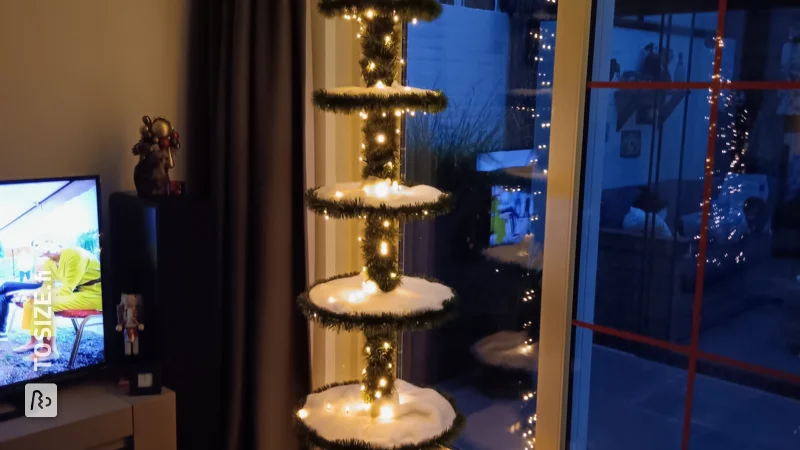
Had the round discs cut to size from around 80 to around 30. Measured out in the middle where the holes must come from the post. I made a mold of the relevant post for this purpose. Place the discs on top of each other and measure them precisely. Mold marked on the top. The rounded edges of the beam are drilled through all the battens except the bottom one. Then the rest was sawn through which the pole can pass. Reinforced per layer with corner lines. Everything painted white. Holes were drilled in the edges and the branches secured all around with tie wraps. I have placed small legs under the tree, but that is not necessary.
Dimensions of my DIY project
My tree is around 80.0 cm at the bottom above 30.0 cm
Intermediate disc 1 is 40.0 cm.
Disk 2,3,4 are 30.0 cm and between the 4th and last disk is 25.0 cm.
Tip! Also check out our handy DIY tips!
What now?
Want to make this DIY project? Check out Jennie's saw list and complete your order easily.
85,88 €
All materials used
View all sheet materials