- TOSIZE.fi
- Do it yourself
- DIY Projects
Make your own DIY oak desktop, Anne explains it step by step
Make your own DIY oak desktop, Anne explains it step by step
Create this project yourself with sheet material cut to size by TOSIZE.fi!
Anne
Easy
2 minutes
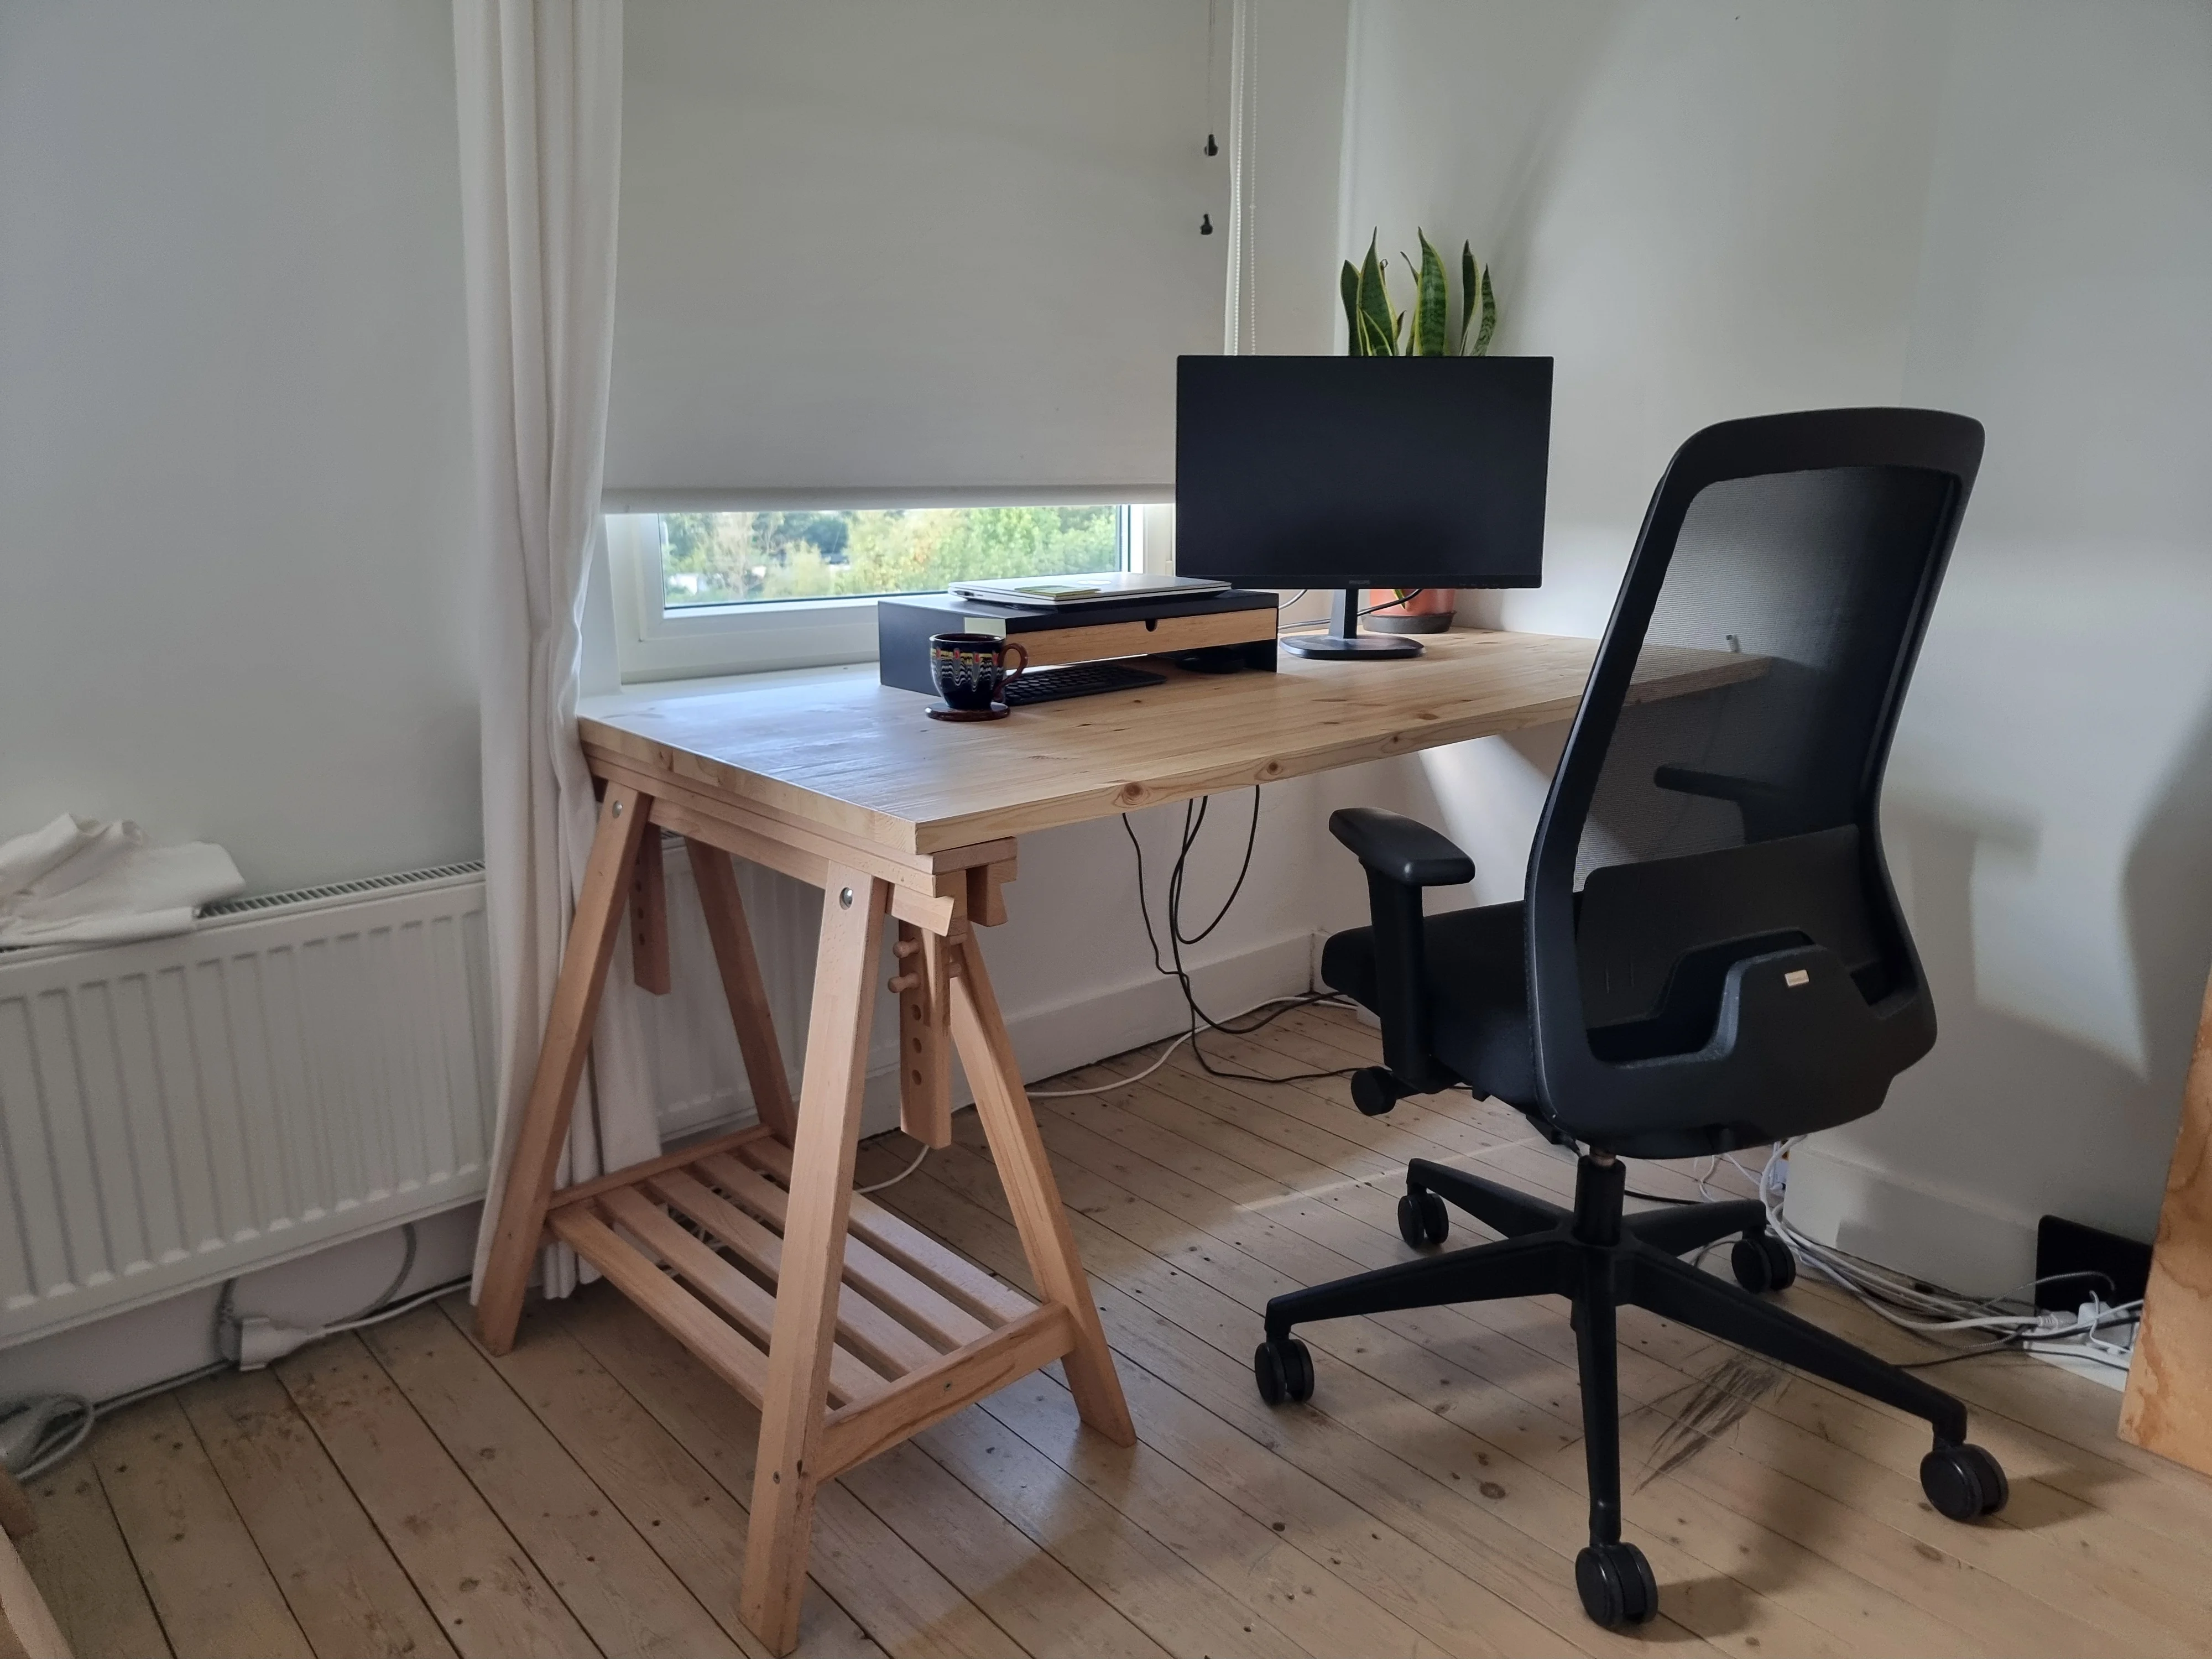
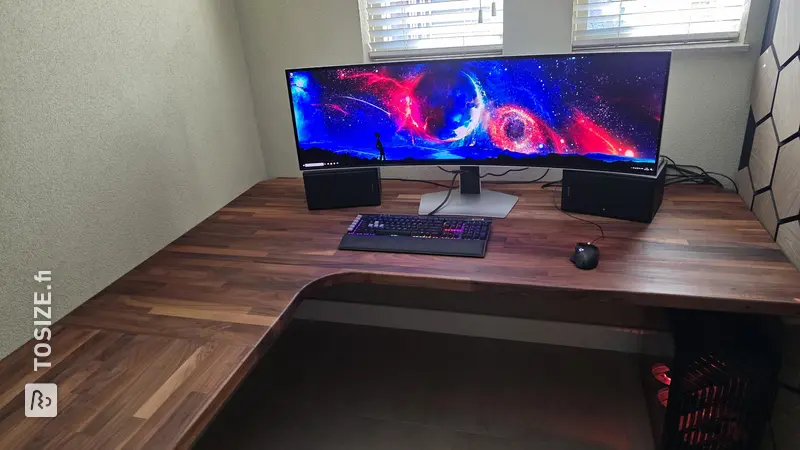
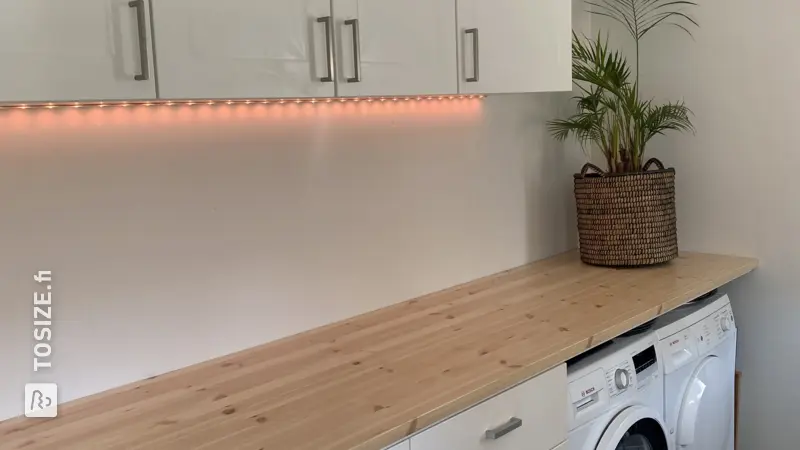
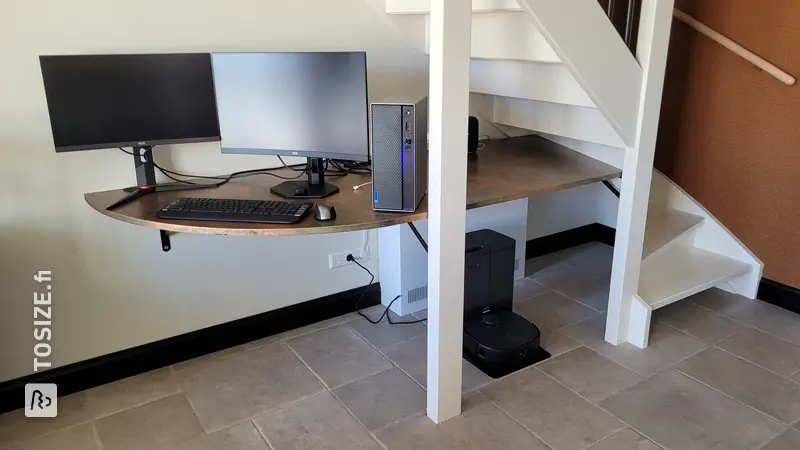
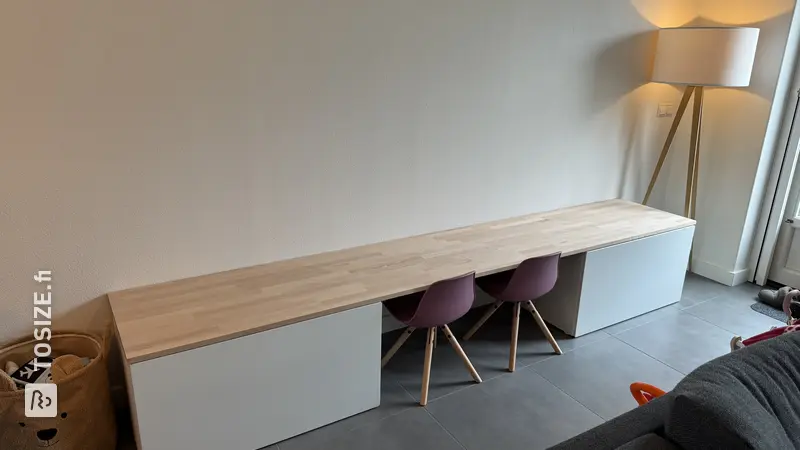
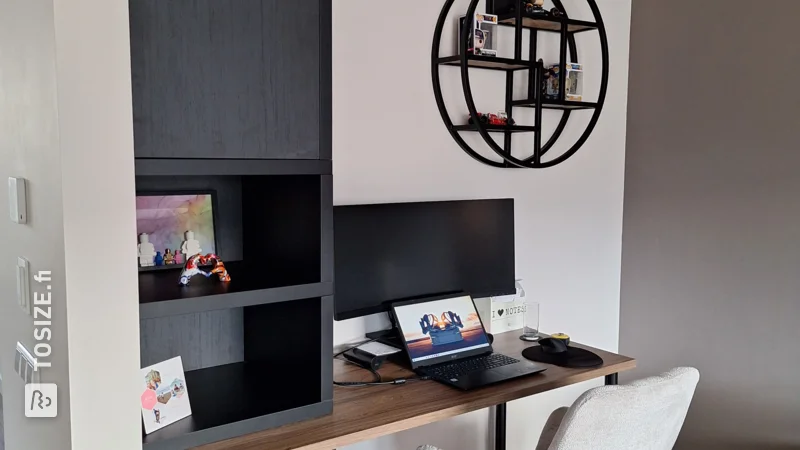
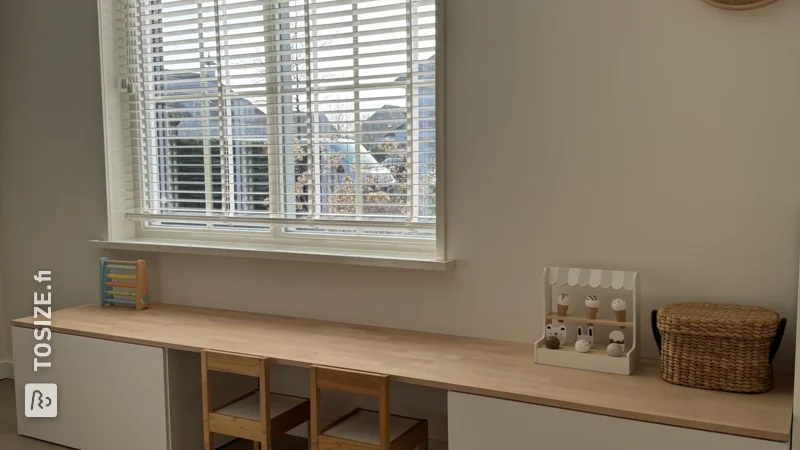
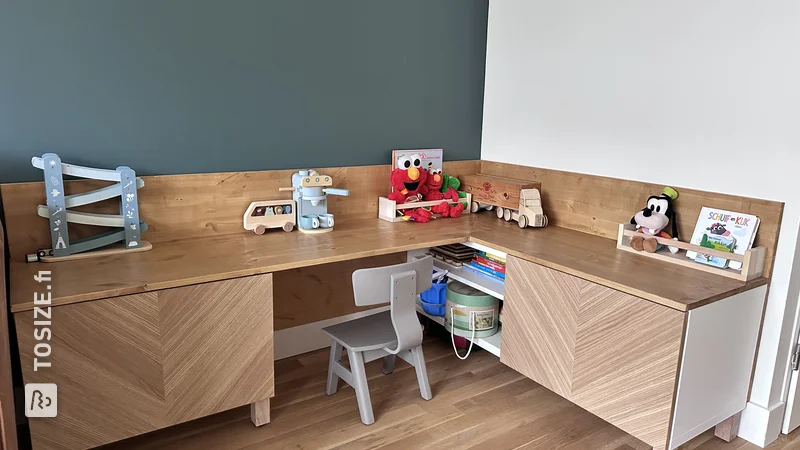
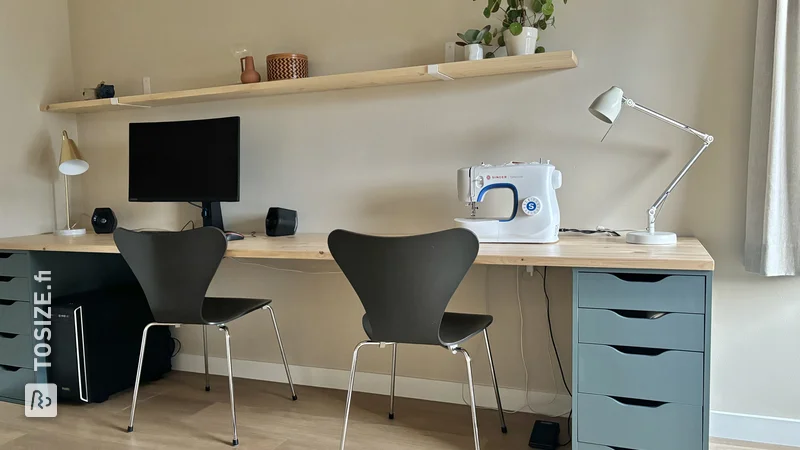
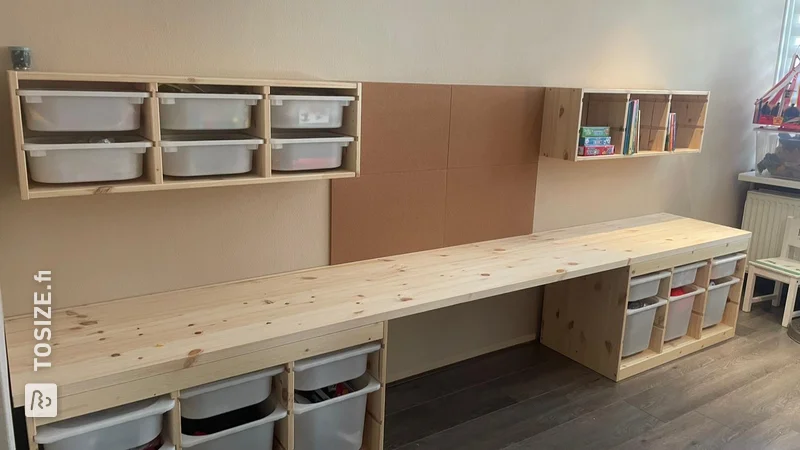
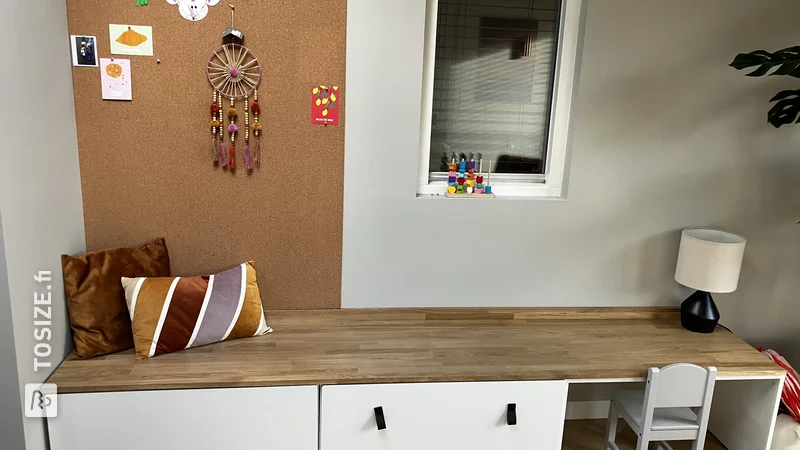
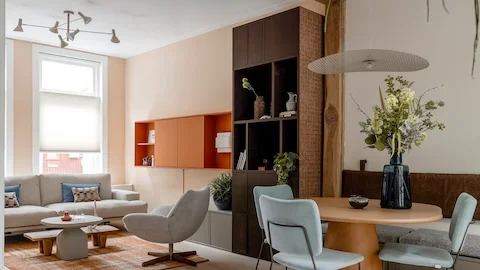
Are you looking for your own workspace but can't find the desk of your dreams? Build your own desk! This way, you can create the ideal workspace so that you stay inspired and motivated all day long. Want to know how to do this? Anne, from the blog interieurvananne, built her own oak desk and described step by step how she did it. She ordered the custom-cut wood from TOSIZE.fi and in no time, she had created a wonderful workspace.
Description by Anne
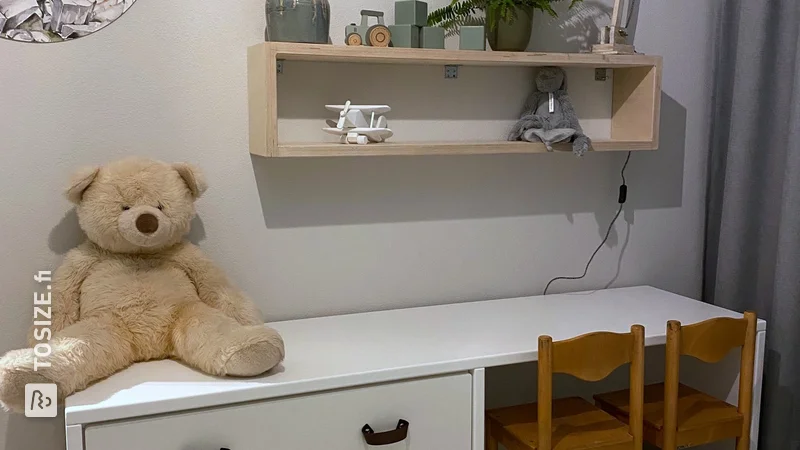
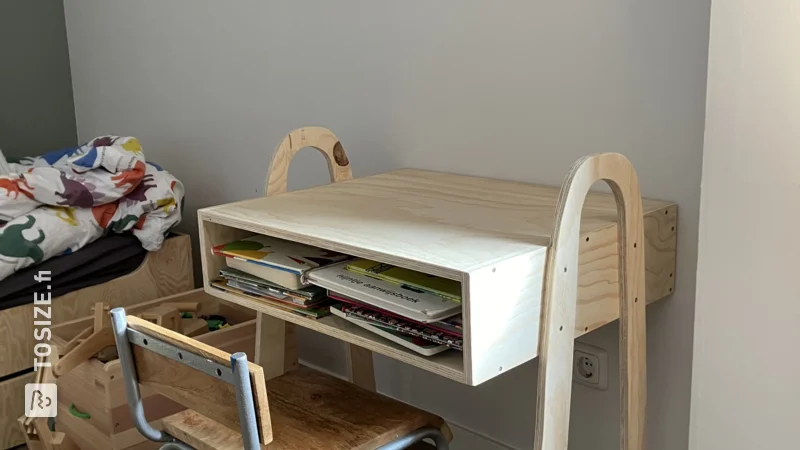
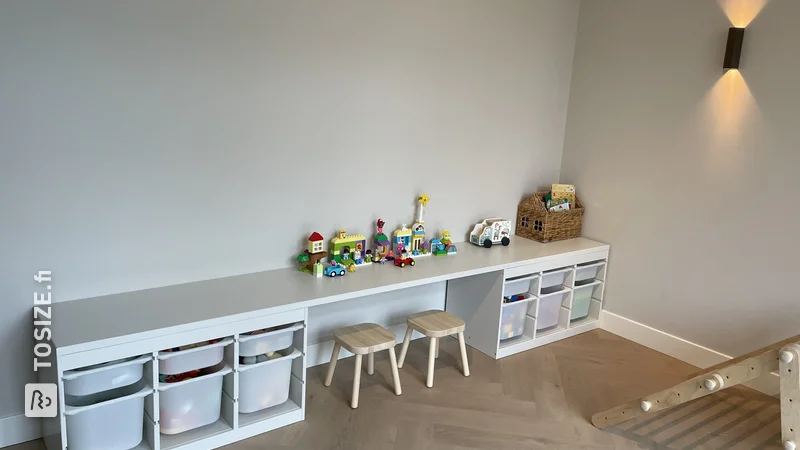
Whether you're a skilled DIYer or not, with Anne’s tips, anyone can make a custom desktop. With the help of TOSIZE.fi, it doesn’t matter what size it is. Whether you want to mount a small floating desk, create a large desktop yourself, simply install a custom-sized desktop, or have another creative idea, Anne’s tips will surely be useful. Are you reading along?
What do you need?
Custom-cut
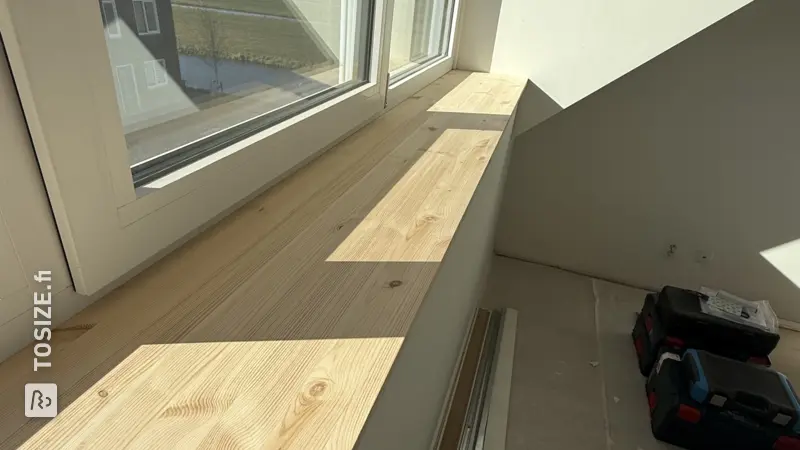
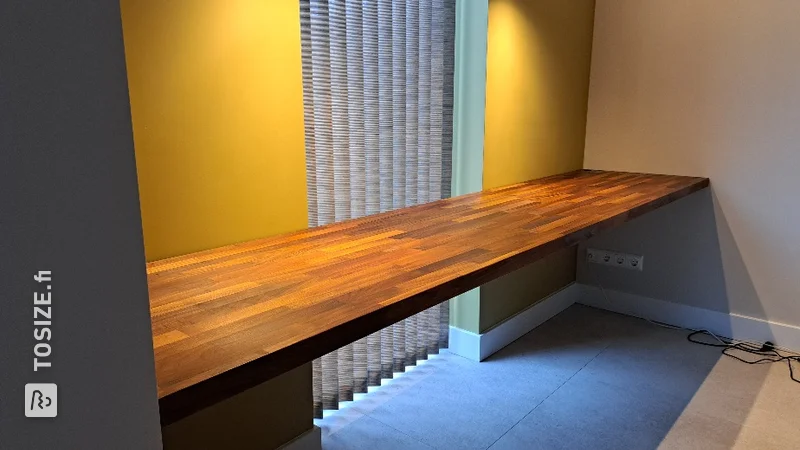
- Solid oak panel - Type: 26 mm, Size: 190.0 x 65.0 cm, Quantity: 1
- Long wooden beams for the support structure - Type: 44x70, Size: 190.0, Quantity: 2
- Short wooden beams for the support structure - Type: 44x70, Size: 65.0, Quantity: 2
Supplies
- Jigsaw
- Hammer drill
- Cordless drill or screwdriver
- Screws + wall plugs for the support system
- Sandpaper
- Folding ruler (or other measuring tape)
- Pencil
Anne’s DIY Step-by-Step Guide
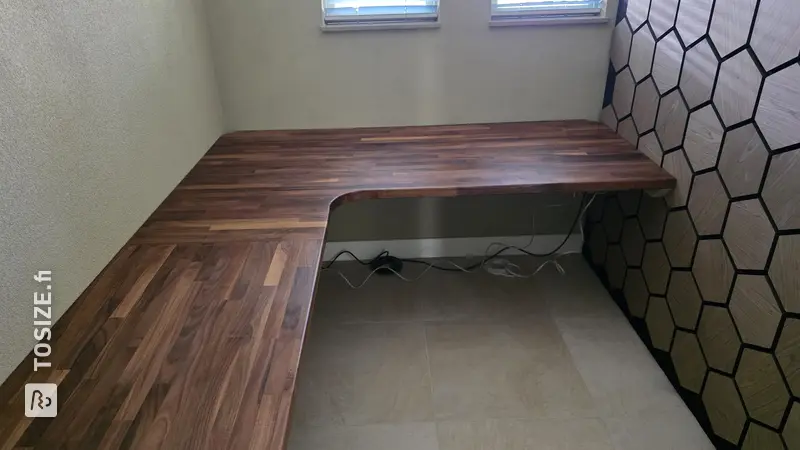
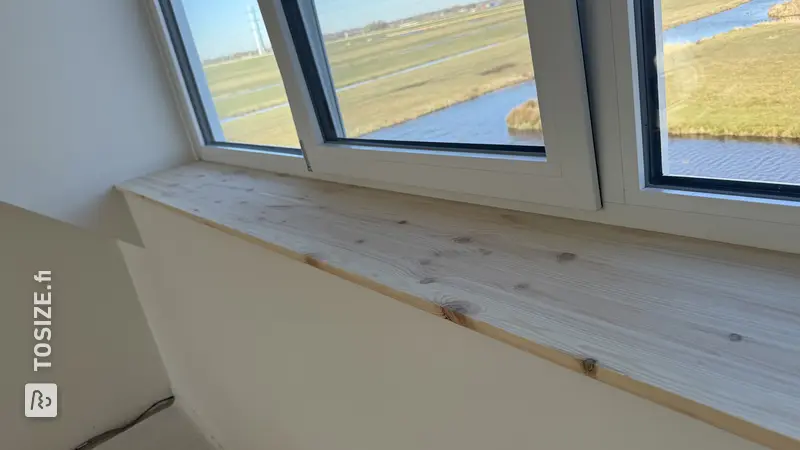
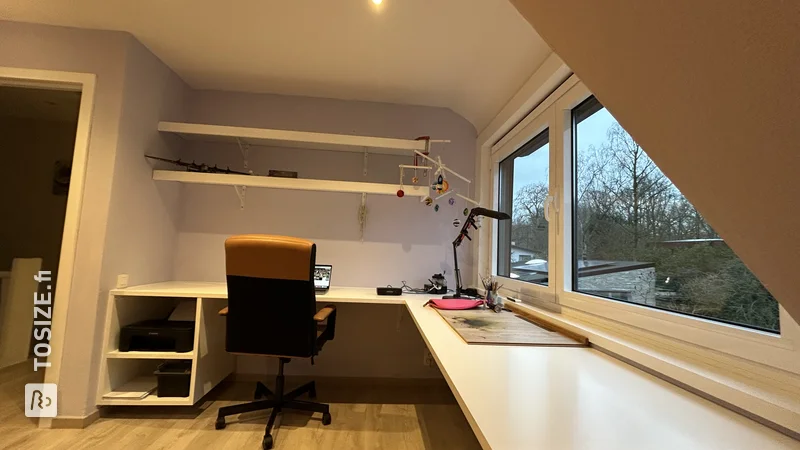
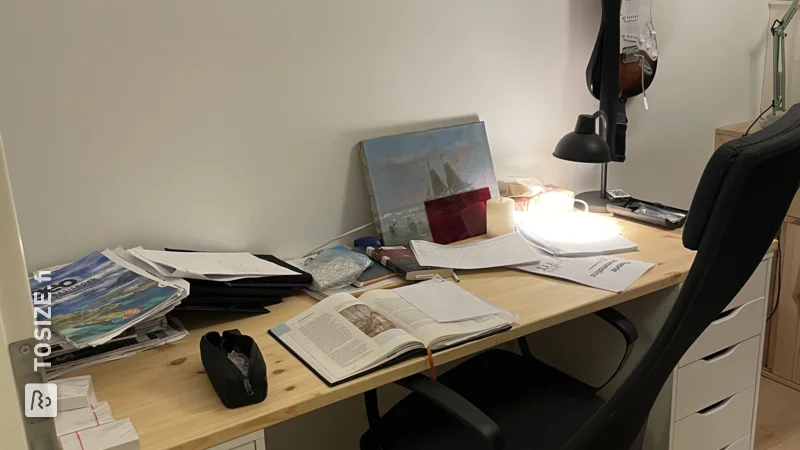
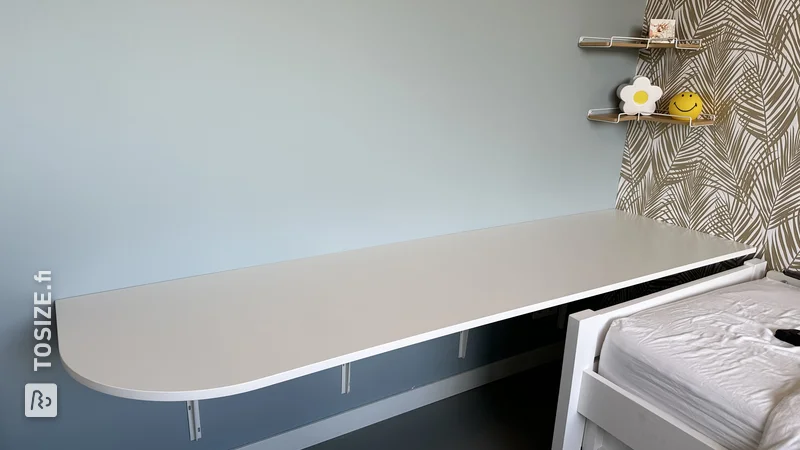
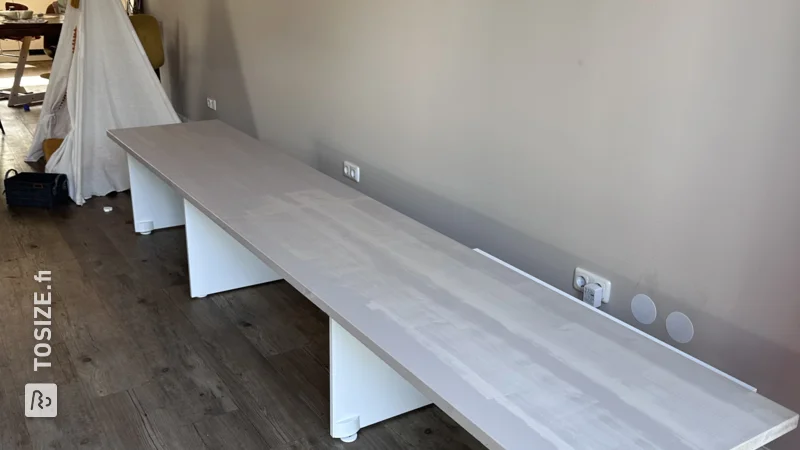
- Prepare the desktop properly. Anne chose to sand it down completely and round off the edges.
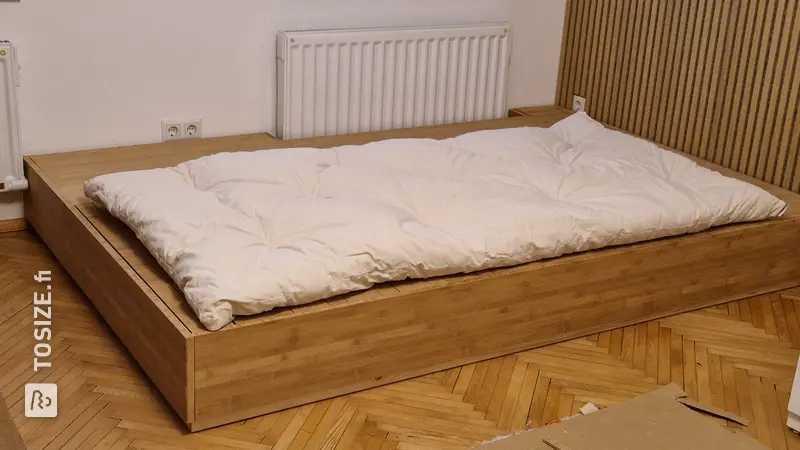
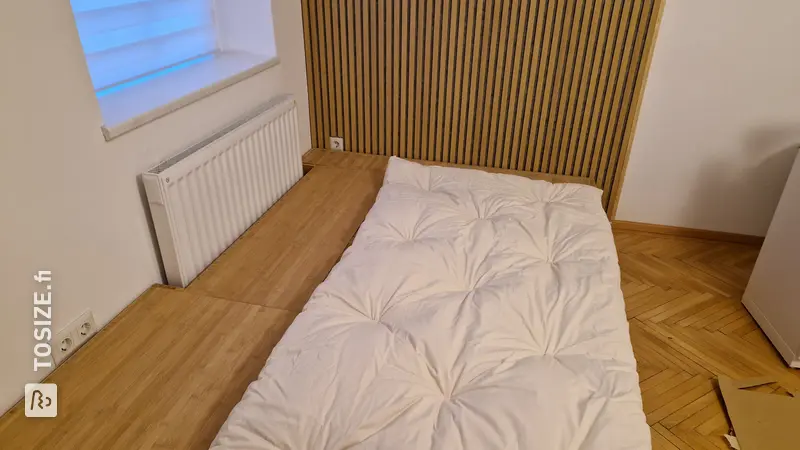
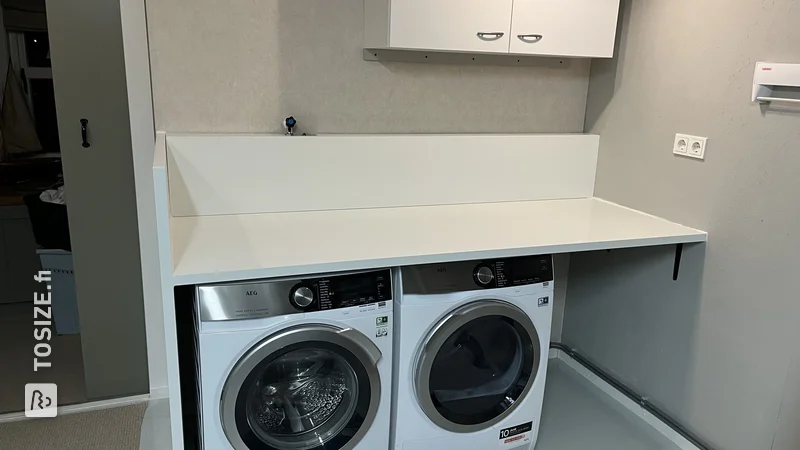
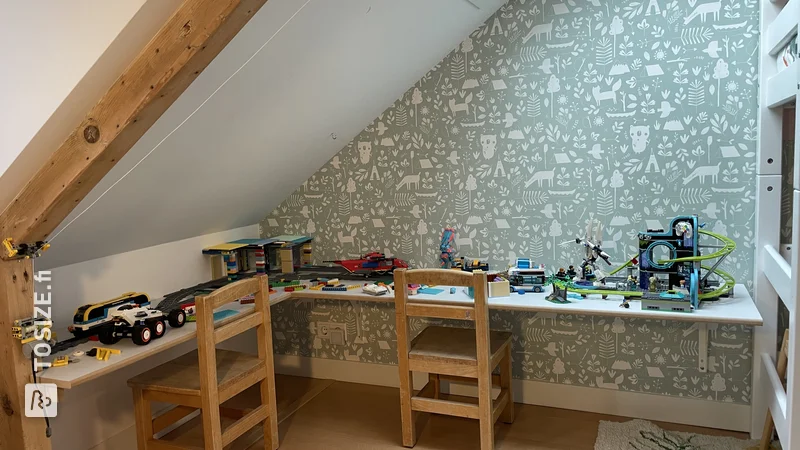
- If applicable: mark where cutouts need to be made. Anne had to make some cutouts with the jigsaw because some pipes were in the way.
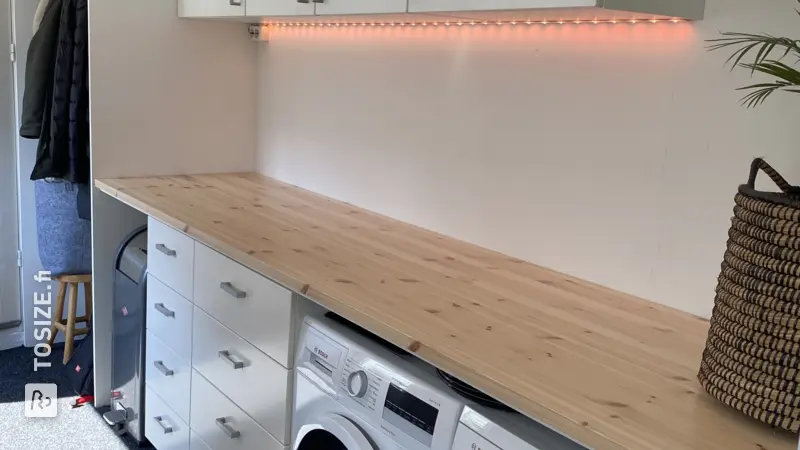
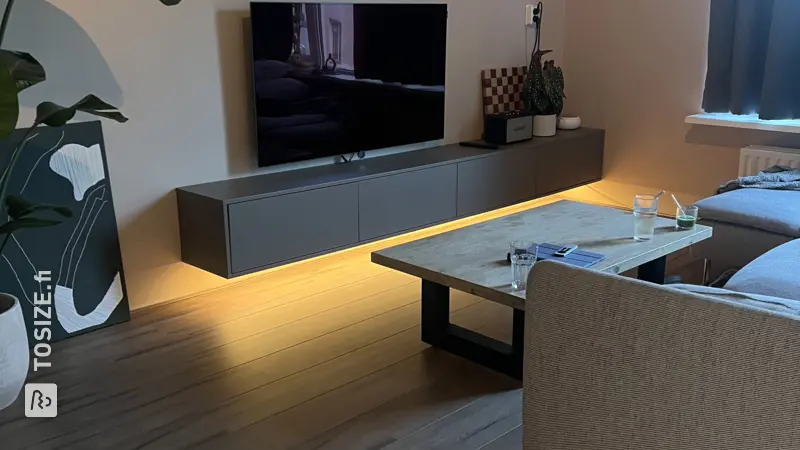
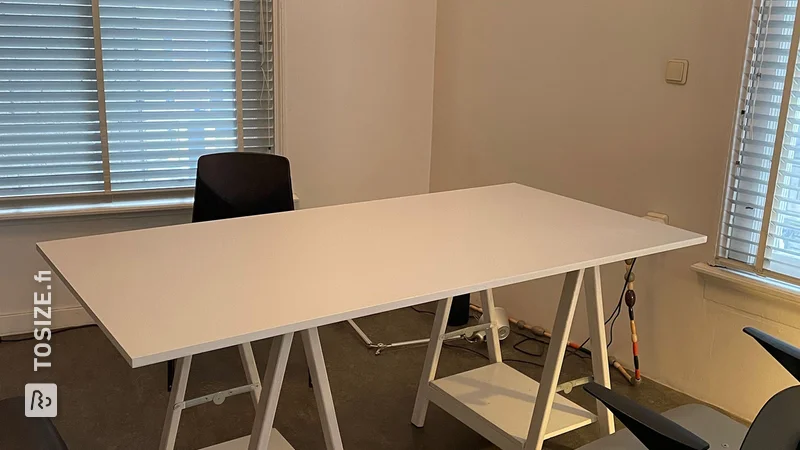
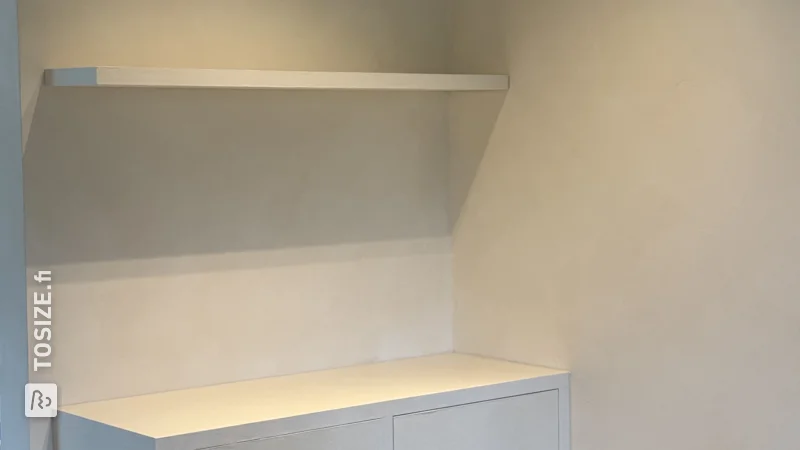
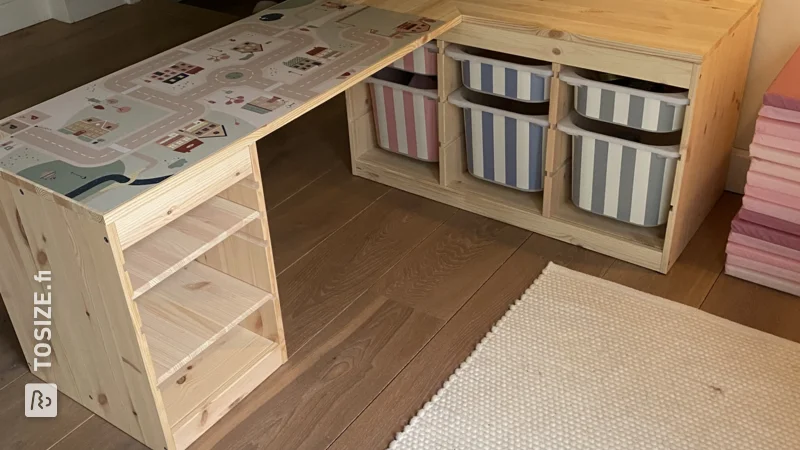
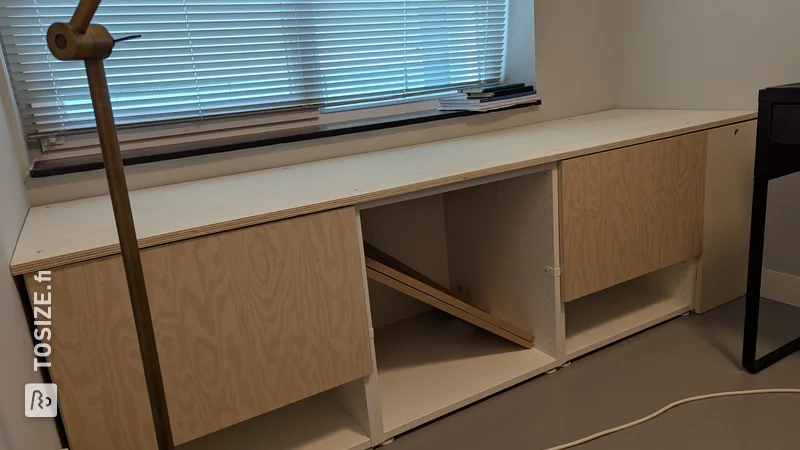
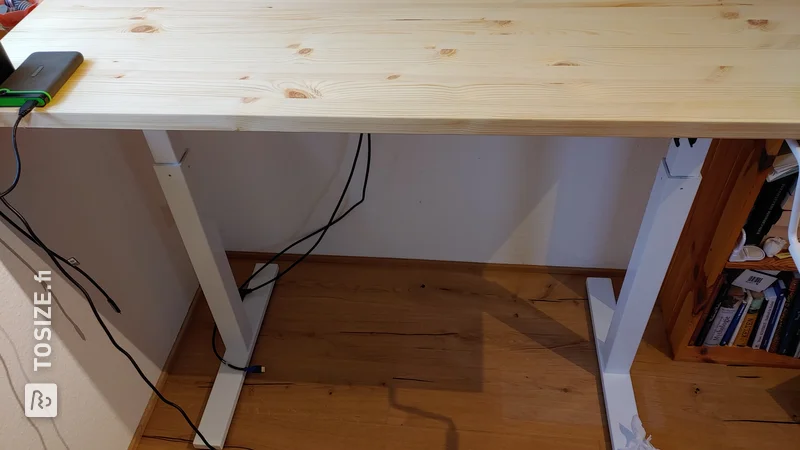
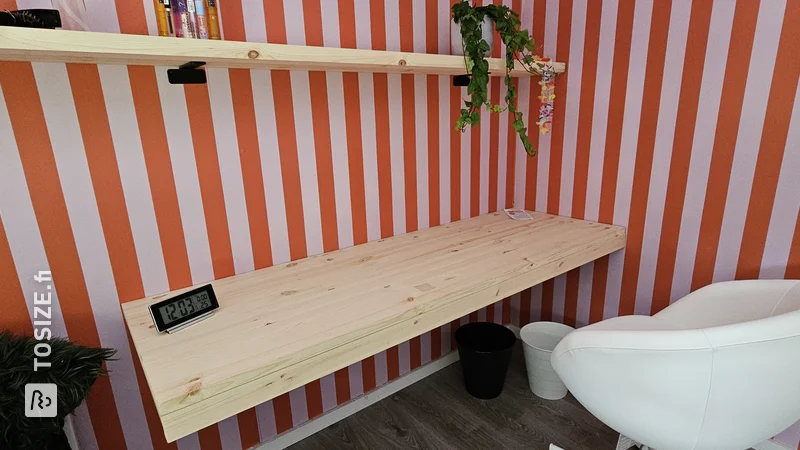
- Build the support structure. Since the desktop is quite heavy, Anne chose to create a sturdy support structure. Using a hammer drill, she mounted two beams horizontally against the wall. She then attached the long beams to these. Easy and practical!
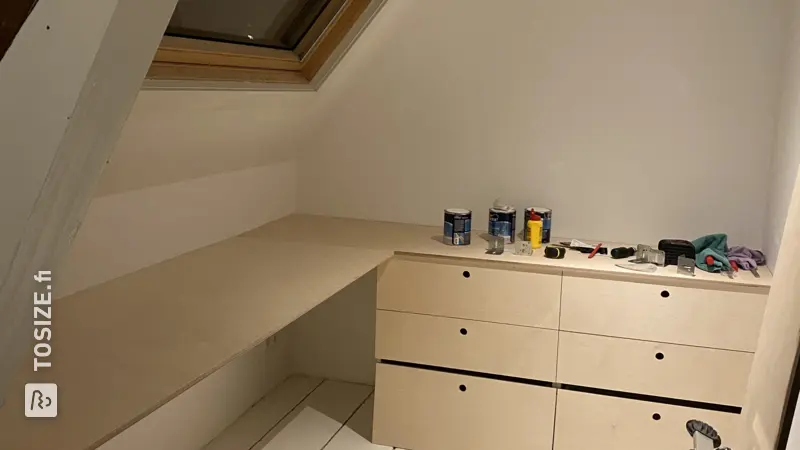
- Mounting the desktop was also smooth. However, it’s recommended to lift the desktop onto the structure with two people. Unless you’re really strong.
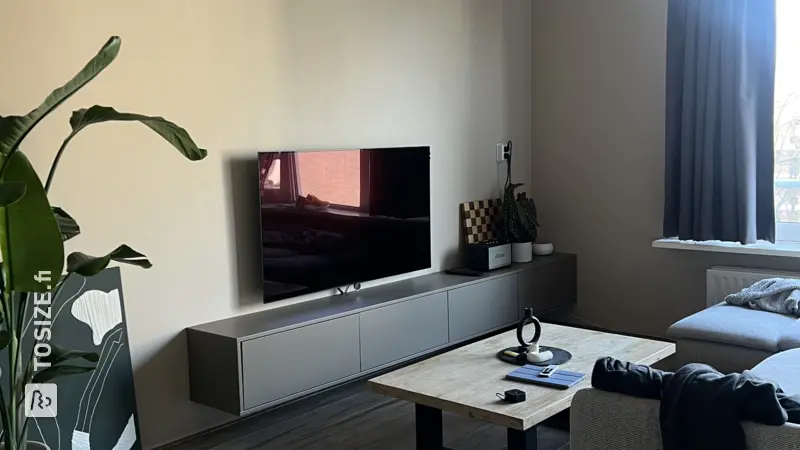
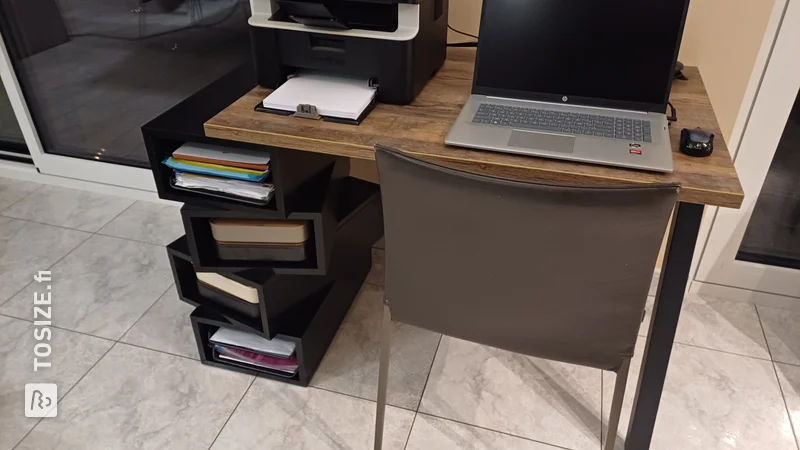
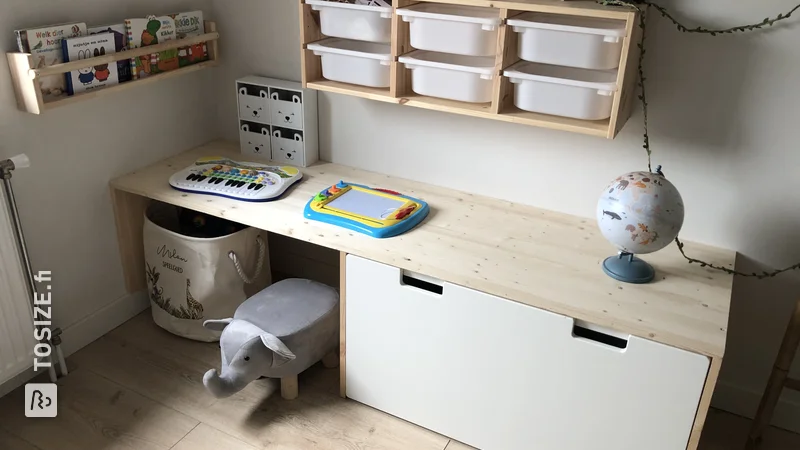
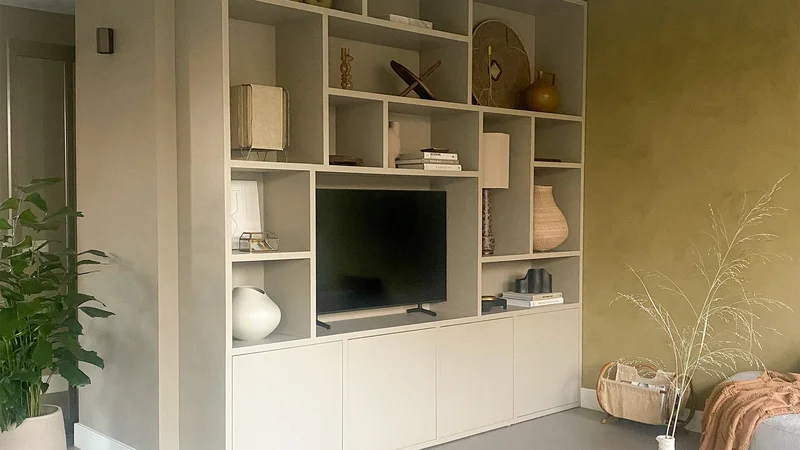
- And voilà... the decorating can begin!
Dimensions of my DIY project
190.0 x 65.0 cm
Tip! Also check out our handy DIY tips!
What now?
This is a project for inspiration. Because our assortment has changed, (some of) the products are no longer available.
View all sheet materials