- TOSIZE.fi
- Do it yourself
- DIY Projects
Making a structure for an existing wardrobe in the attic, by Anne
Making a structure for an existing wardrobe in the attic, by Anne
Create this project yourself with sheet material cut to size by TOSIZE.fi!
Anne
Very easy
1 minute
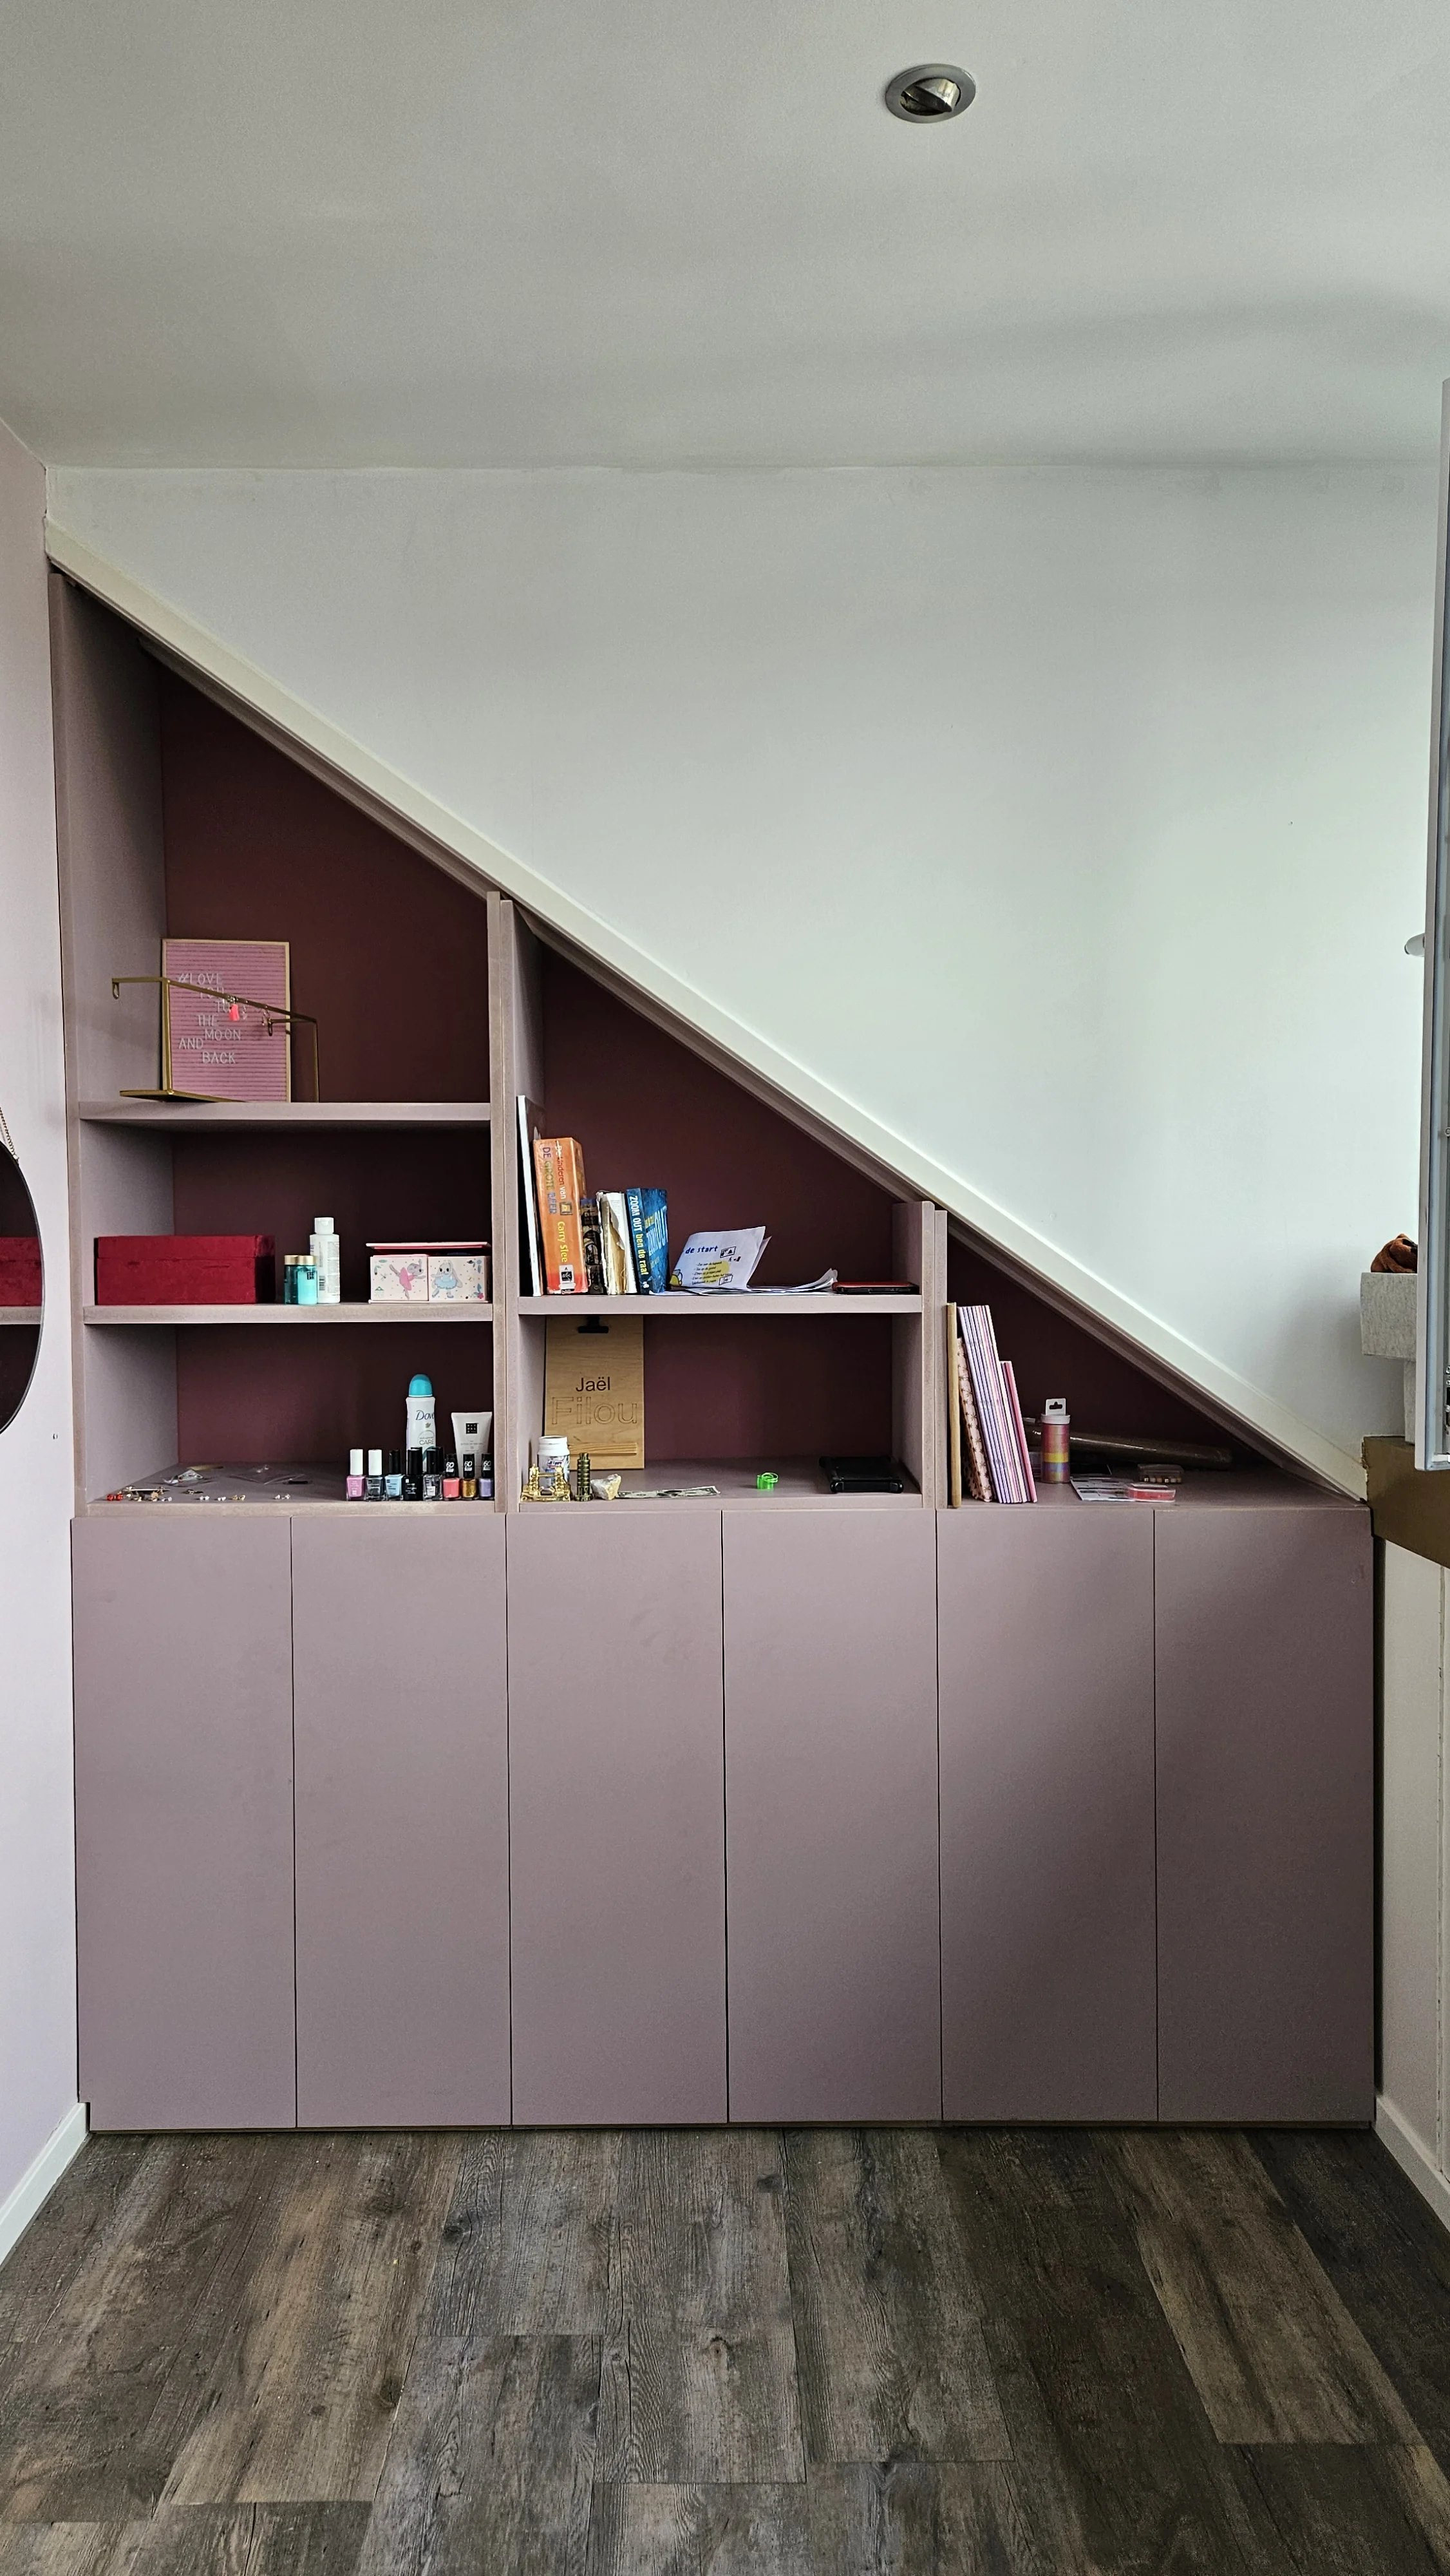
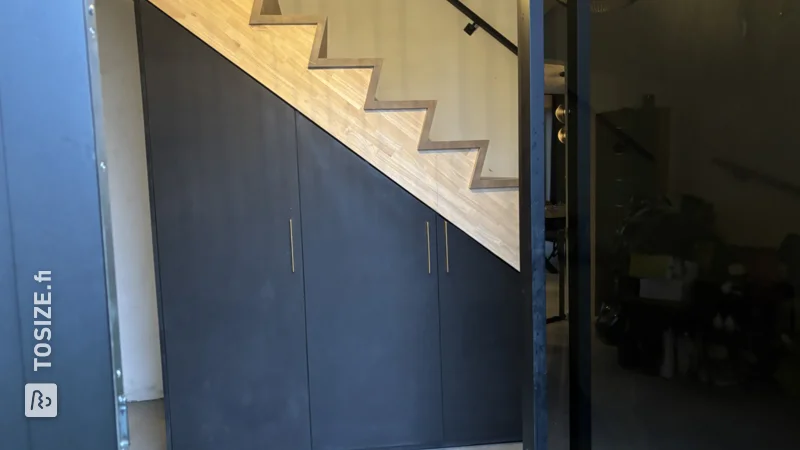
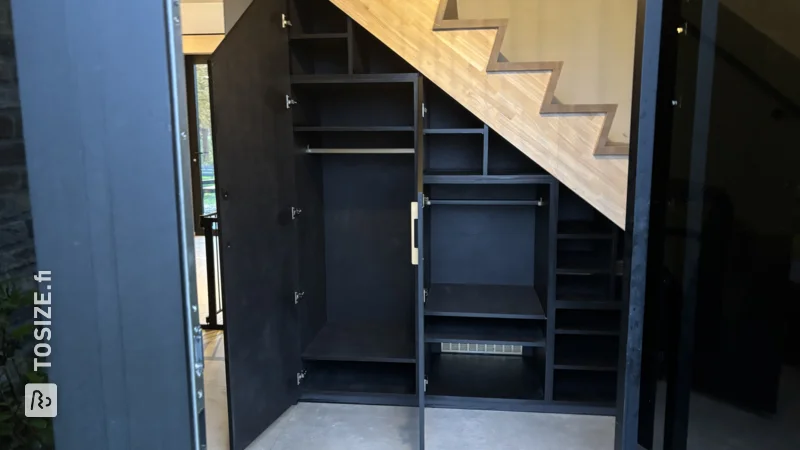
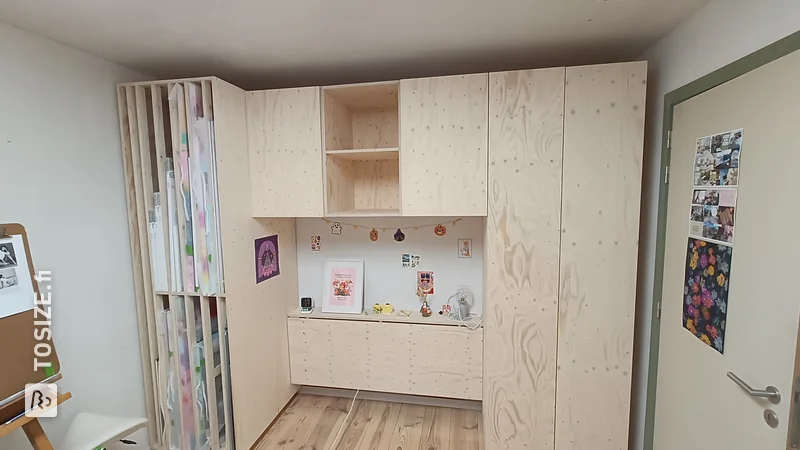
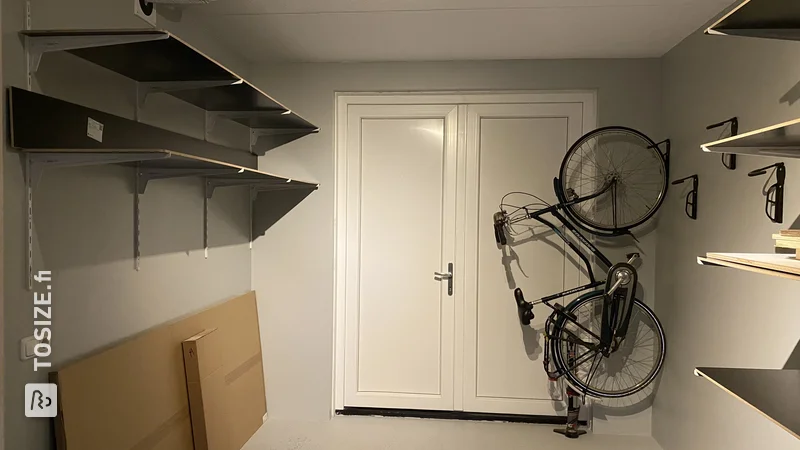
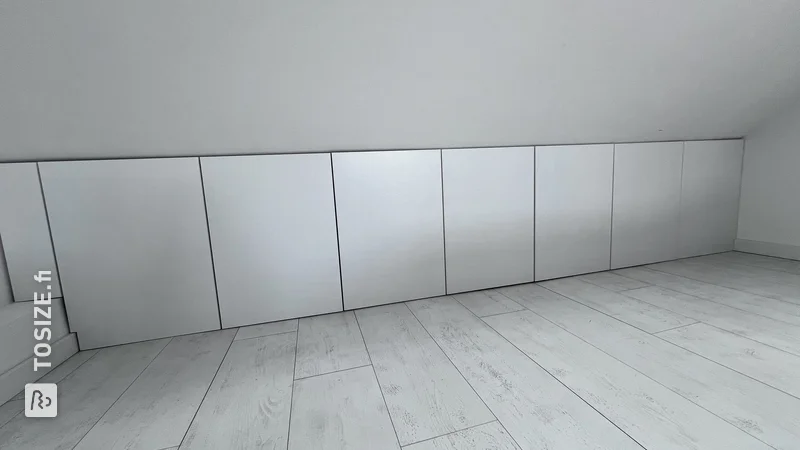
Anne shares her handy DIY project on our blog, in which she creates a smart structure for an existing wardrobe in the attic. Her explanation provides you with tips and instructions, so that you can get started to make optimal use of the space in your home. Discover how you can create a functional solution with simple adjustments to keep your clothes and belongings organized in the attic.
Description by Anne
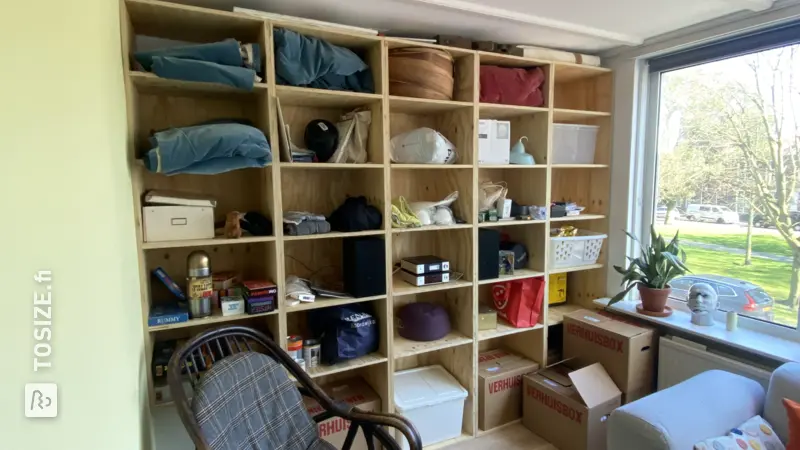
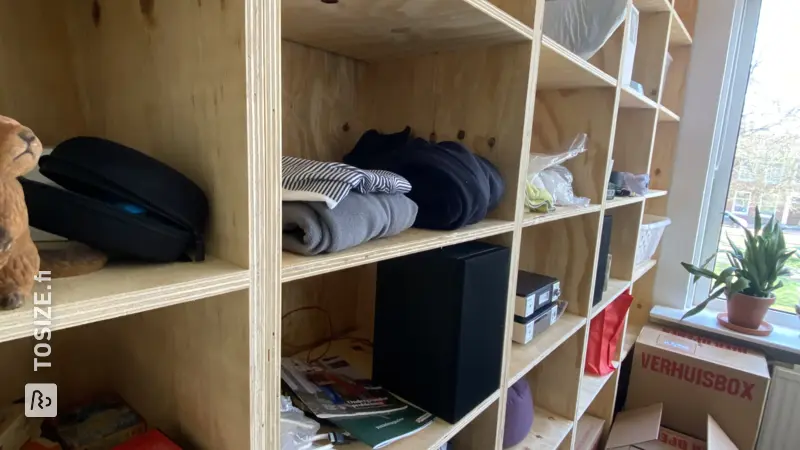
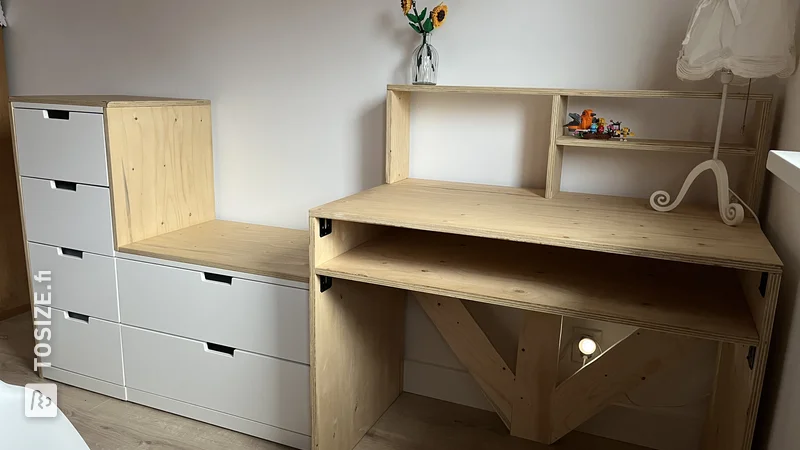
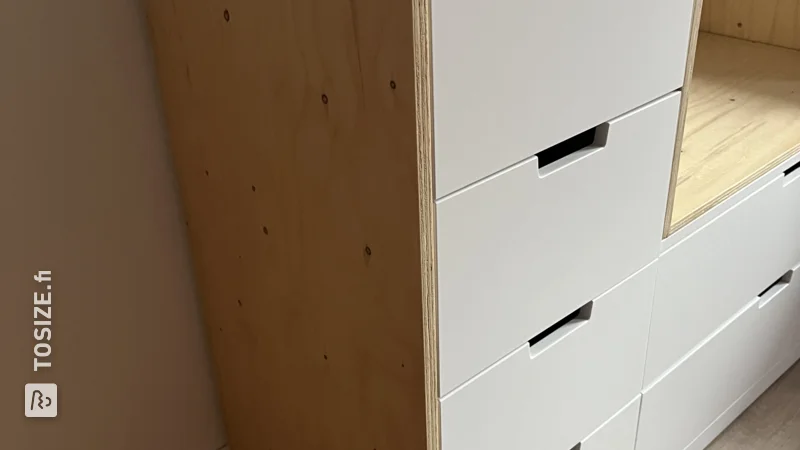
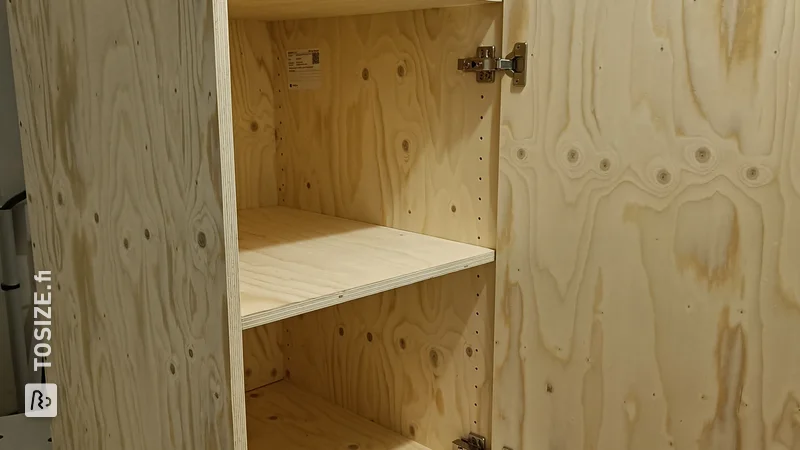
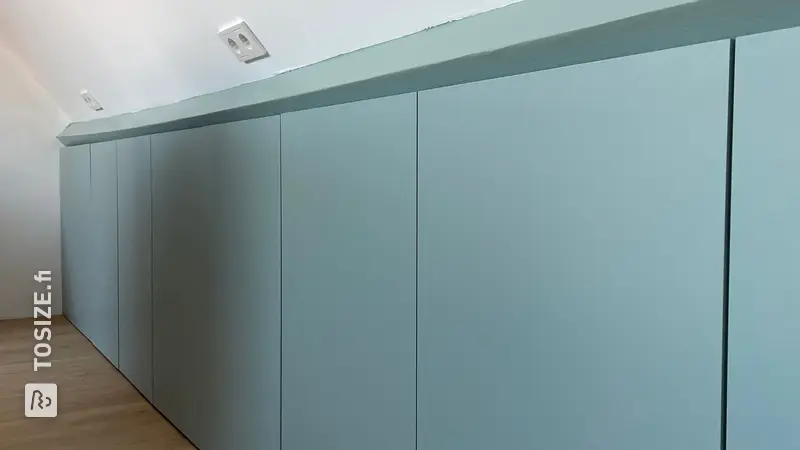
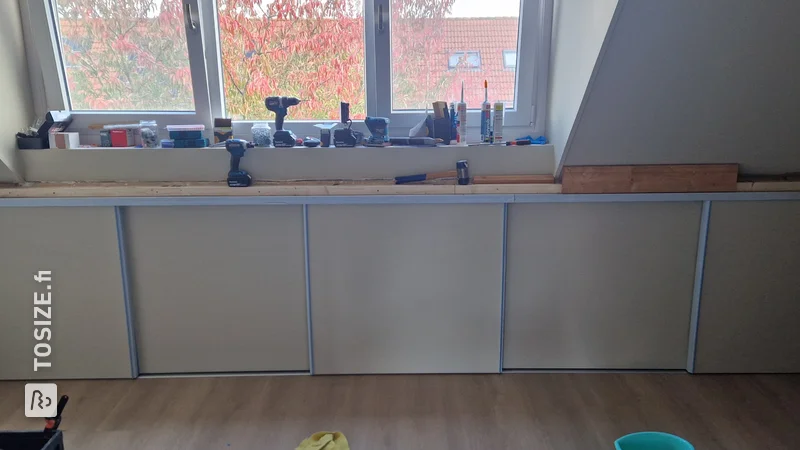
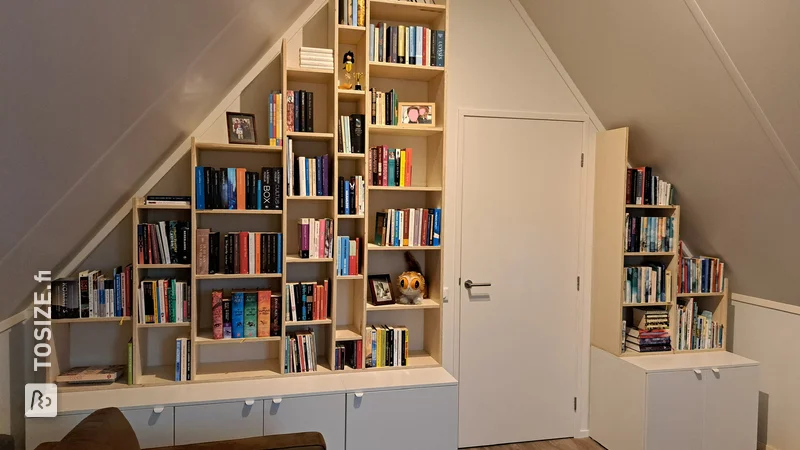
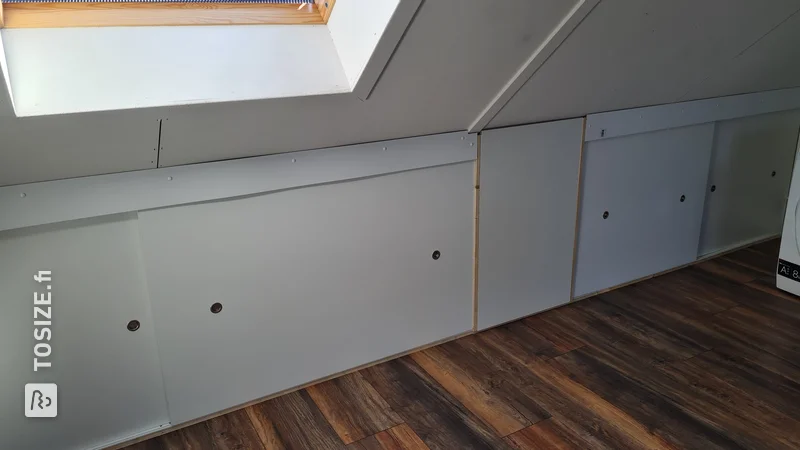
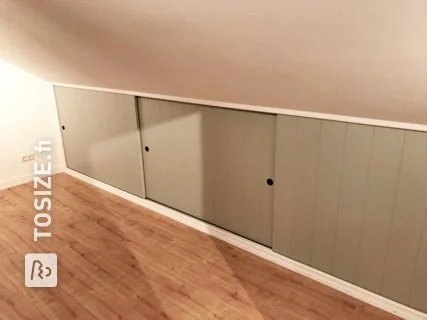
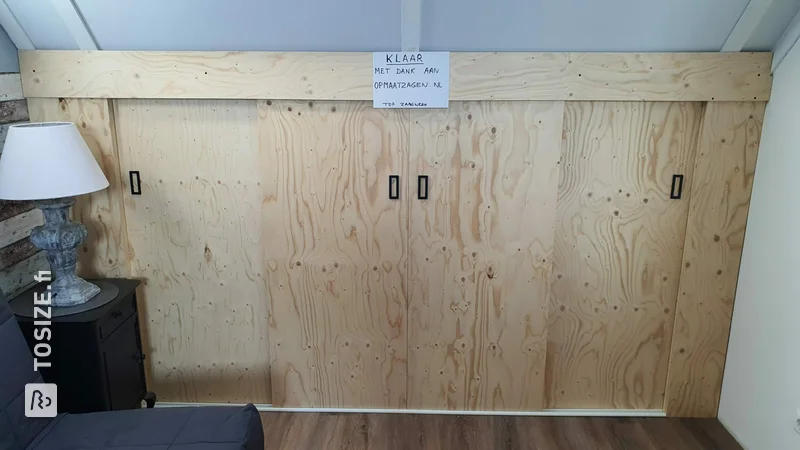
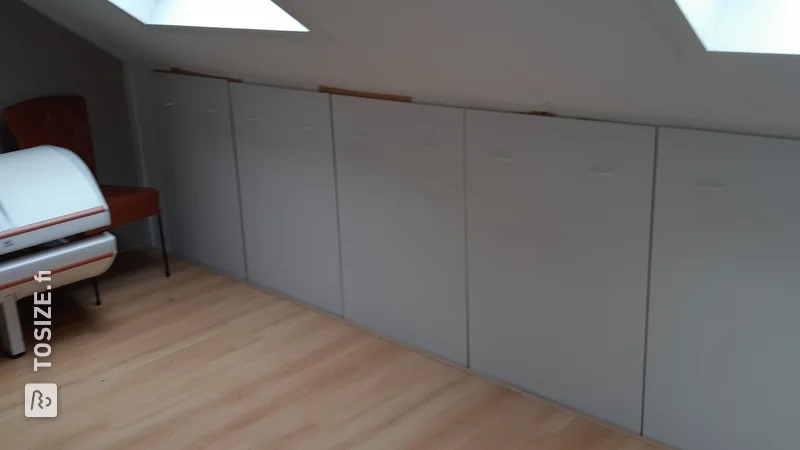
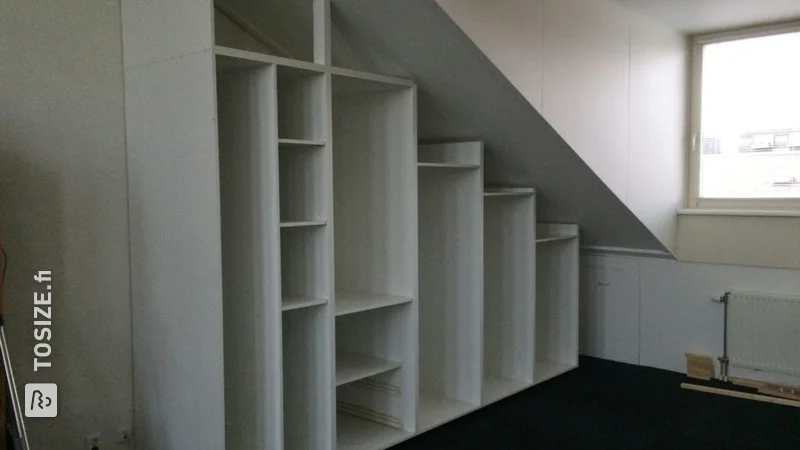
A structure on the wardrobes in the attic. So that the cupboard fits nicely under the sloping roof and partly in the dormer window. The structure has no bottom.
How I made this project
Everything was first sanded, primed and varnished. Then glued the shelves and placed them on the cupboard. The job was completed quickly because everything was cut to size via TOSIZE.fi. I opted to glue everything instead of screws because of the possible splitting of the plates. This connection is strong enough as the whole is properly clamped to the cupboard against the sloping roof. Finally, add spots for finishing and finishing touches.
Dimensions of my DIY project
142.0 cm by 55.0 cm
Tip! Also check out our handy DIY tips!
What now?
Want to make this DIY project? Check out Anne's saw list and complete your order easily.
92,27 €
All materials used
View all sheet materials