- TOSIZE.fi
- Do it yourself
- DIY Projects
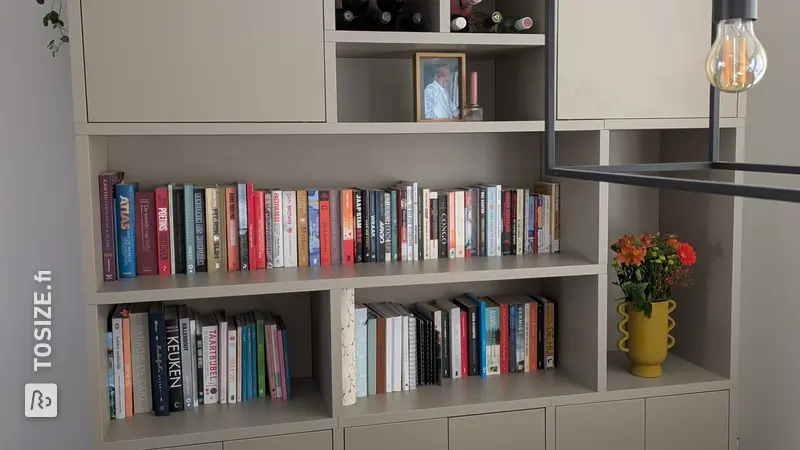
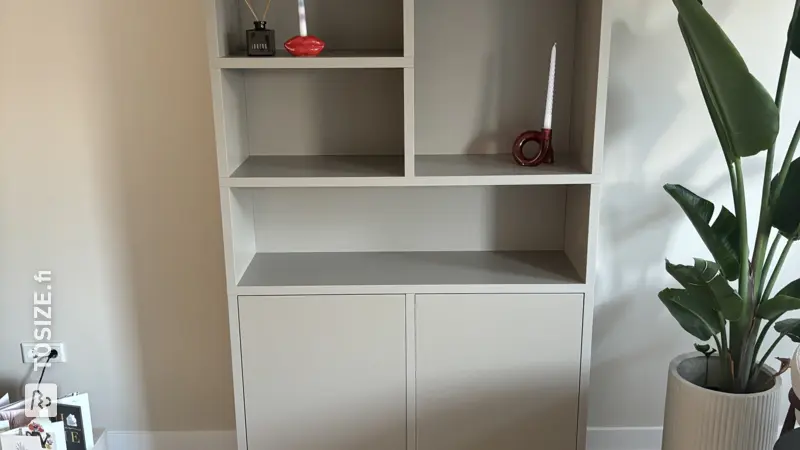
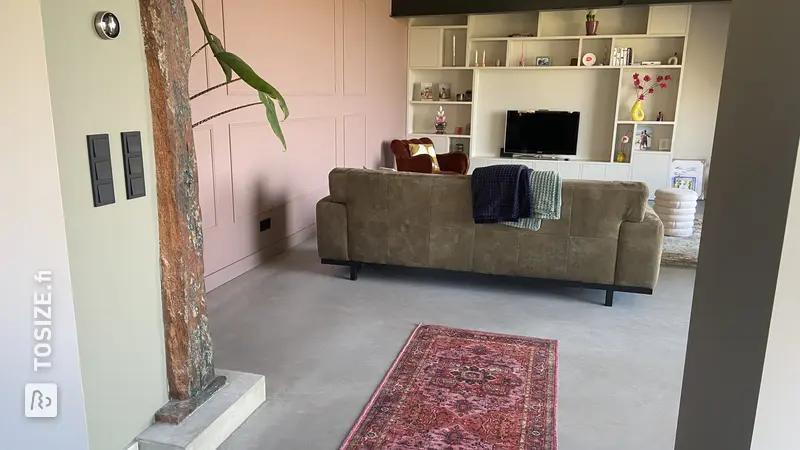
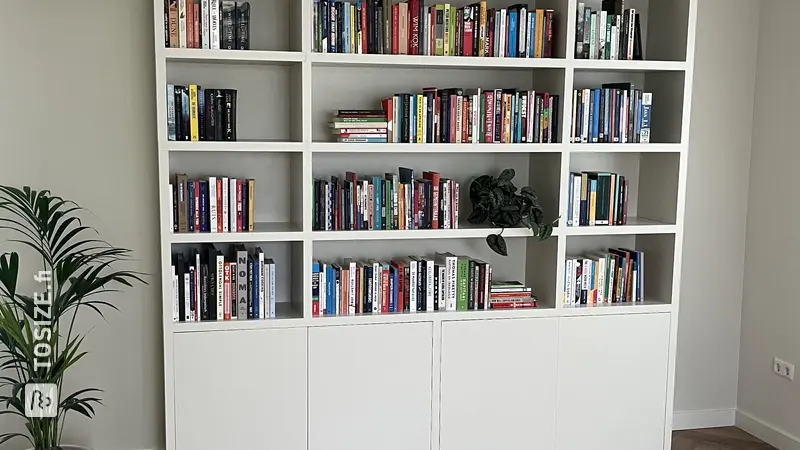
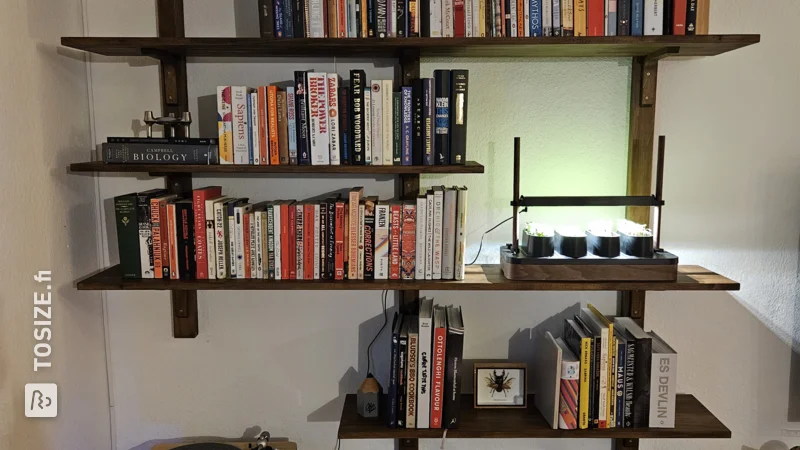
Shelving unit with bookcase, by Peter


Create this project yourself with sheet material cut to size by TOSIZE.fi!
Peter
Average
2 minutes
Description
Work description: how did you realize your project
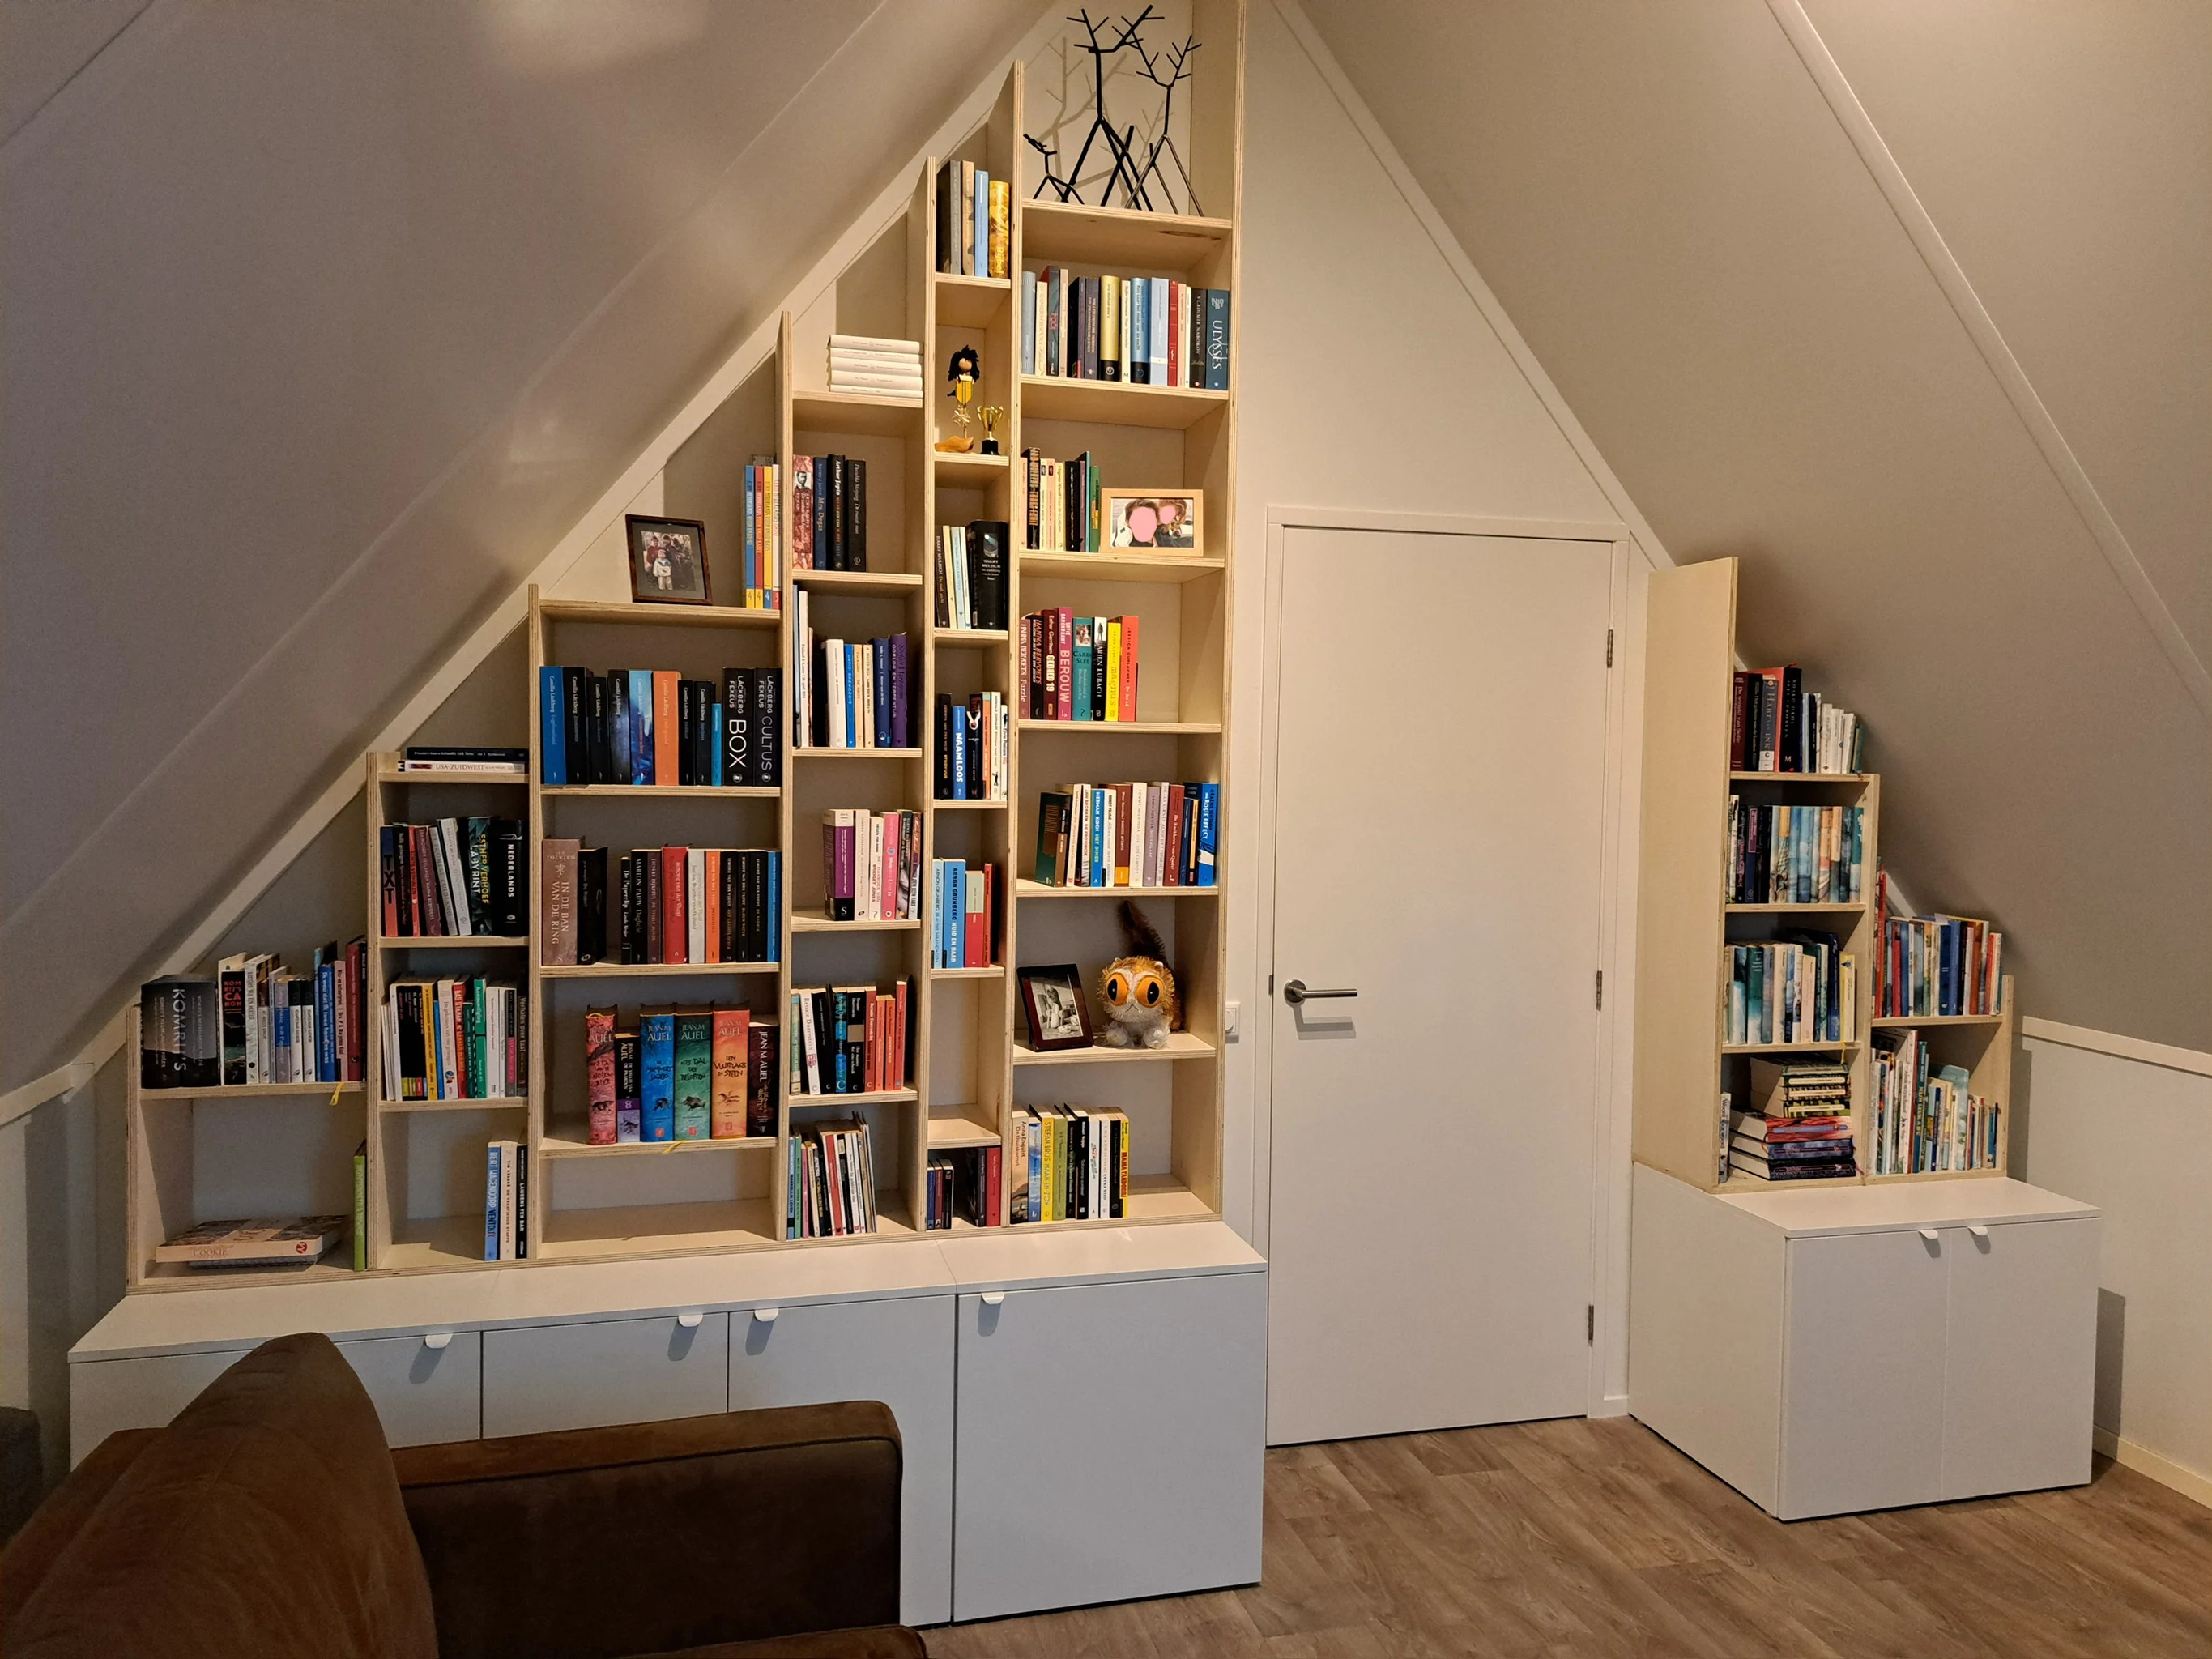
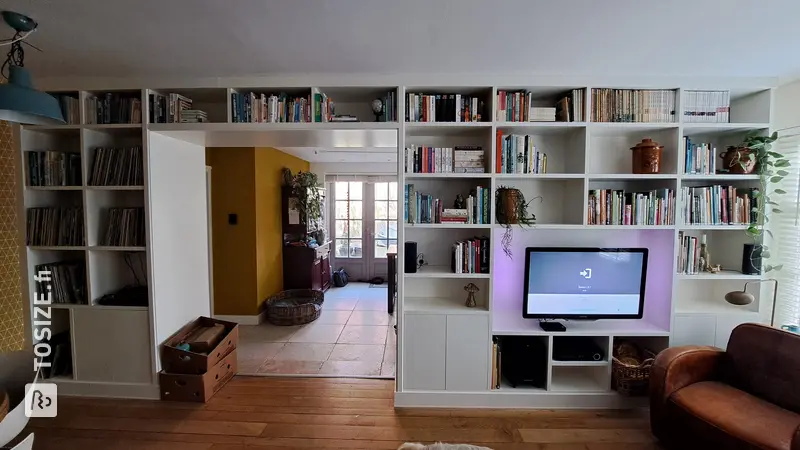
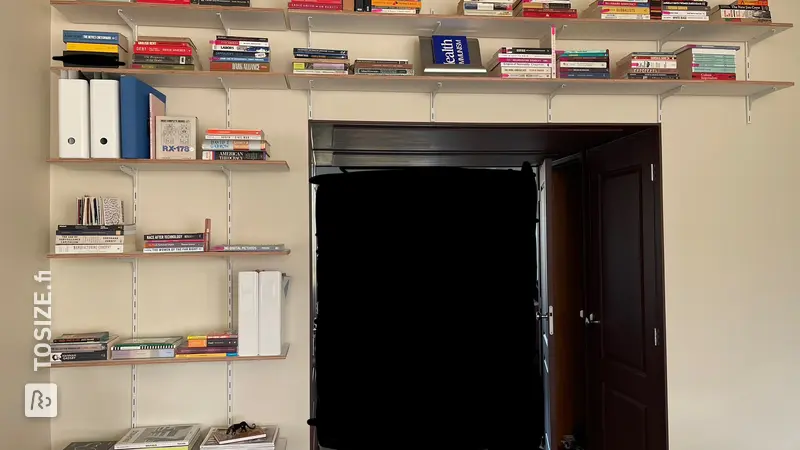
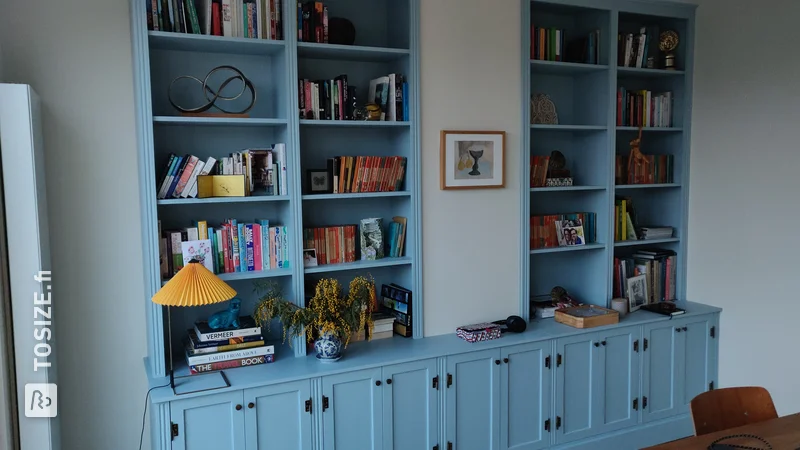
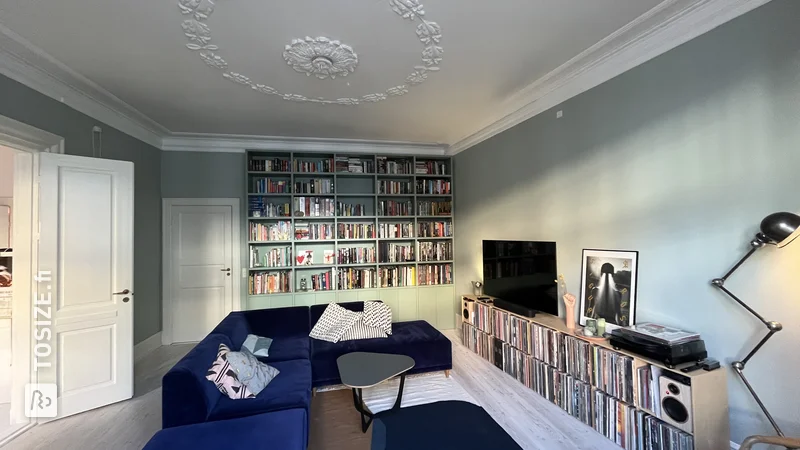
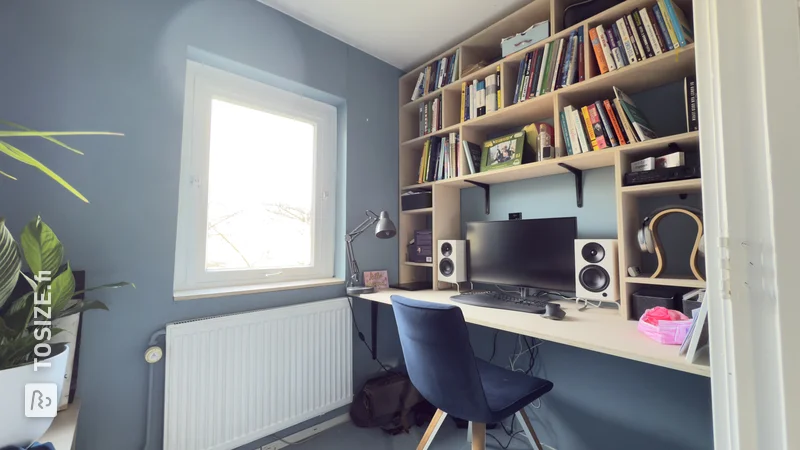
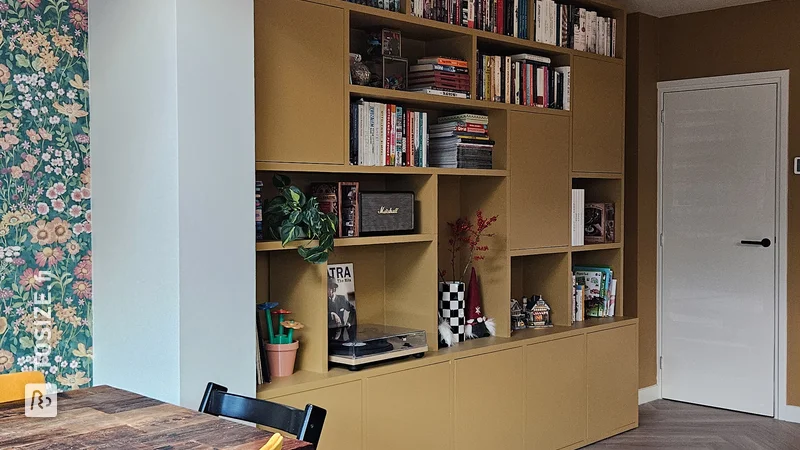
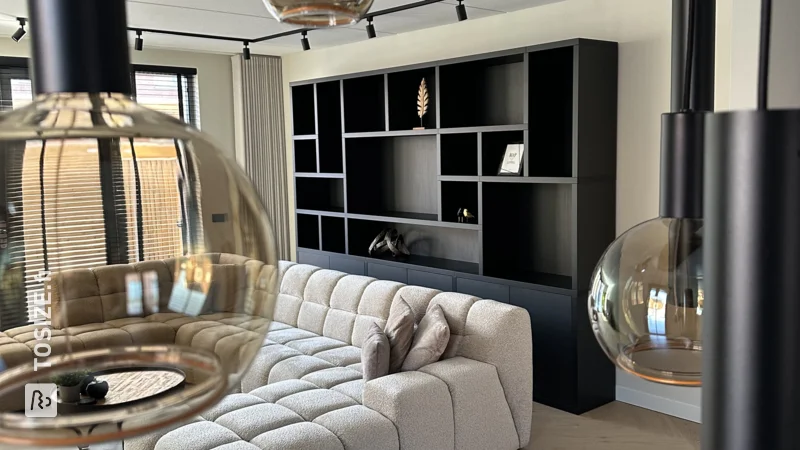
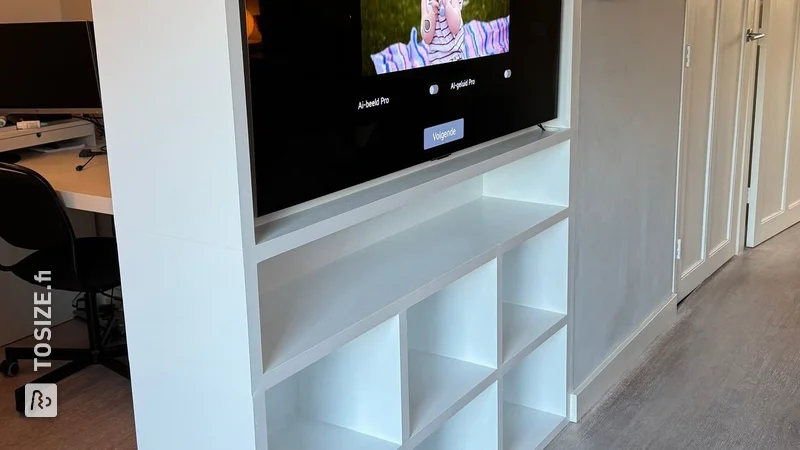
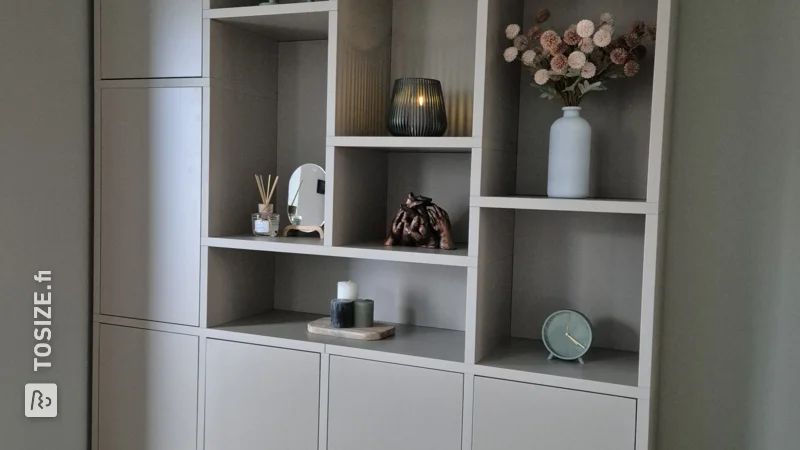
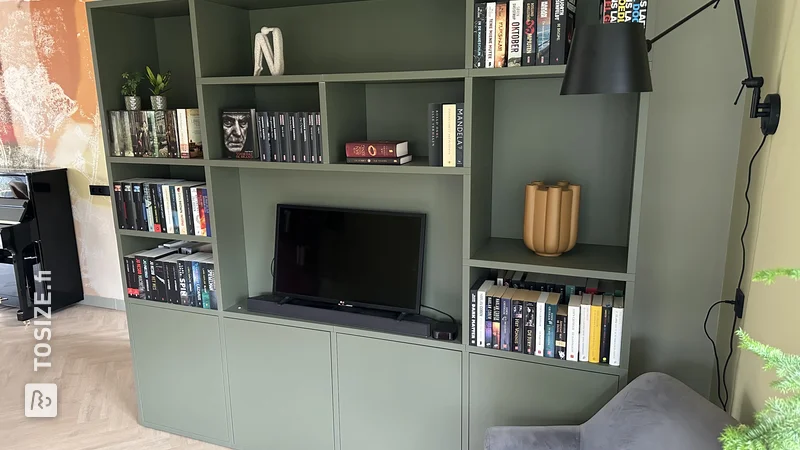
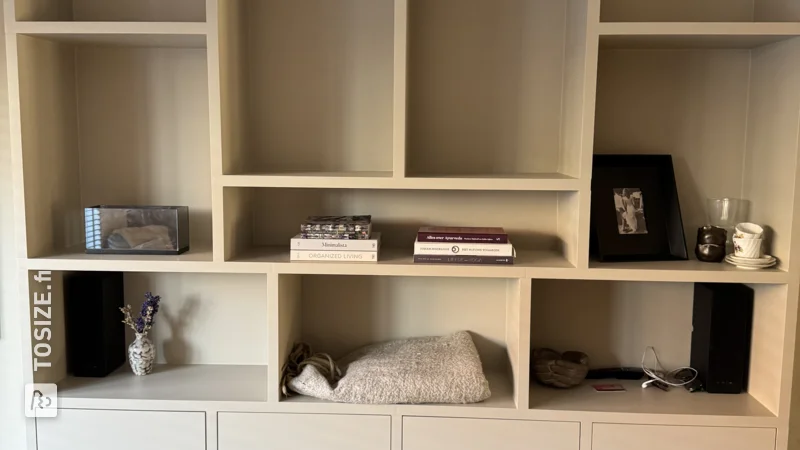
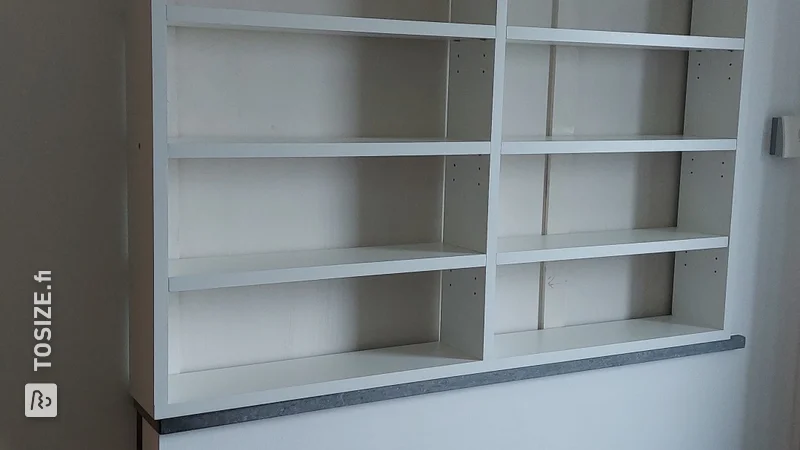
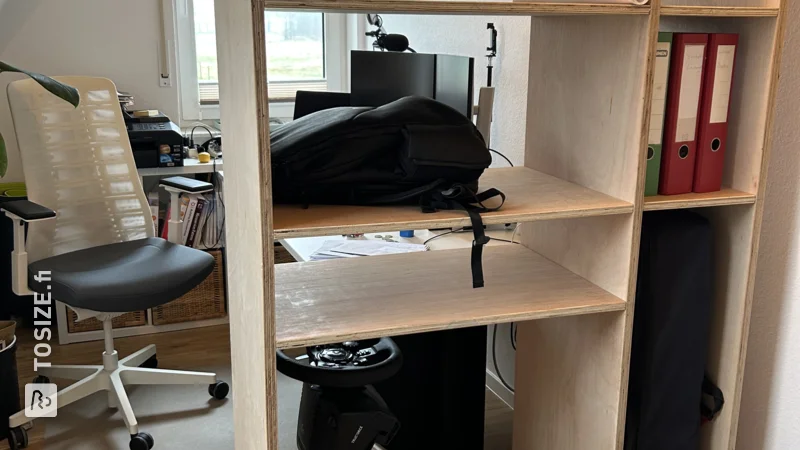
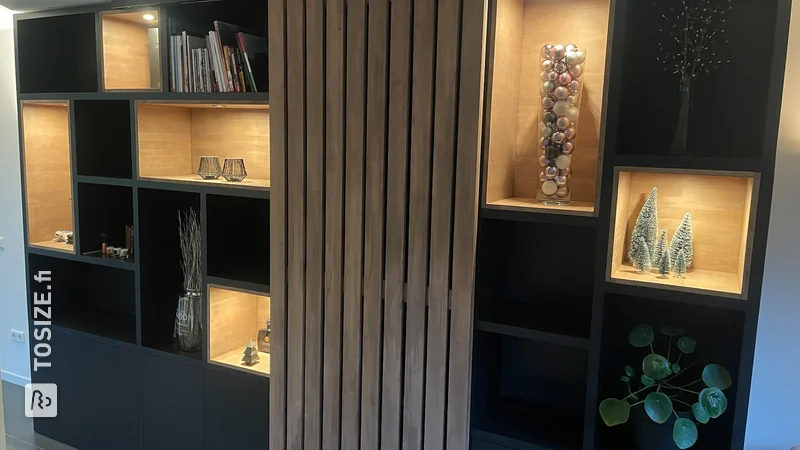
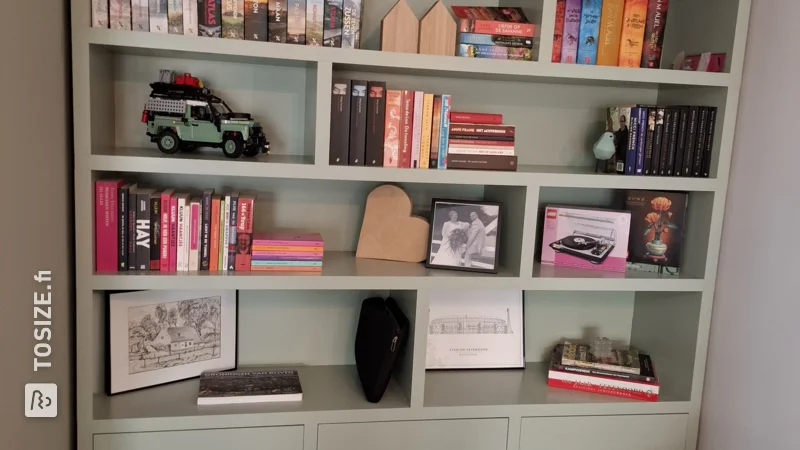
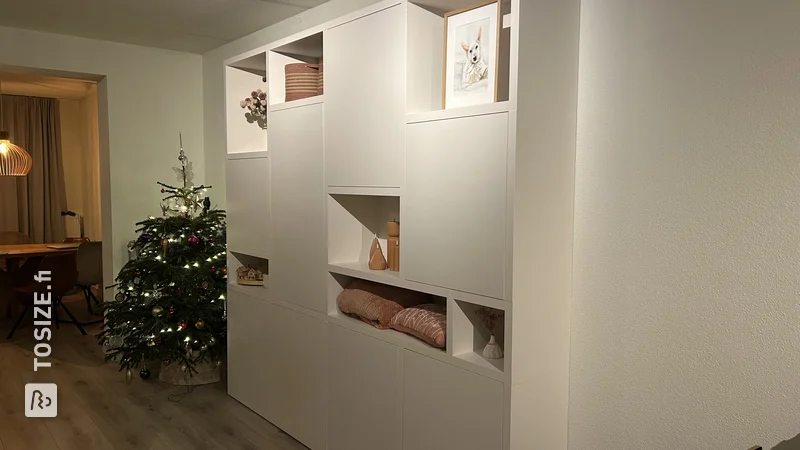
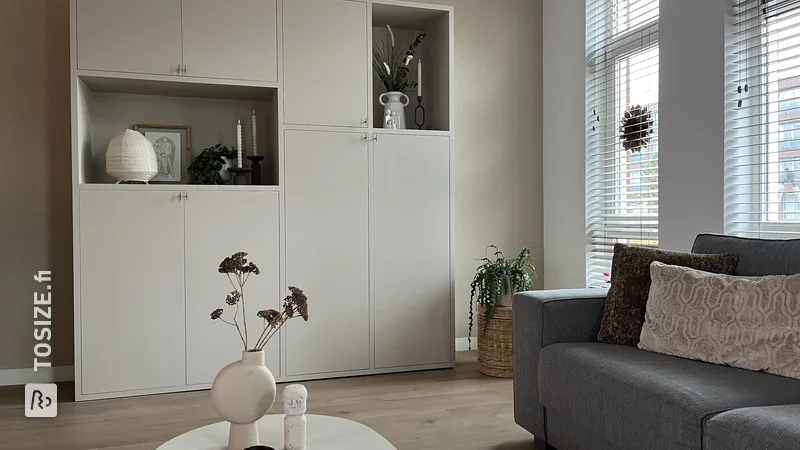
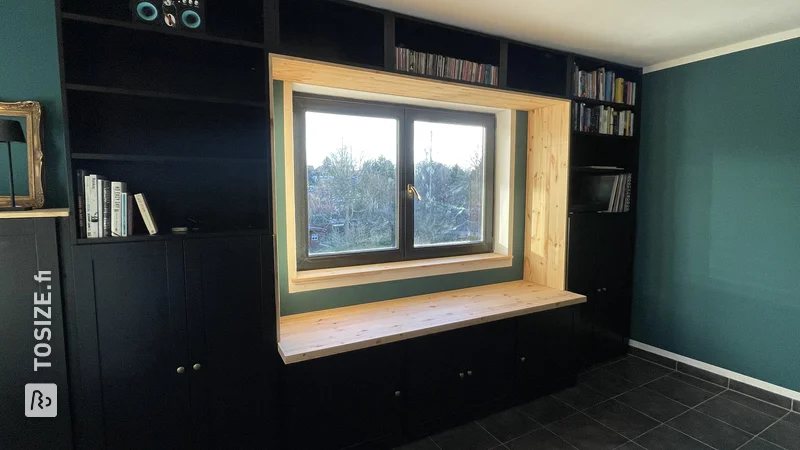
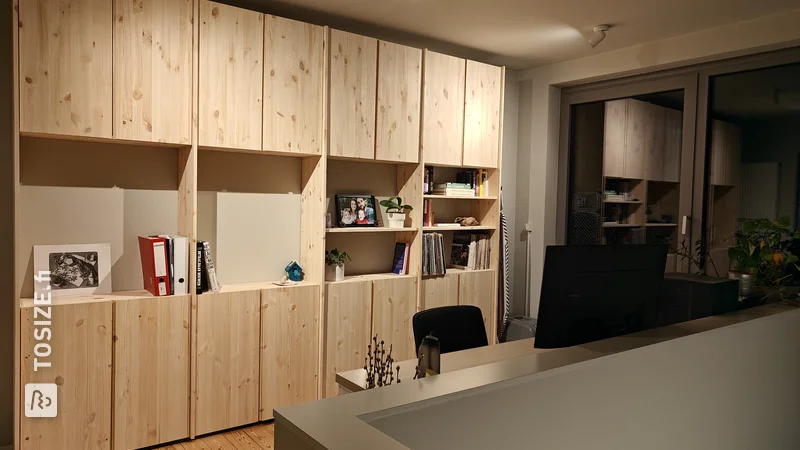
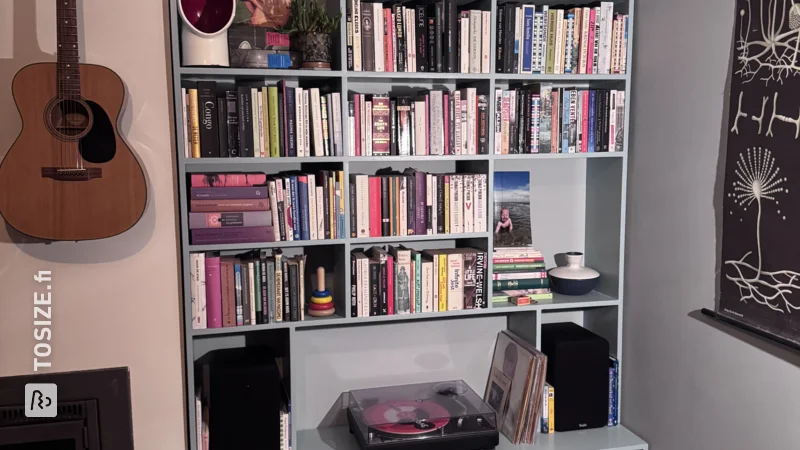
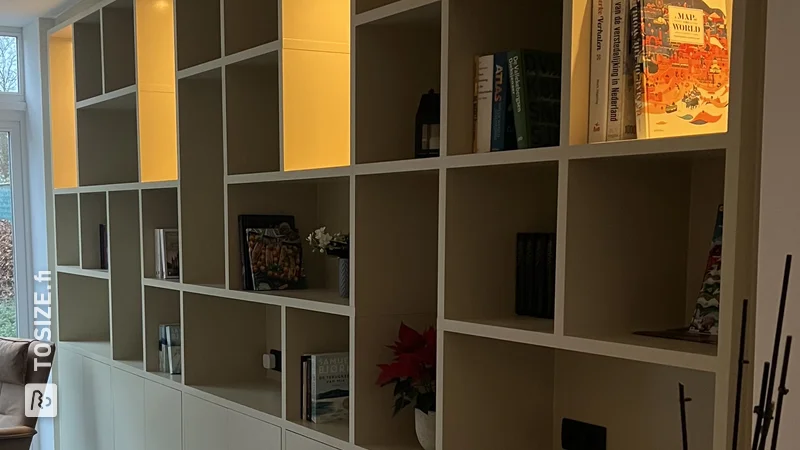
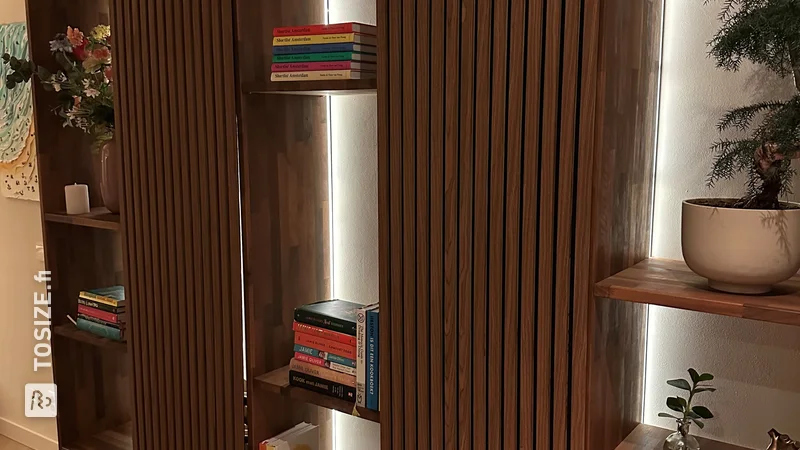
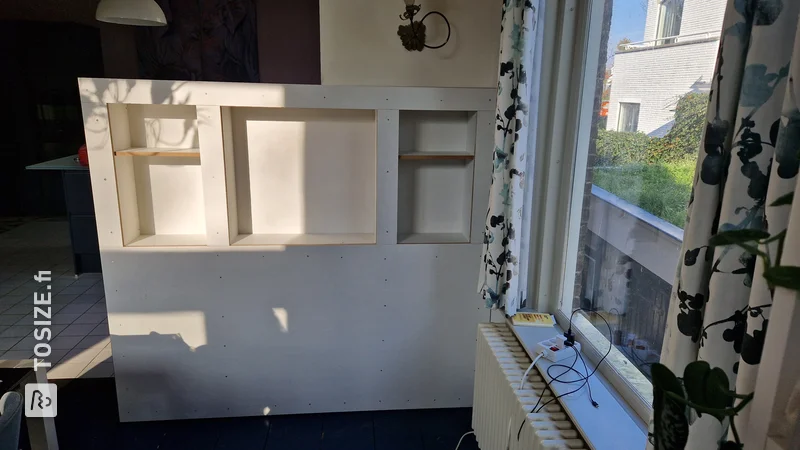
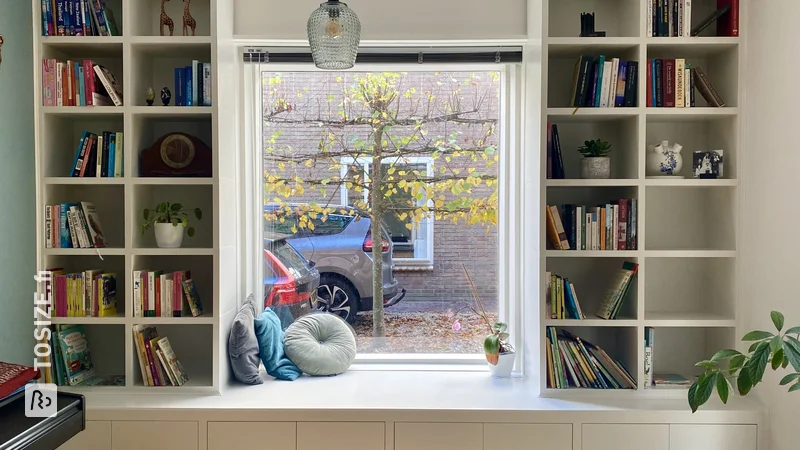
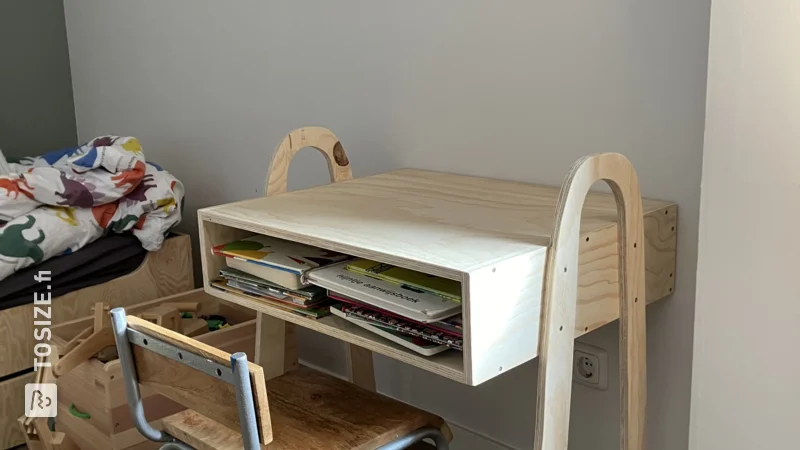
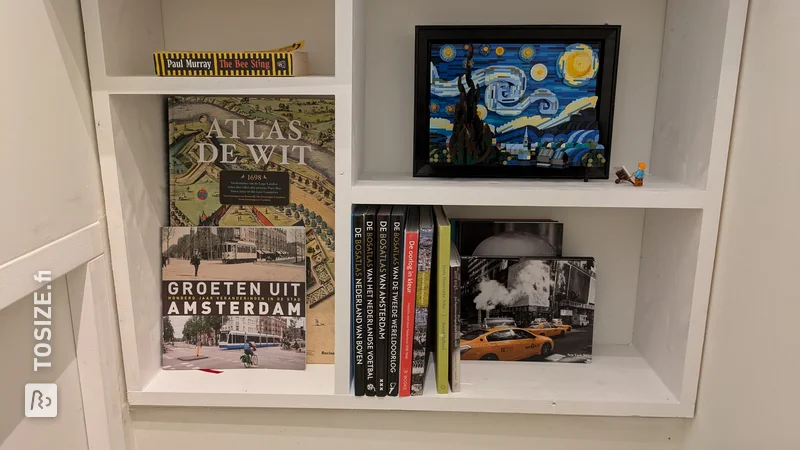
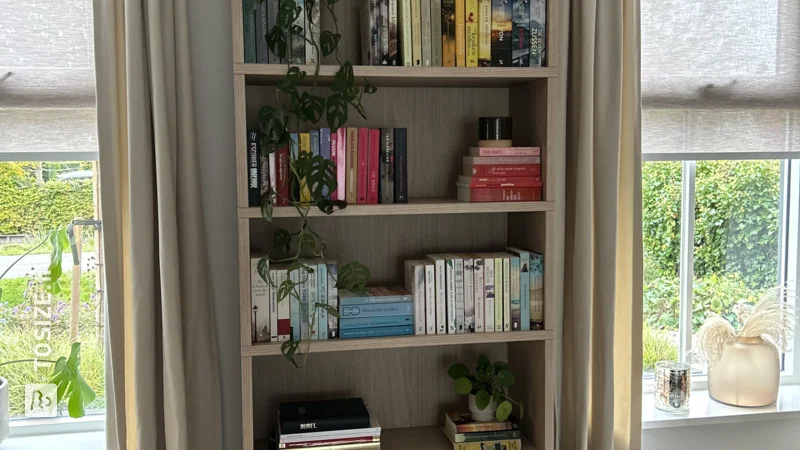
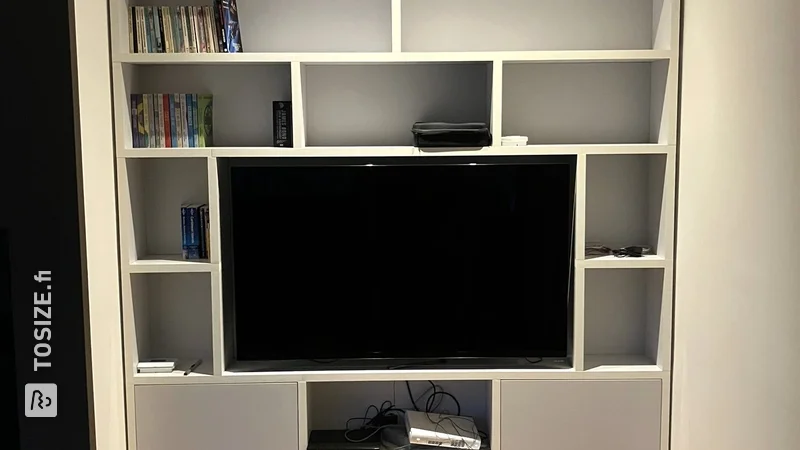
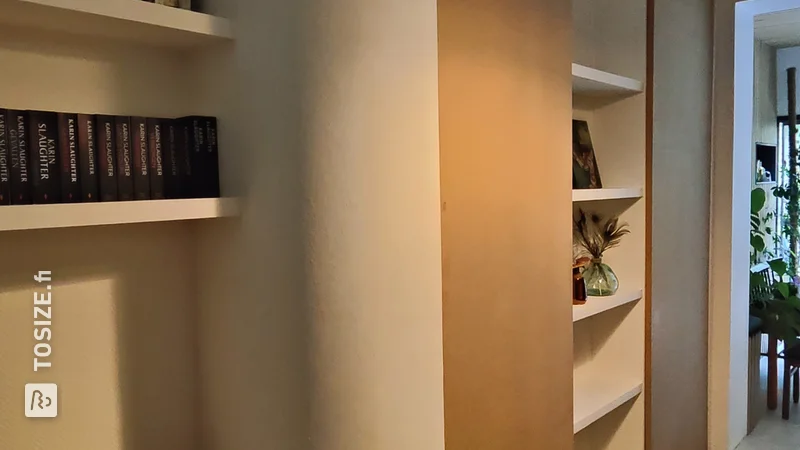
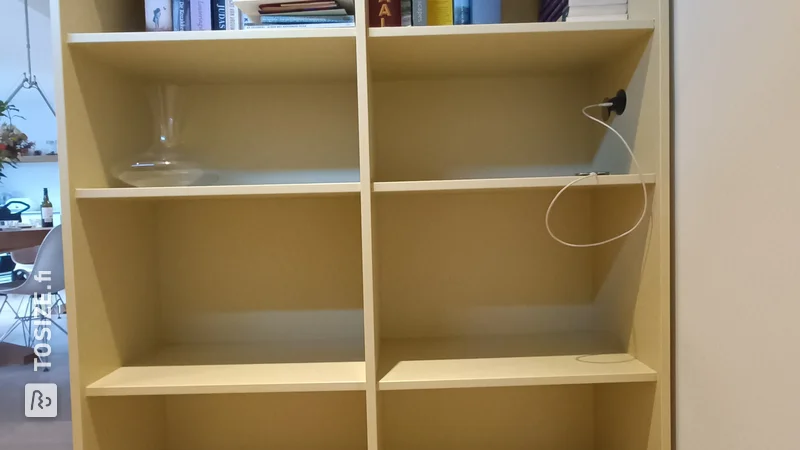
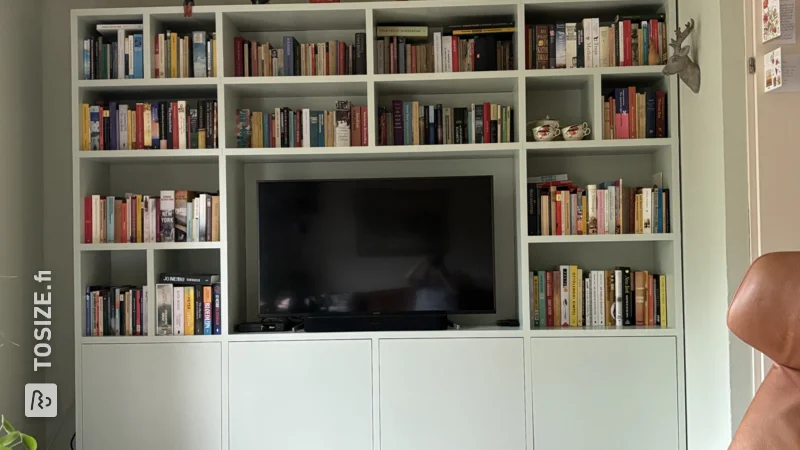
I needed a medium-high shelving unit with a high piece on the side to break up the room, hide the door from view, but let the light through. I then adapted an existing design 'scaffolding wooden compartment cupboard' to my own wishes. The compartments are 37x37 cm, because this is easy to calculate (a shelf is 3.0 cm, so always 40.0 cm in total), but also because most bins are ~ 33.0x33.0x33.0 cm so you have enough space for this with clearance for the beams in the corners of the compartment cupboard. I bought some 3x3 cm beams and had them cut into pieces of 30.0 cm á 6st, 25.0 cm á 6st, and 20.0 cm á 6st, in order to be able to screw the shelf at the top and bottom easier and more firmly (the slats of 18x30 mm were a bit too narrow for me). These therefore replace the 18x30 mm battens of those lengths. Also the back of the bookcase that you can put on the compartment cupboard turned out to be calculated a bit too wide, but you cannot really predict the width of scaffolding wood, so put a 1 cm bar in between at the back (luckily I had some wood left). Here you could possibly leave a hole at the bottom for electricity or something like that (like with my coffee machine). Attached also the design, here some short instructions: For the compartment cupboard: First assemble the walls with the beams and battens at the correct distances, then screw onto the top, and then fix the bottom boards as well. Make sure that you put the shelves in the cupboard during this screwing, so that you can fasten it as tightly as possible (but not so tight that the drawers just no longer fit). For the bookcase: To not see a beam at the top, you must first screw one half of the wall / back / top together, and then put this together. Also pay attention to the boards here, that they do not get too tight. I also attached the bottom of the 2 back planks together with a slat.
Finished format: What are the outer dimensions?
Tip! Also check out our handy DIY tips!
What now?
This is a project for inspiration. Because our assortment has changed, (some of) the products are no longer available.
View all sheet materials

