- TOSIZE.fi
- Do it yourself
- DIY Projects
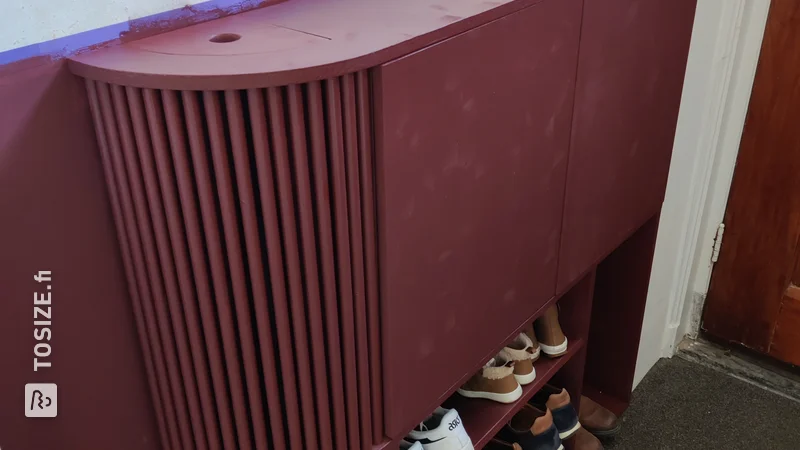
A self-made room divider made of custom oak strips, by Marco
A self-made room divider made of custom oak strips, by Marco
Create this project yourself with sheet material cut to size by TOSIZE.fi!
Marco
Easy
2 minutes
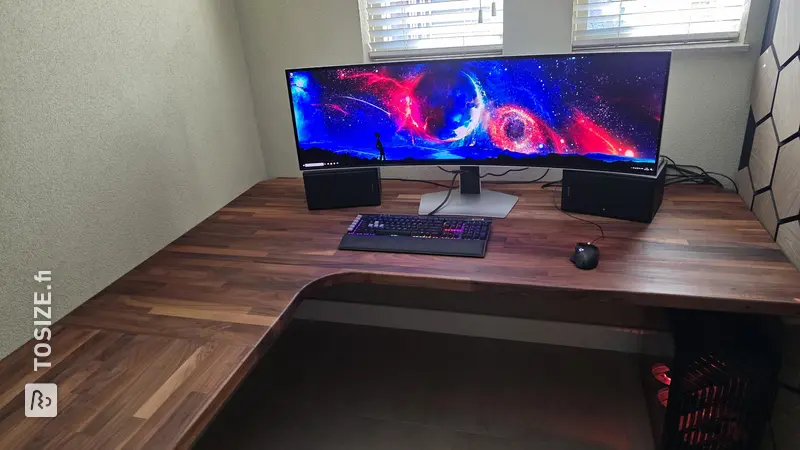
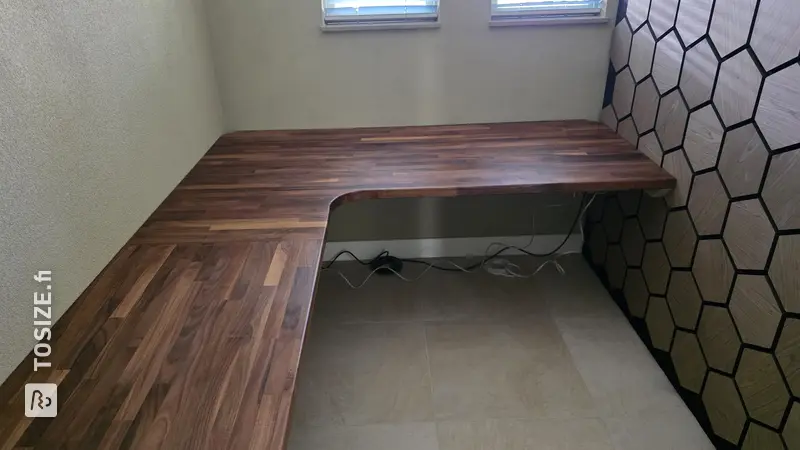
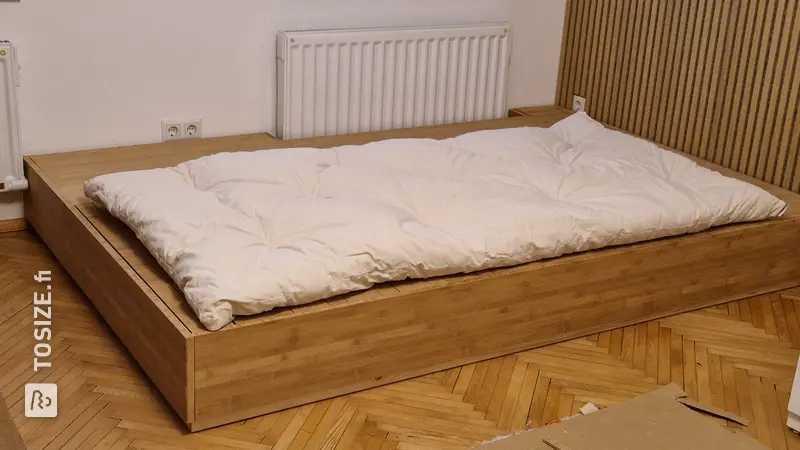
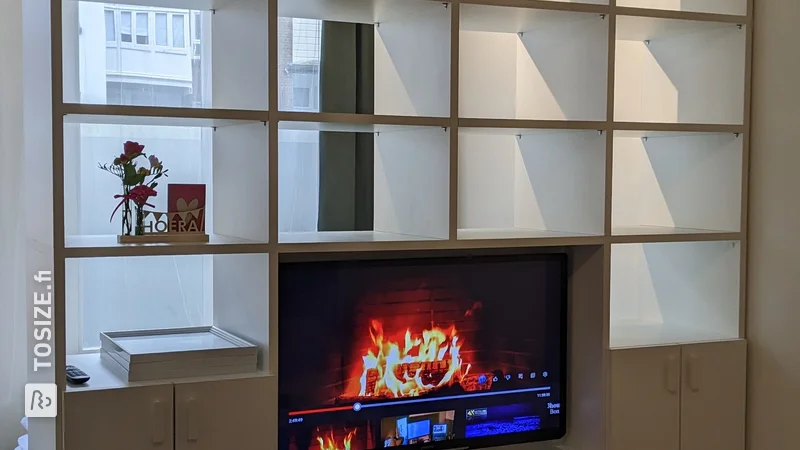
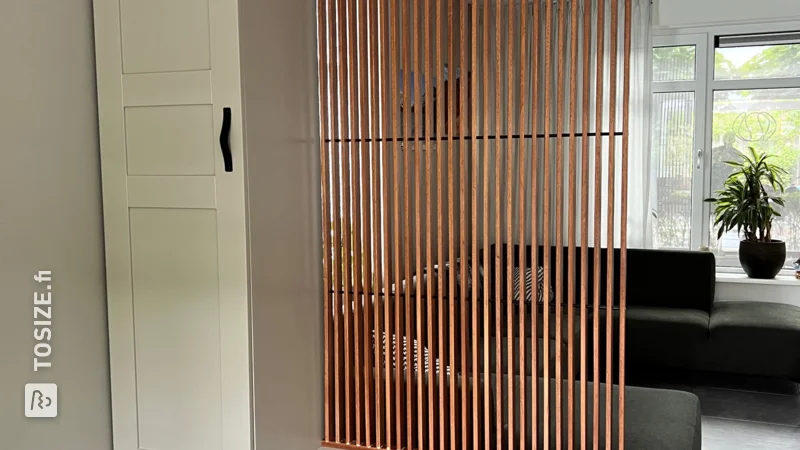
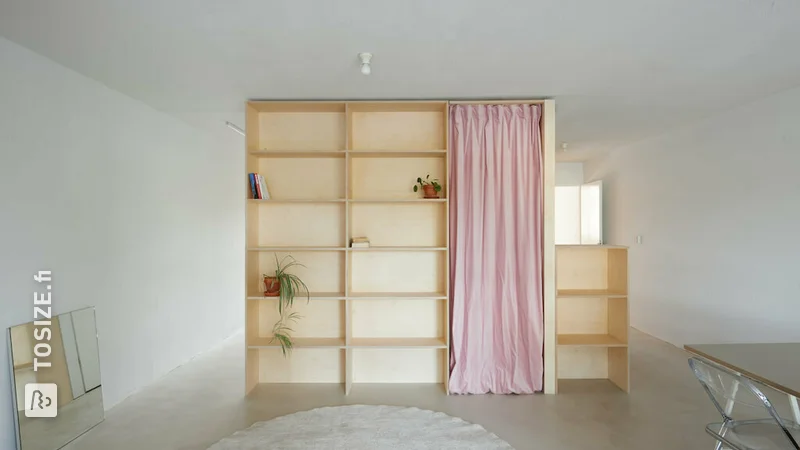
In this DIY project, Marco shows how he made a unique custom room divider. For this project he ordered strips of oak A/B 40mm. This way he can get started on his project immediately. Read more about his approach and experience below.
Description of Marco
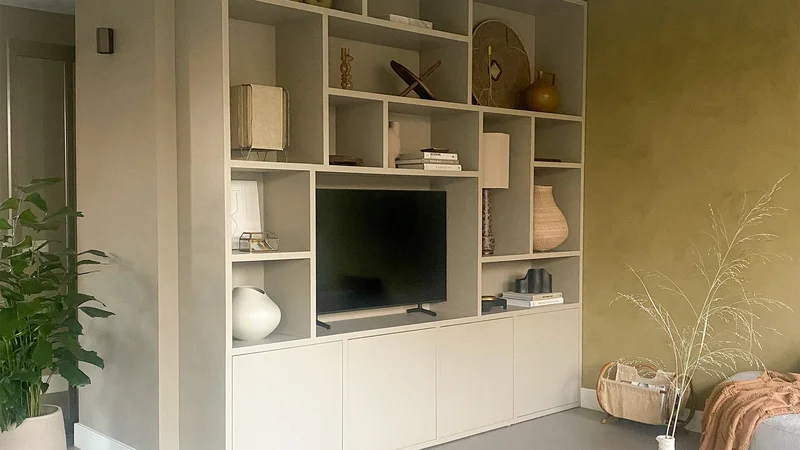
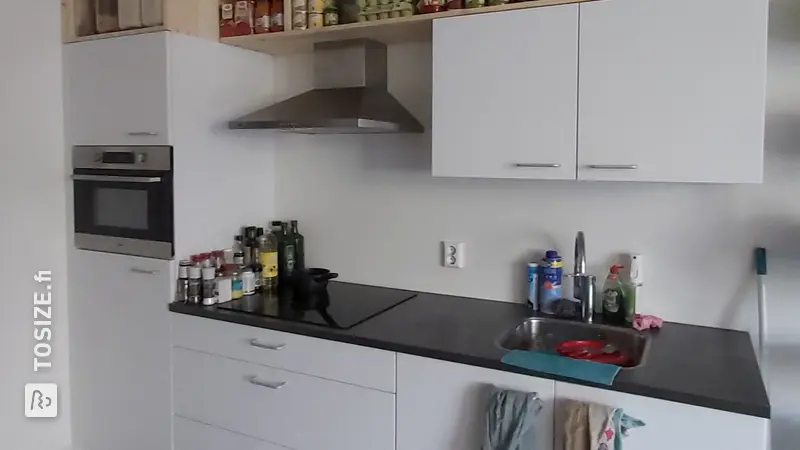
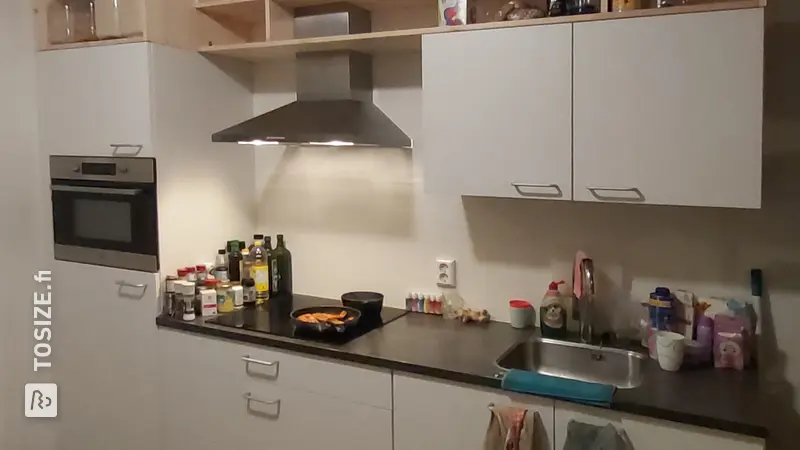
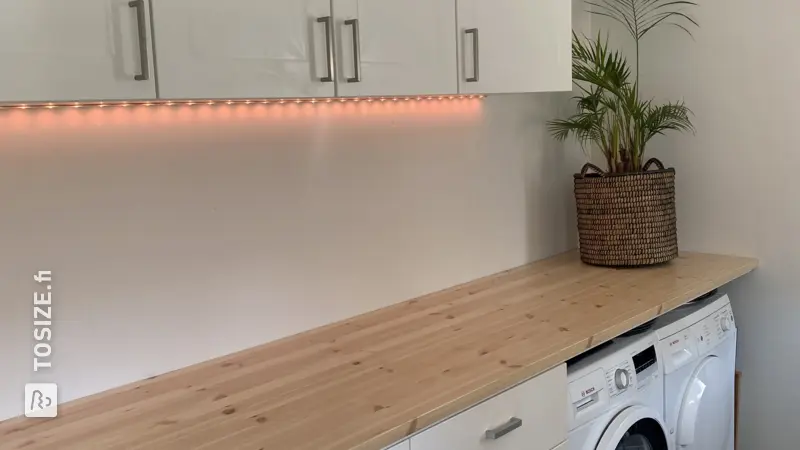
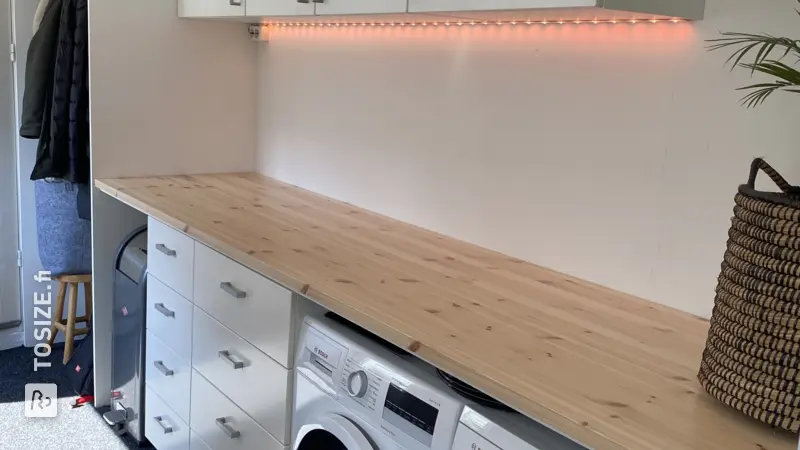
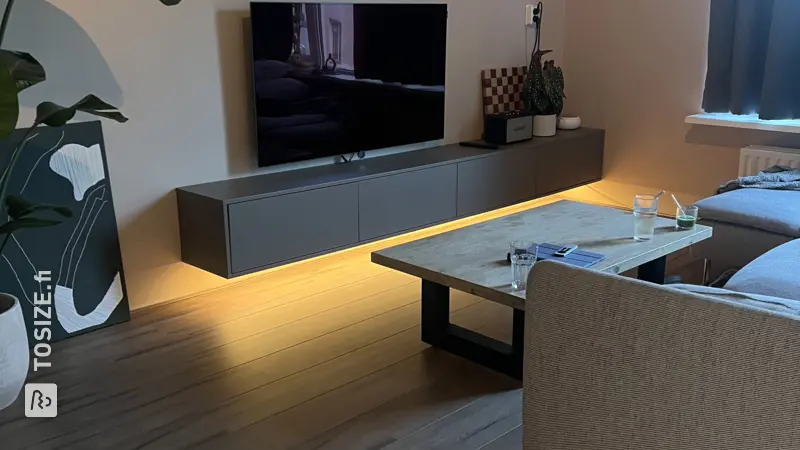
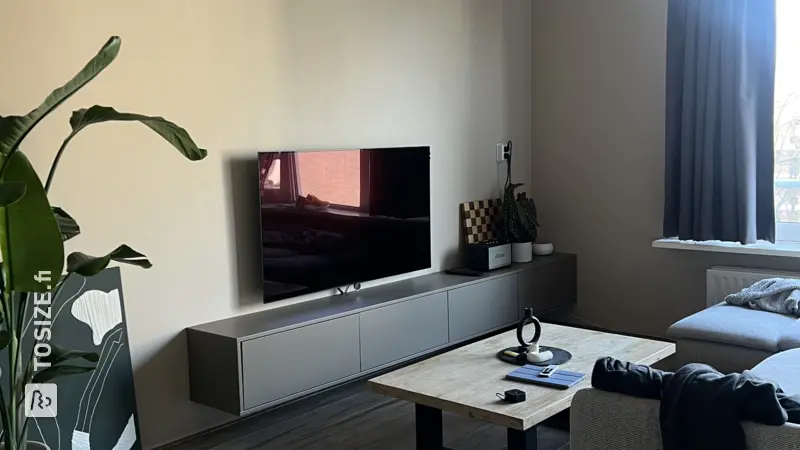
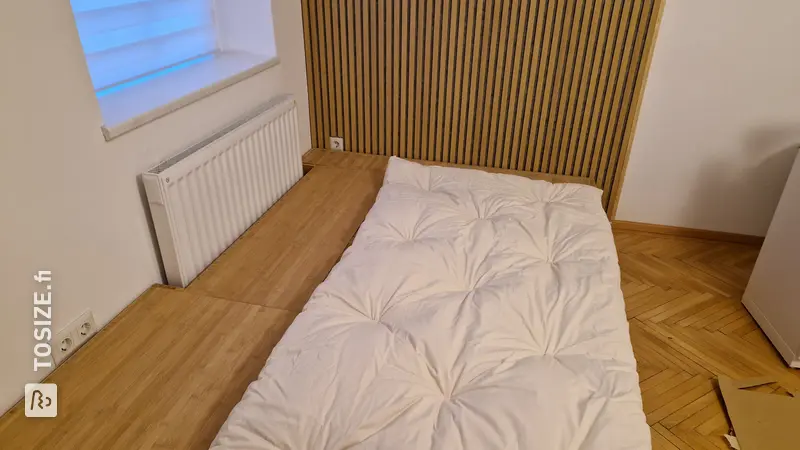
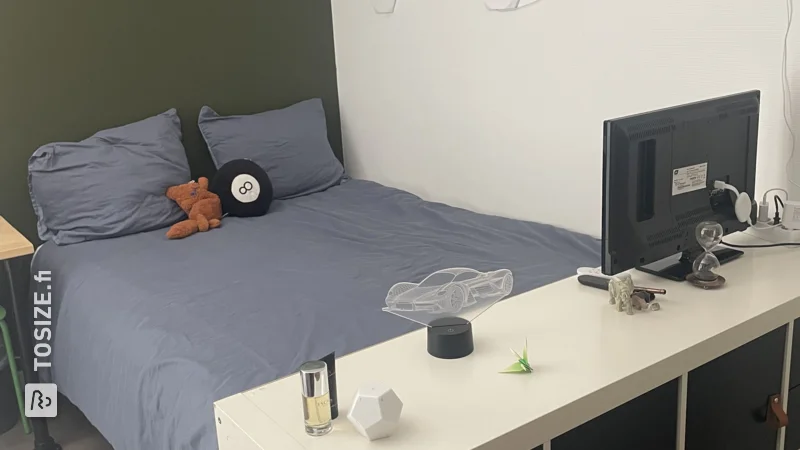
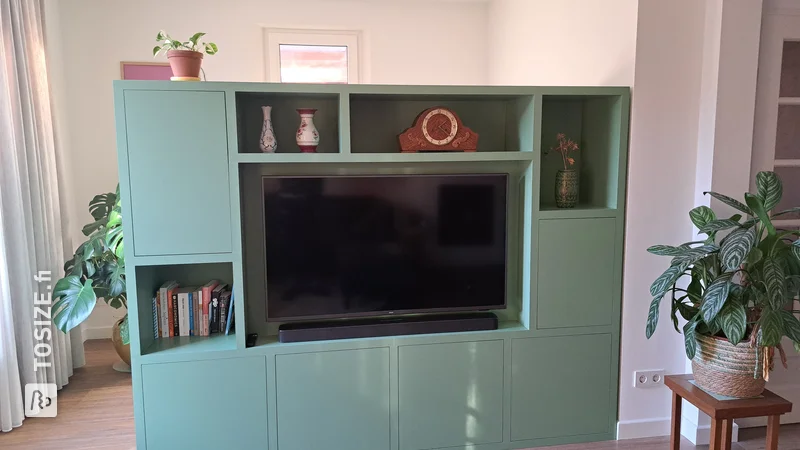
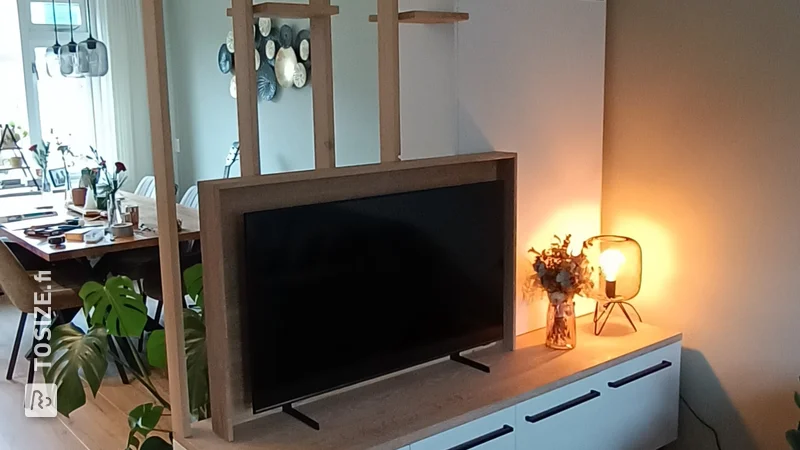
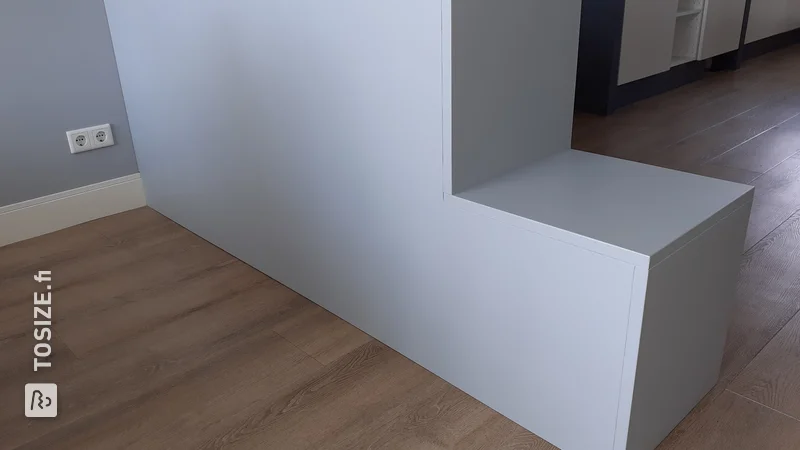
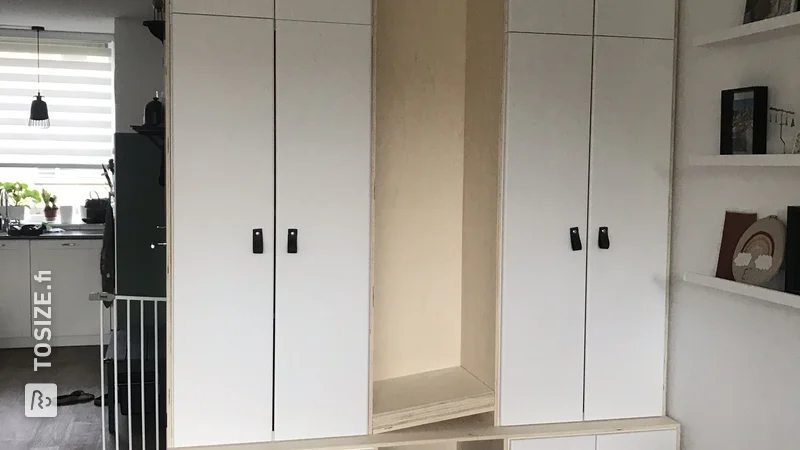
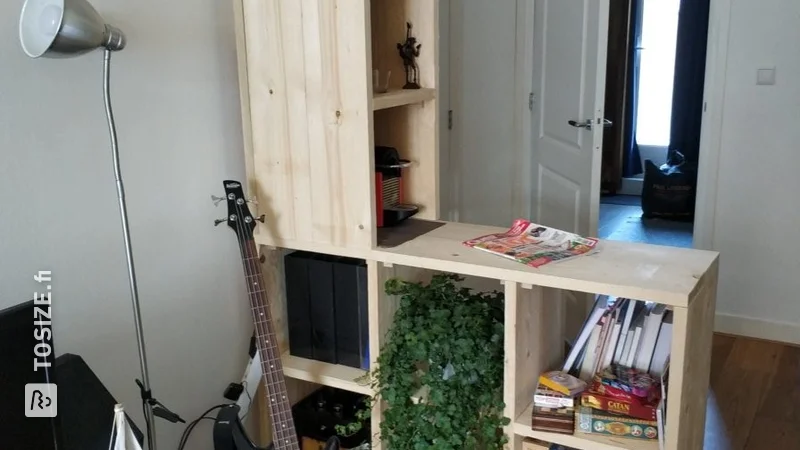
To create more space in our living room, we spent a long time puzzling over how we could give the piano a practical place without it this remained so decisive for the design. However, in its new location the piano protruded beyond the wall, which was not so aesthetically pleasing. We have now solved this by making a room divider from oak.
How I made this project
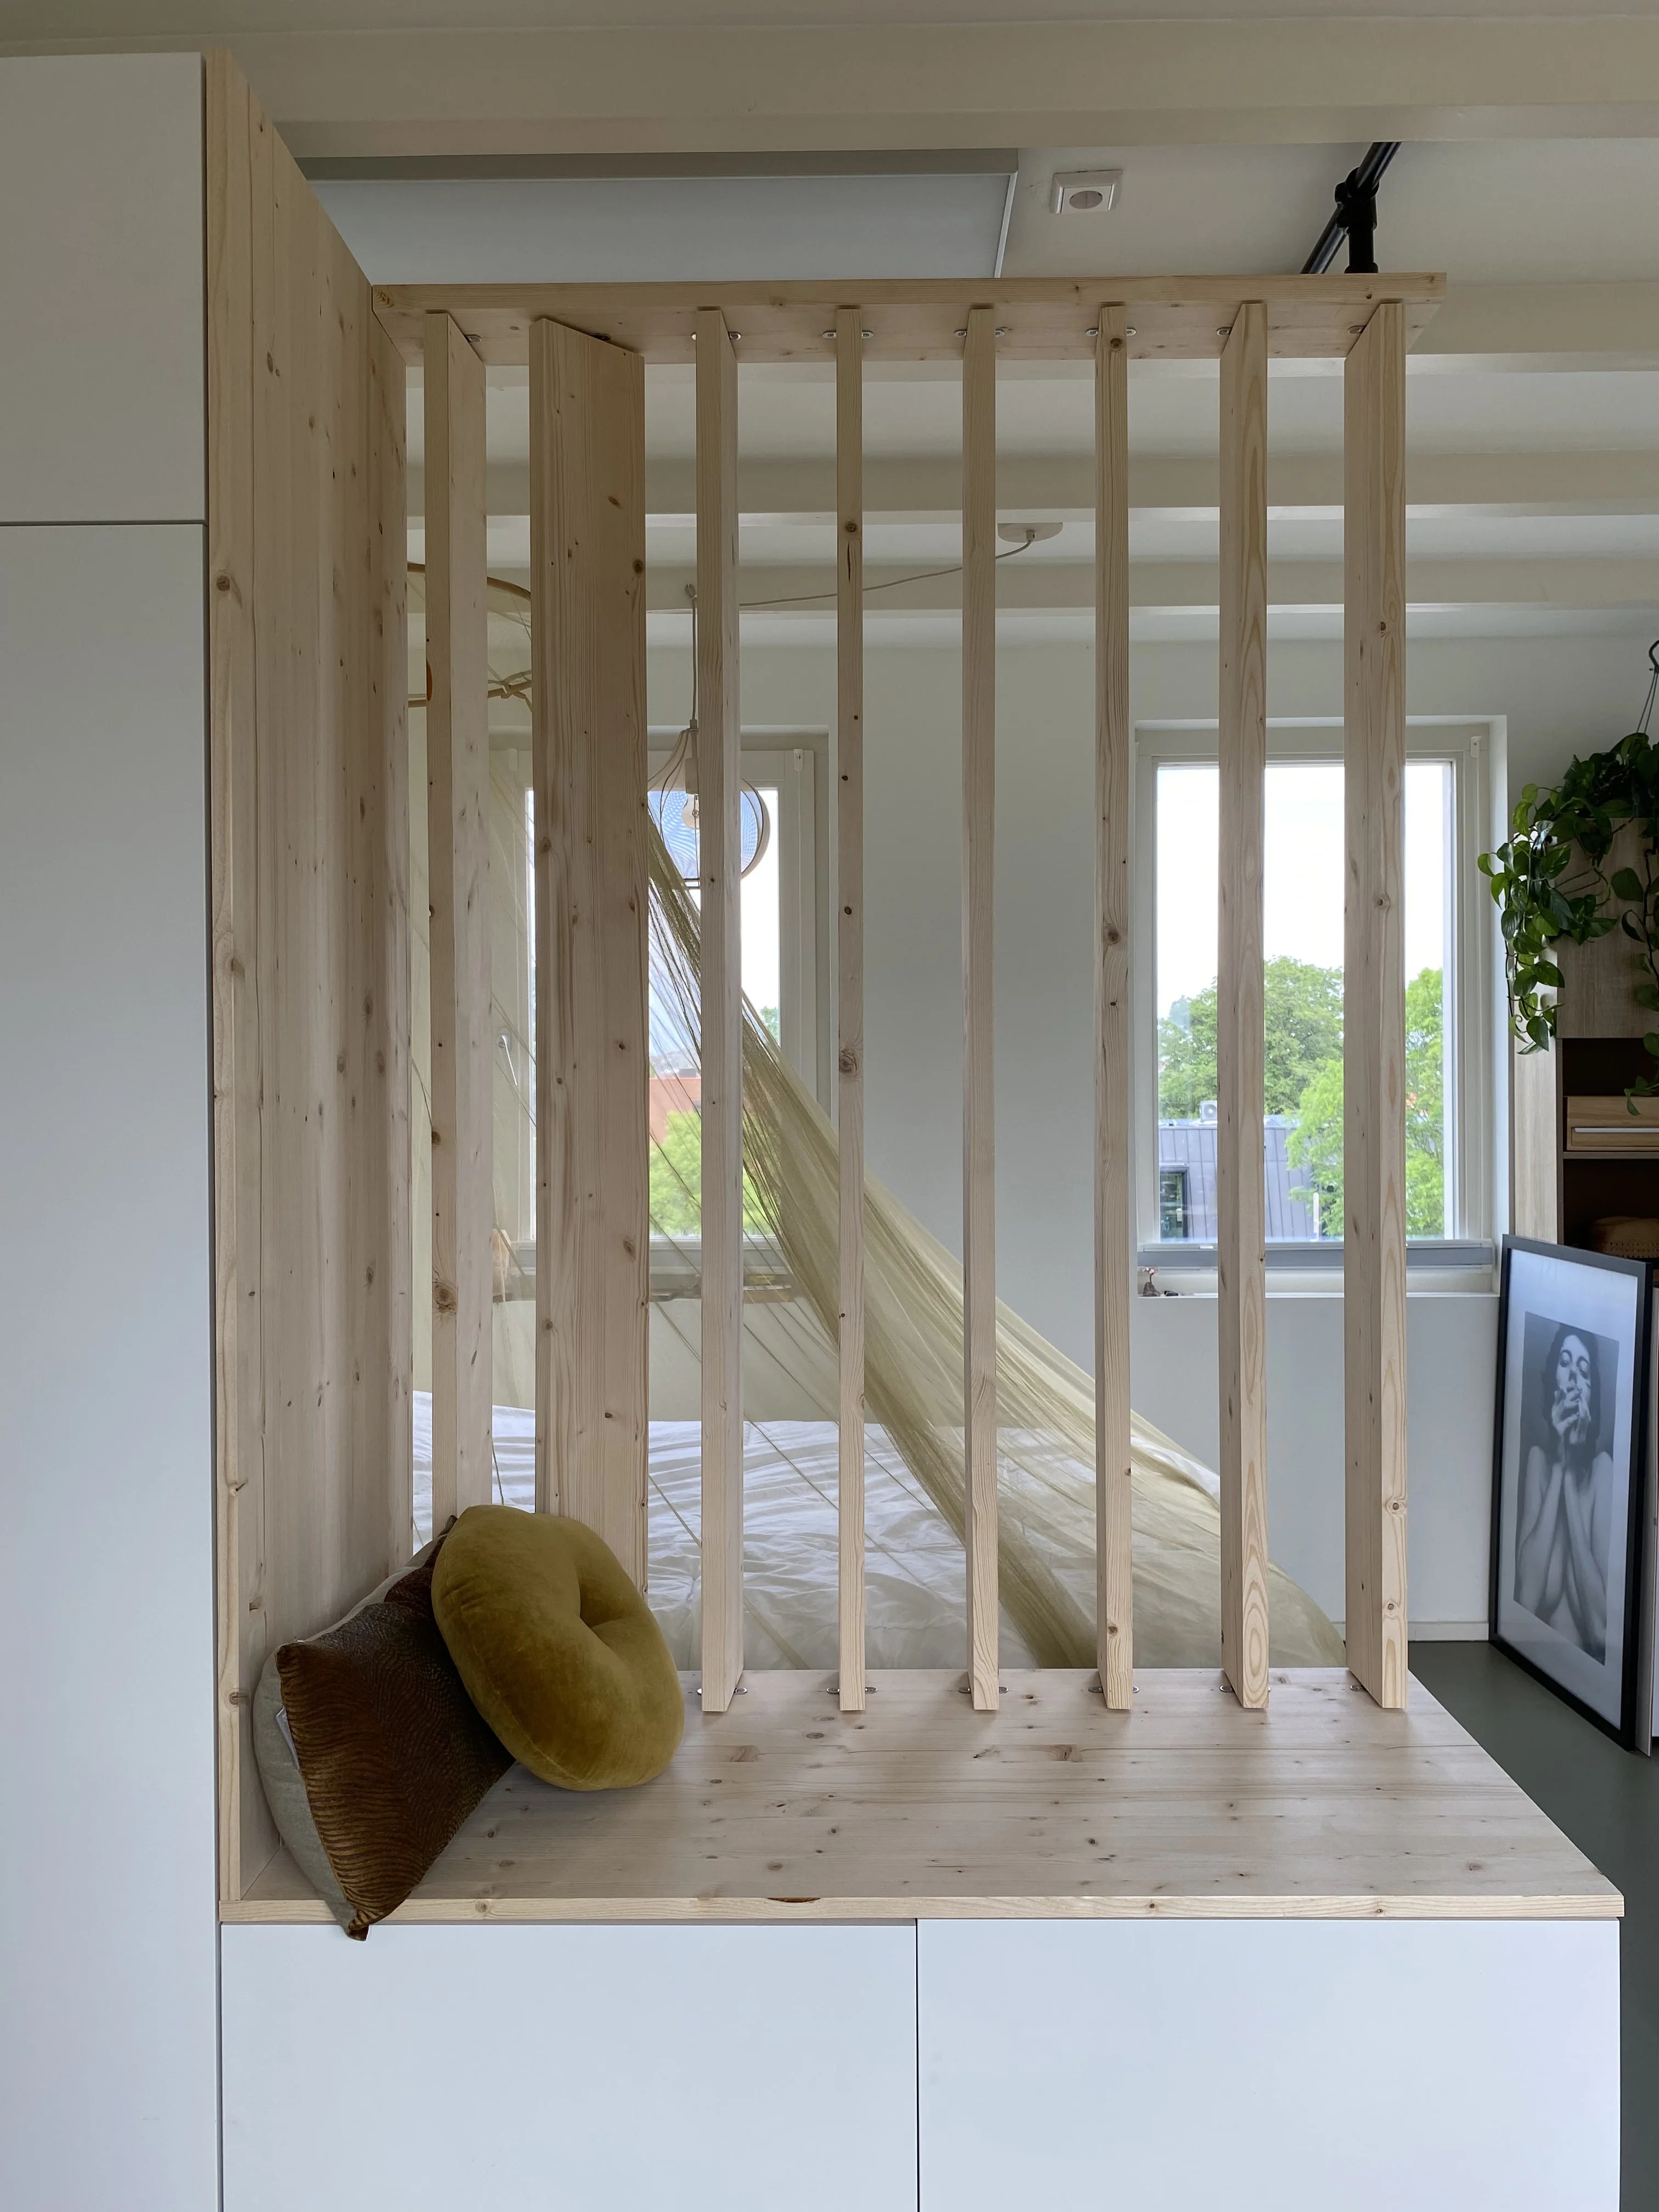
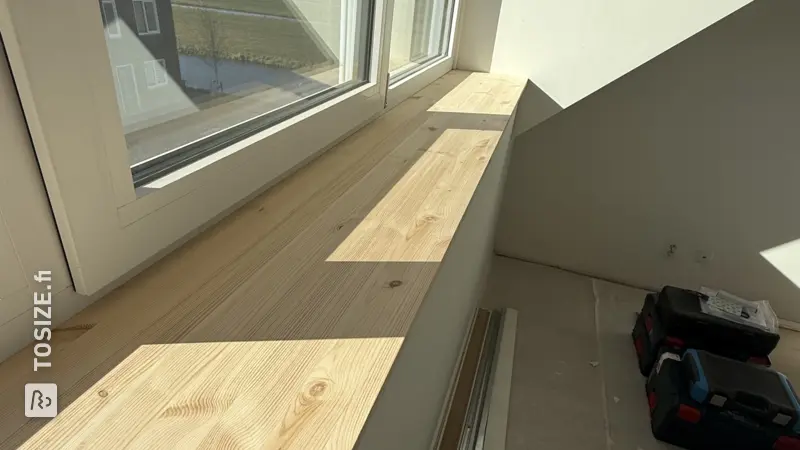
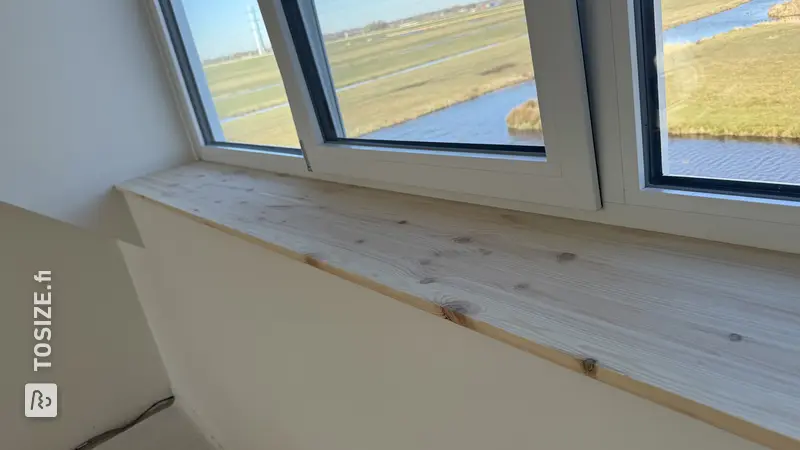
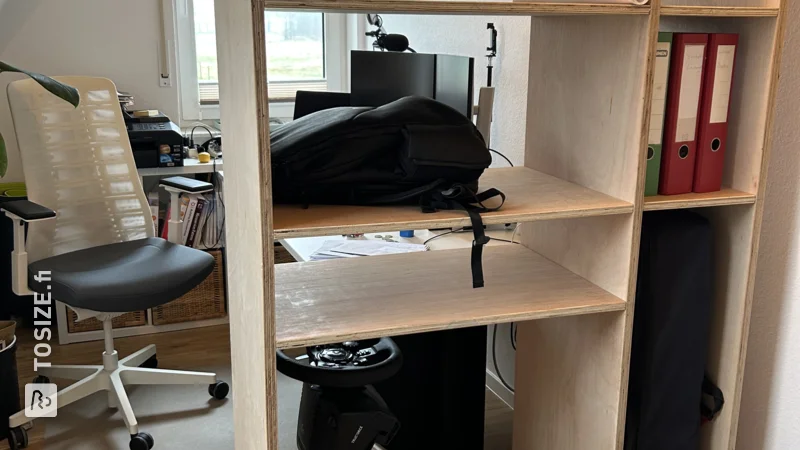
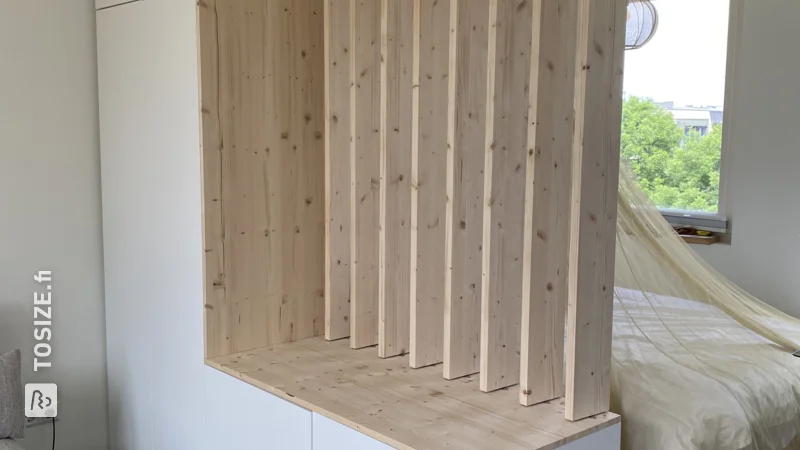
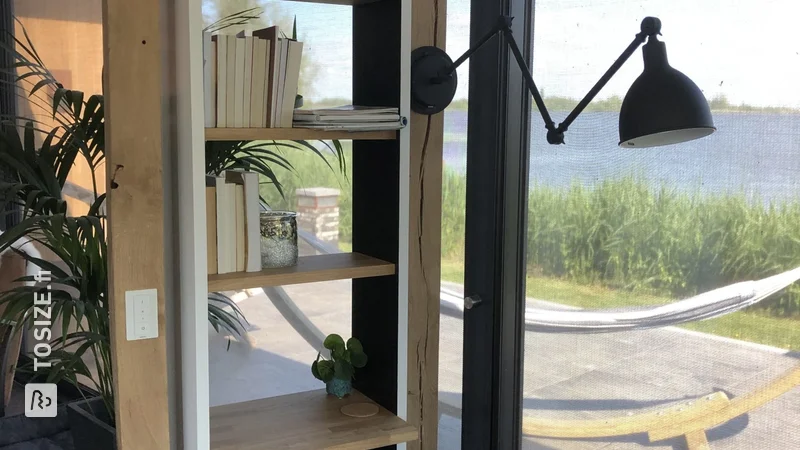
We first measured the height of the ceiling in various places and then puzzled over what would be a nice thickness and width for the uprights. Because we couldn't find suitable standard size oak beams that were suitable for indoor use - and were high enough for our 280cm ceiling - we had a 4cm thick panel cut into beams. After these were delivered, we sanded and varnished them. Then measured out the dimensions, drilled holes in the ceiling and placed dowels in the beams at the top. Then placed the beams with Hitack kit. The bottom is secured with double-sided tape so as not to permanently damage the floor.
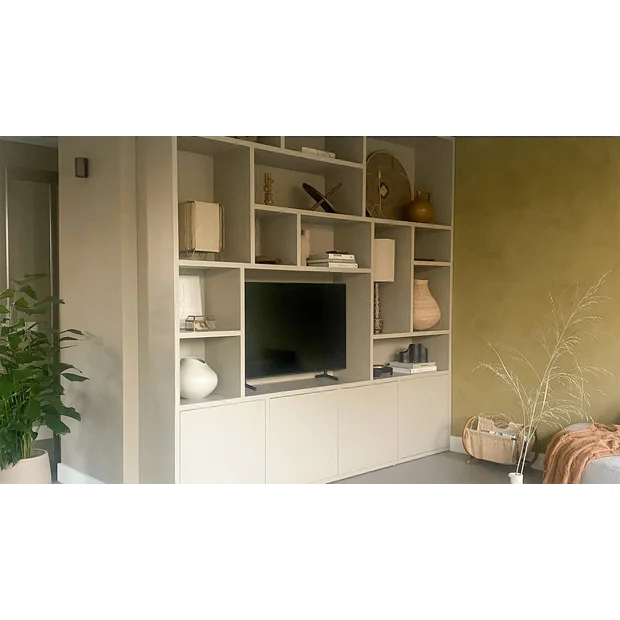
Dimensions of my DIY project
The room dividers are 280.0 x 50.0 x 8.0 cm and 280.0 x 38.0 x 8.0 cm
Tip! Also check out our handy DIY tips!
What now?
Want to make this DIY project? Check out Marco's saw list and complete your order easily.
613,48 €
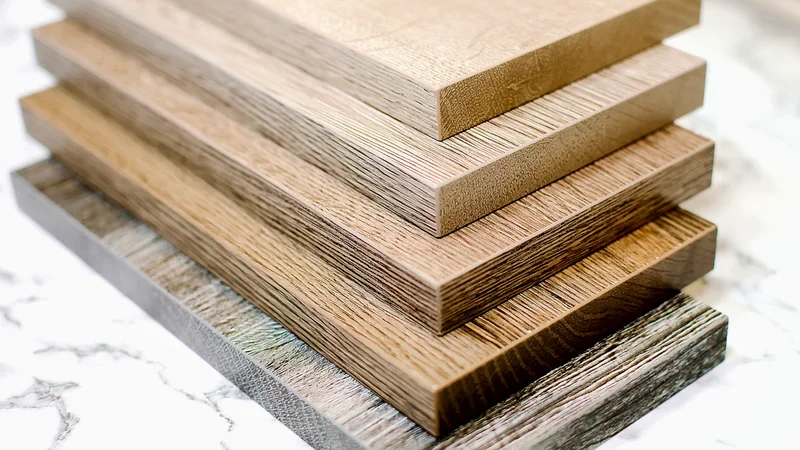
All materials used
View all sheet materials