- TOSIZE.fi
- Do it yourself
- DIY Projects
Homemade radiator conversion from custom-sawn MDF, by Roy
Homemade radiator conversion from custom-sawn MDF, by Roy
Create this project yourself with sheet material cut to size by TOSIZE.fi!
Roy
Average
3 minutes
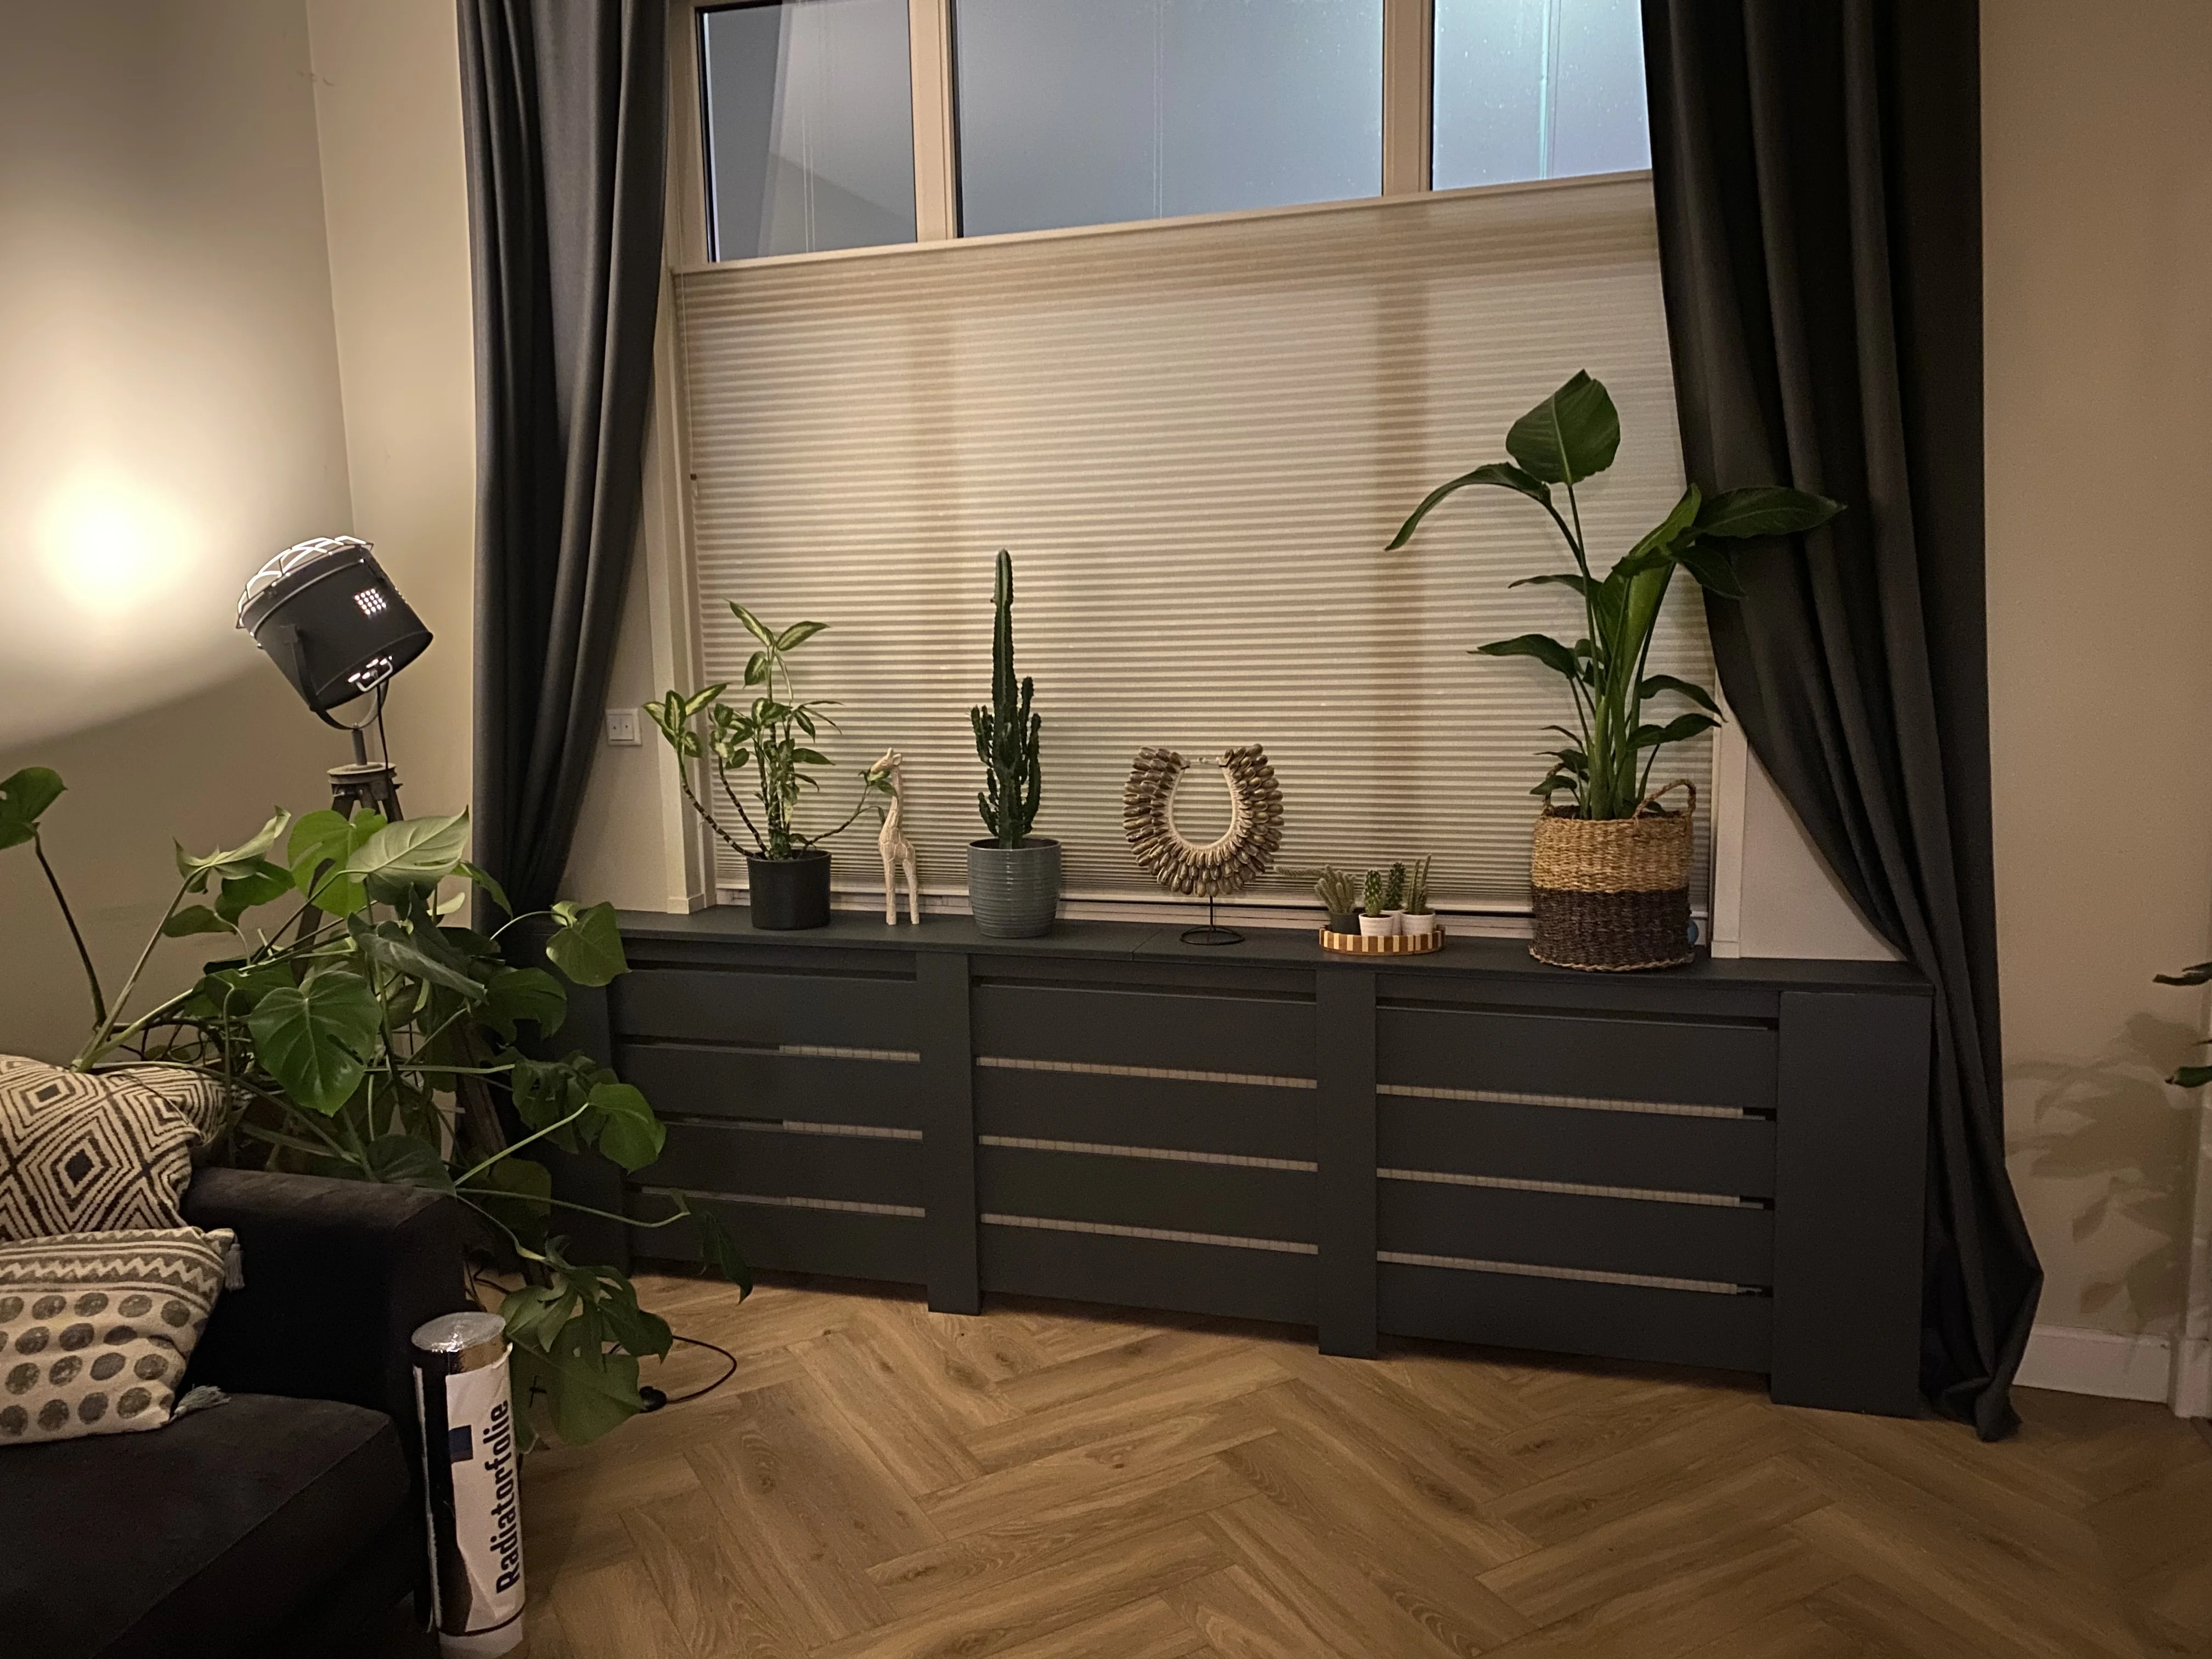
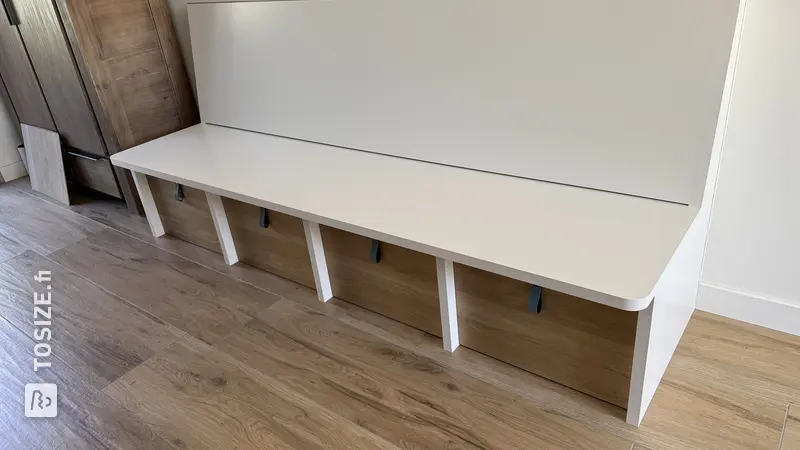
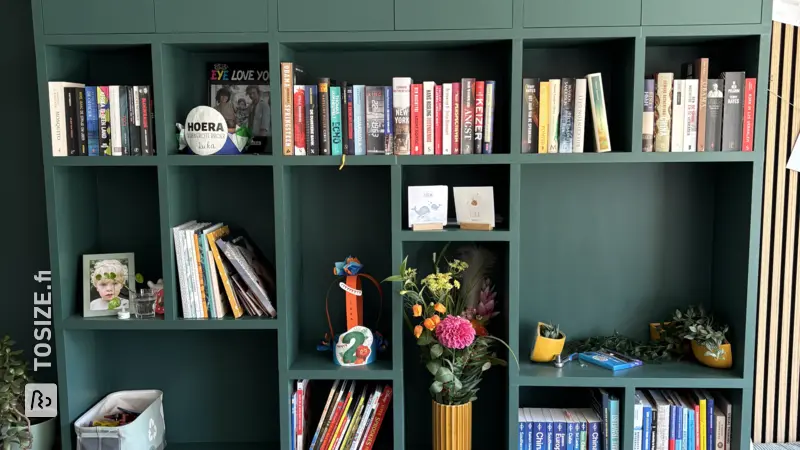
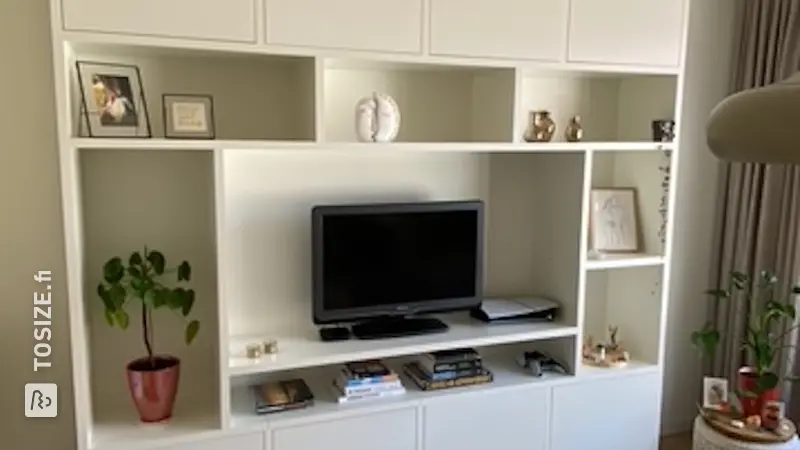
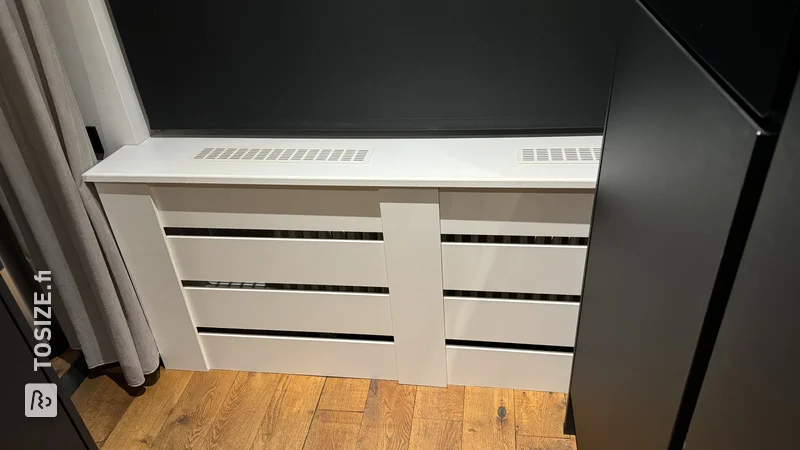
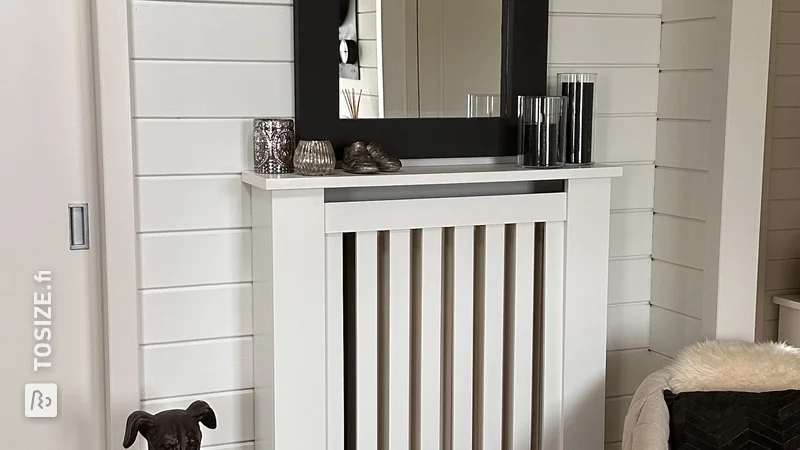
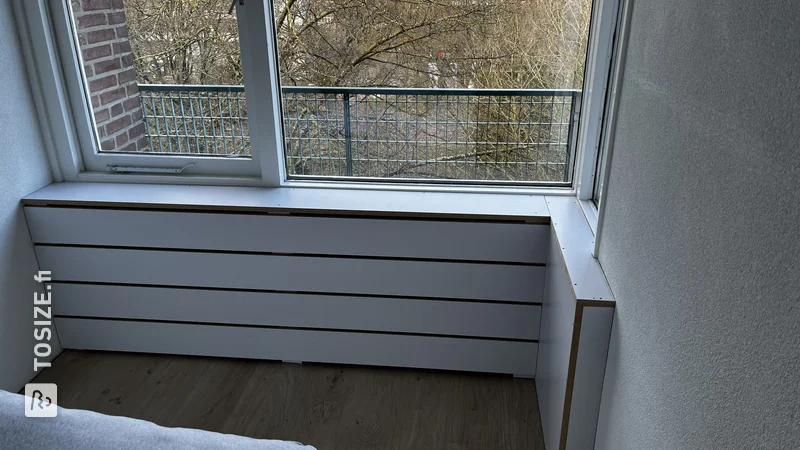
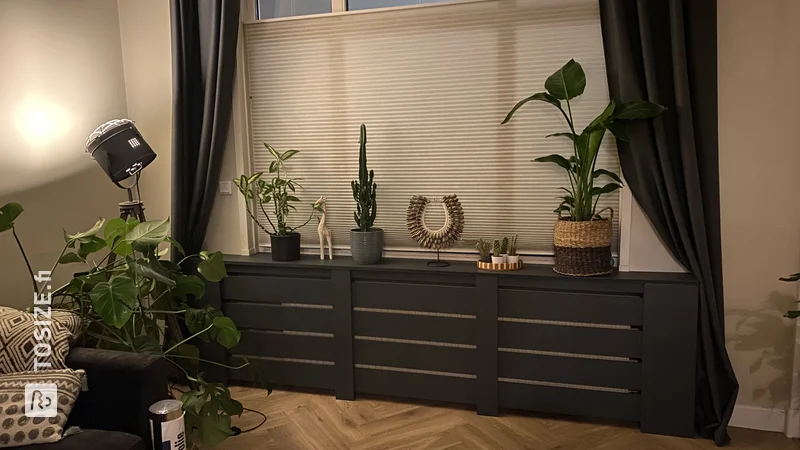
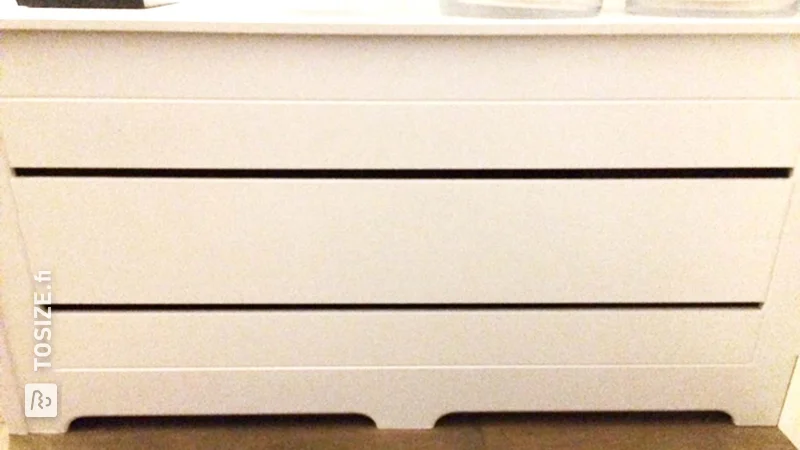
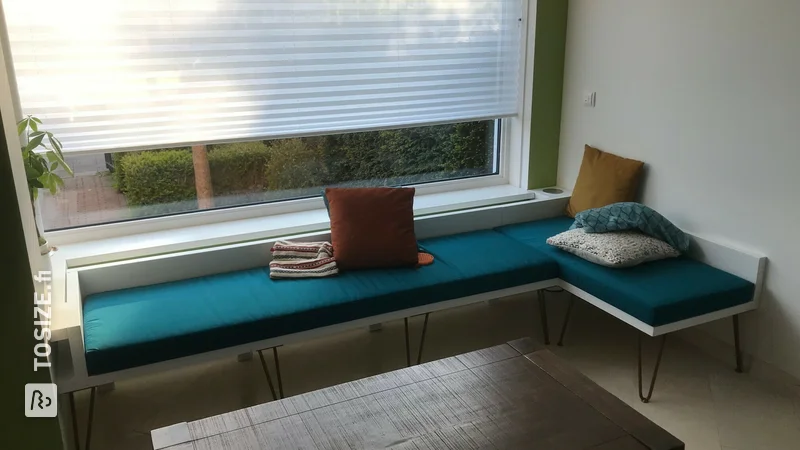
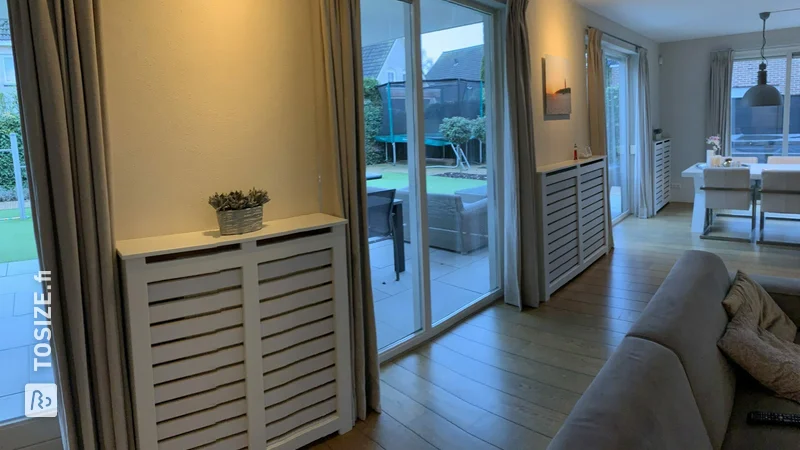
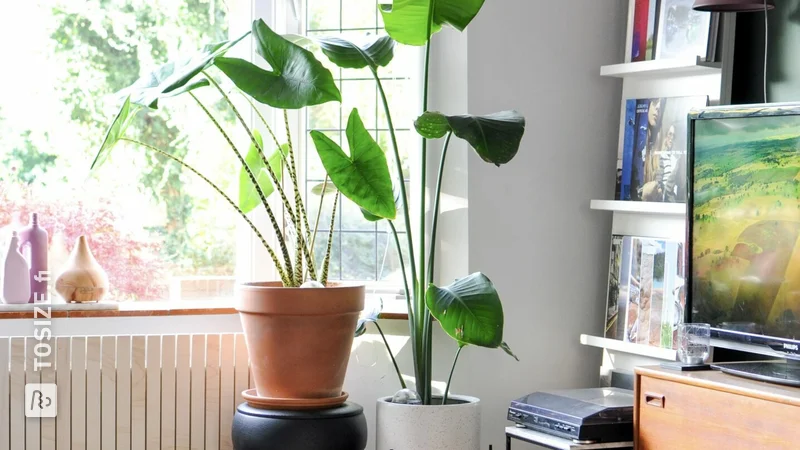
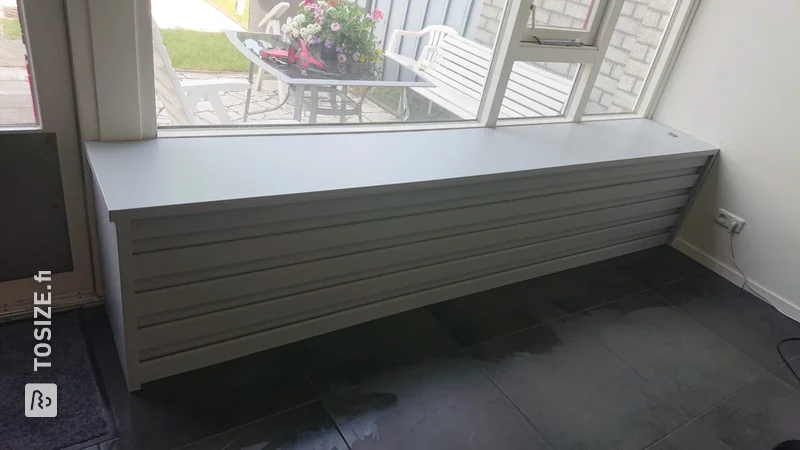
In this DIY project, Roy describes how he made a conversion for the radiator in the baby room. He had MDF cut to size for this and when it was delivered to his home he could get started straight away! Read more about his approach and experience below.
Roy's description
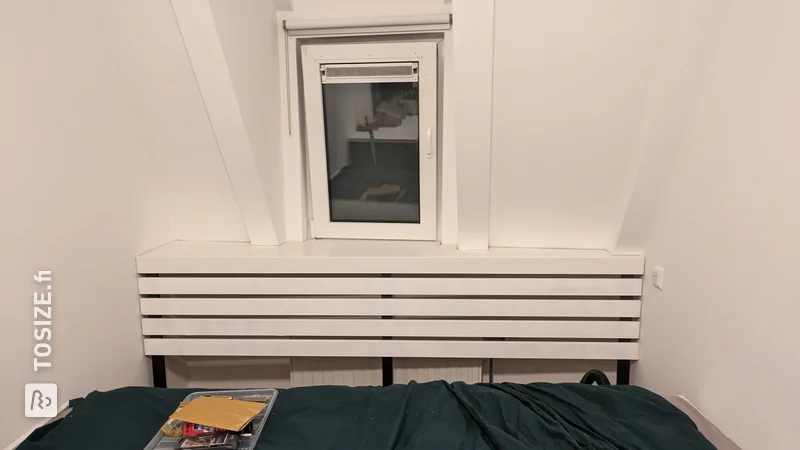
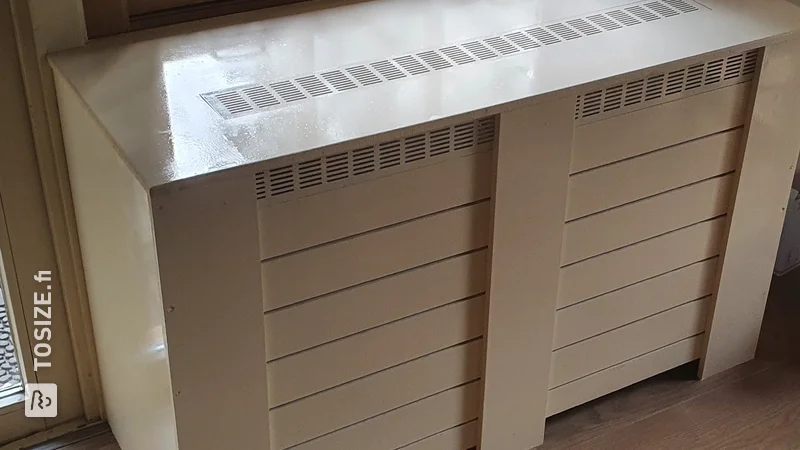
I made a radiator conversion for the ugly radiator and pipes in the baby's room. Unfortunately, there were no ready-made conversions available on the internet, so everything was easily and cost-effectively ordered via this handy webshop.
How I made this project
To start with, I measured out the pipes and radiator casing so that everything would fit nicely (make sure you also leave some space between the radiator/pipes and the casing itself). Then made a drawing and noted down all the necessary planks with their dimensions. This way you can't make any mistakes while ordering. Then you have prepared all the supplies and you are ready to start as soon as the order is delivered.
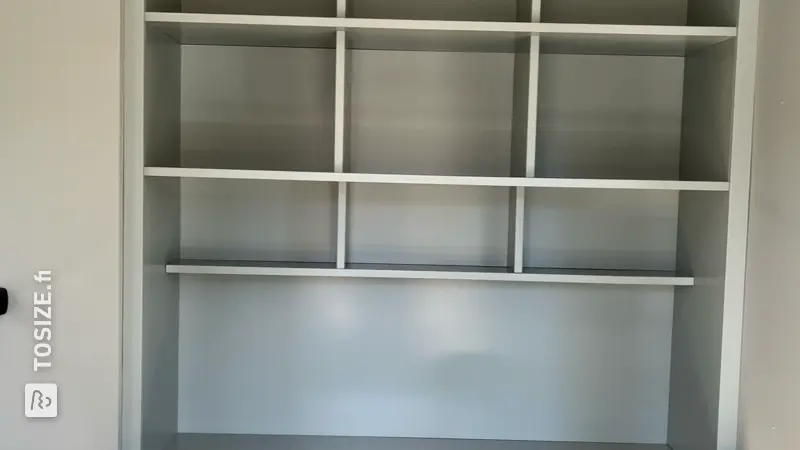
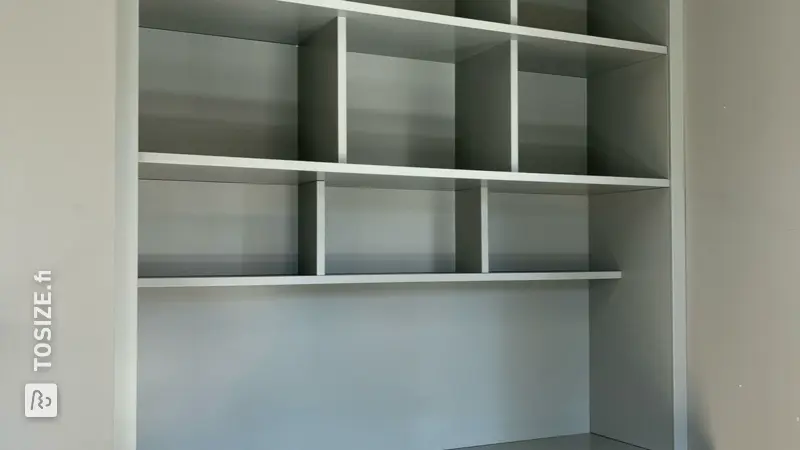
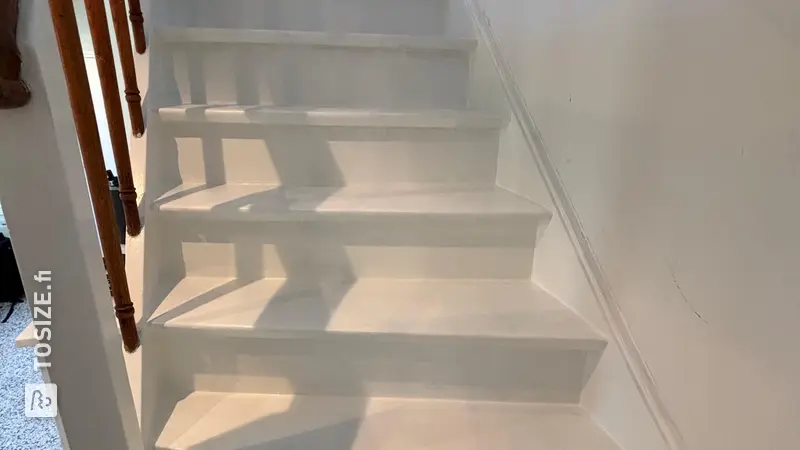
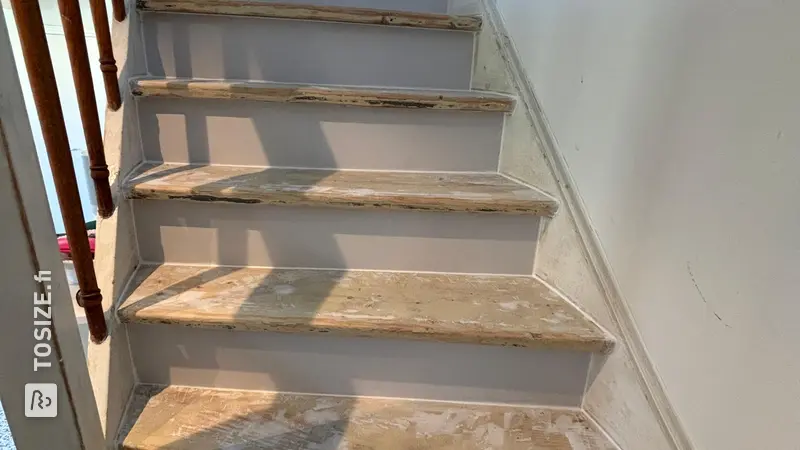
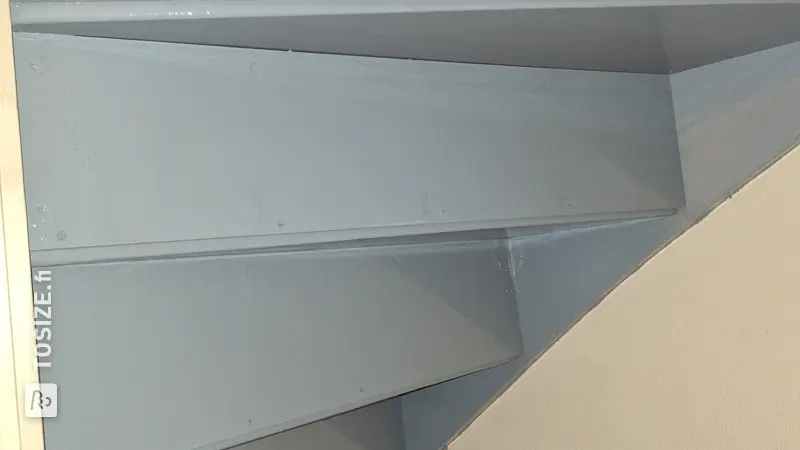
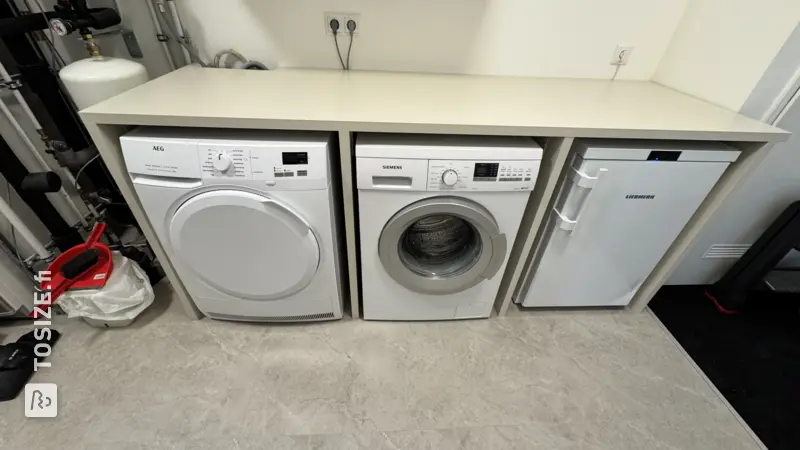
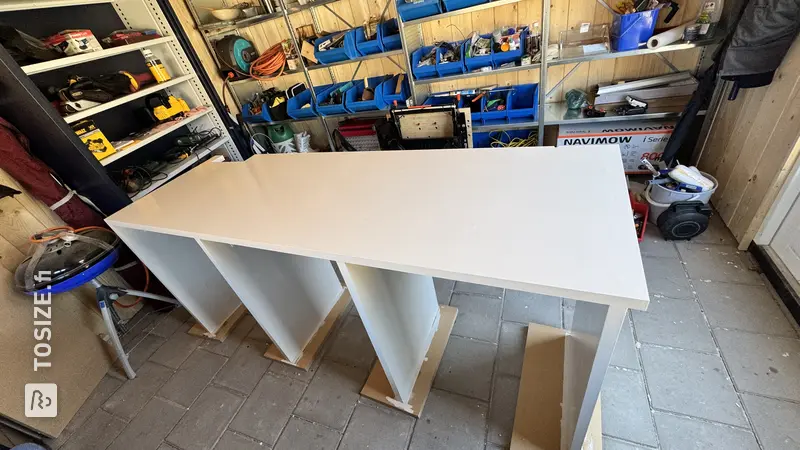
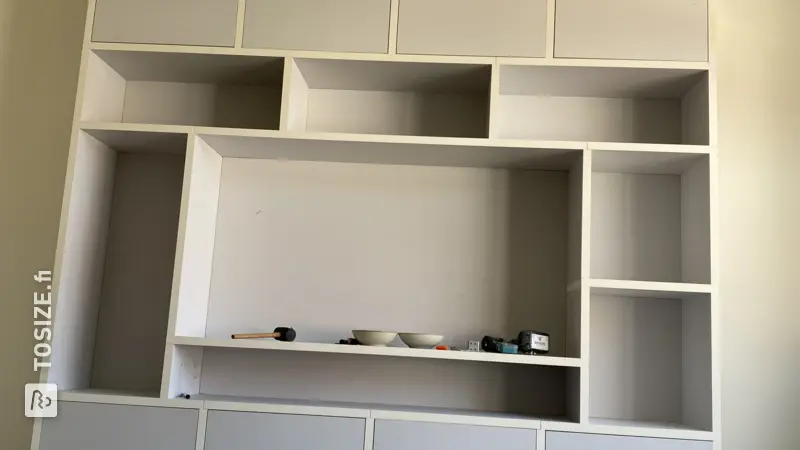
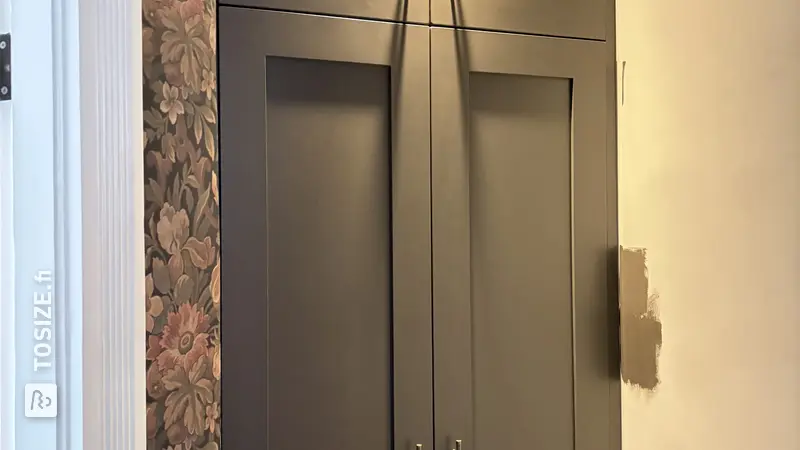
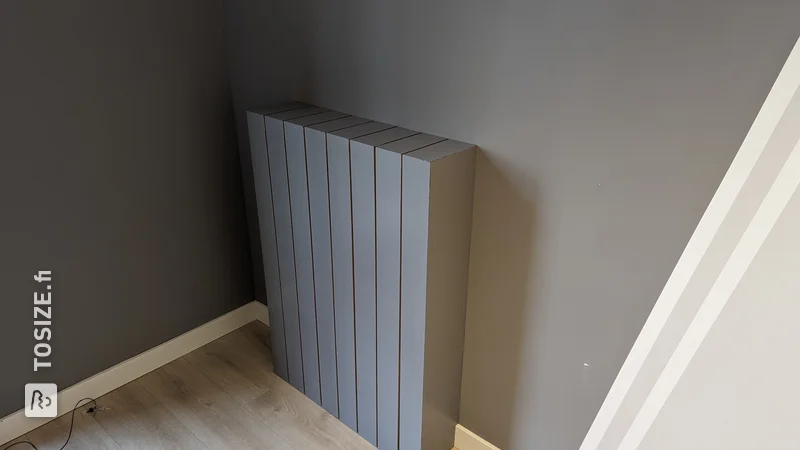
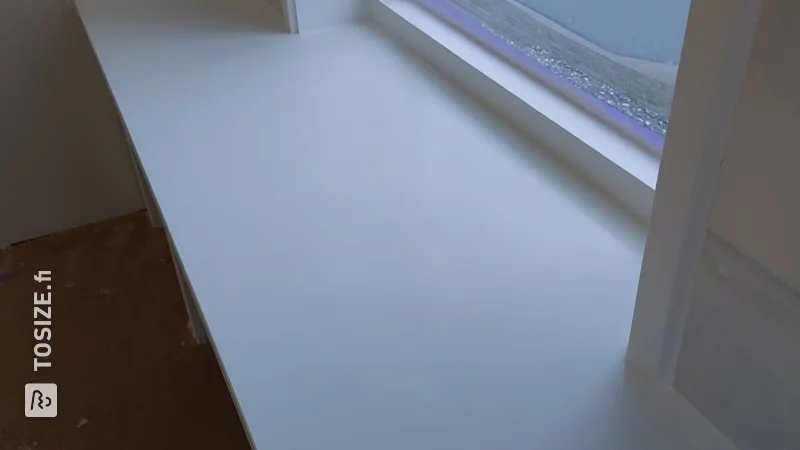
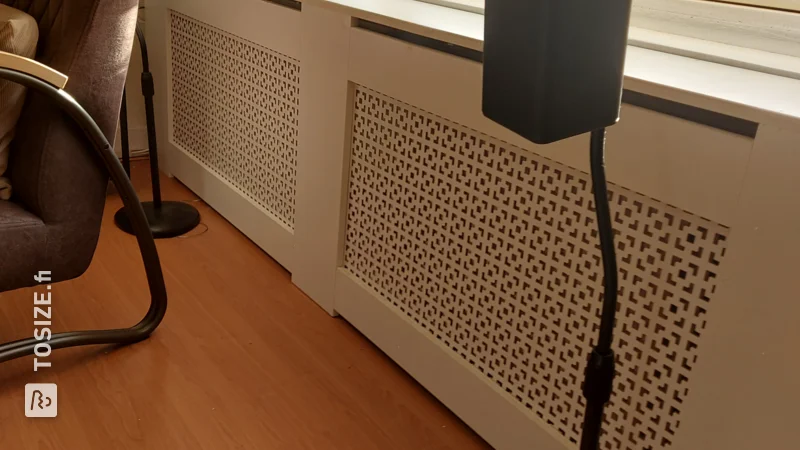
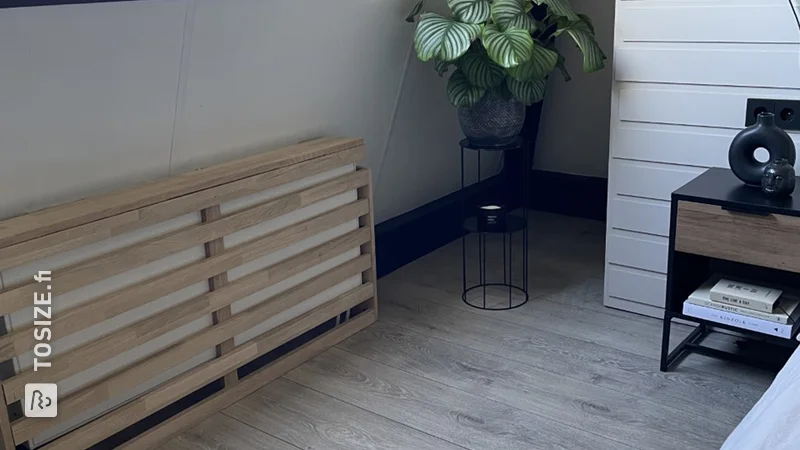
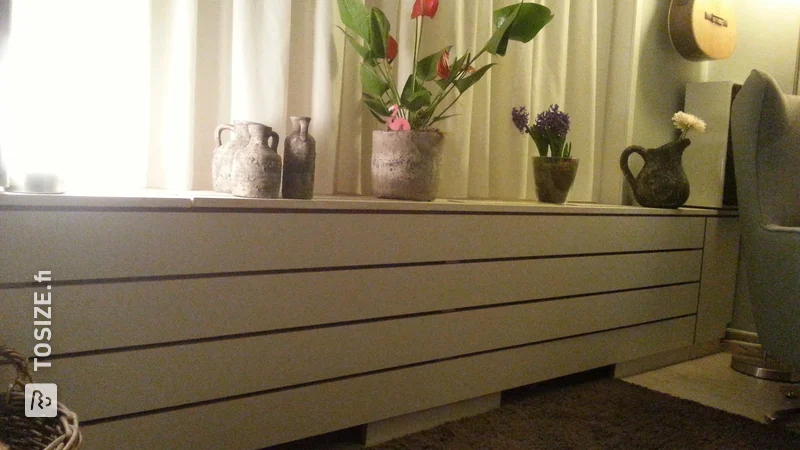
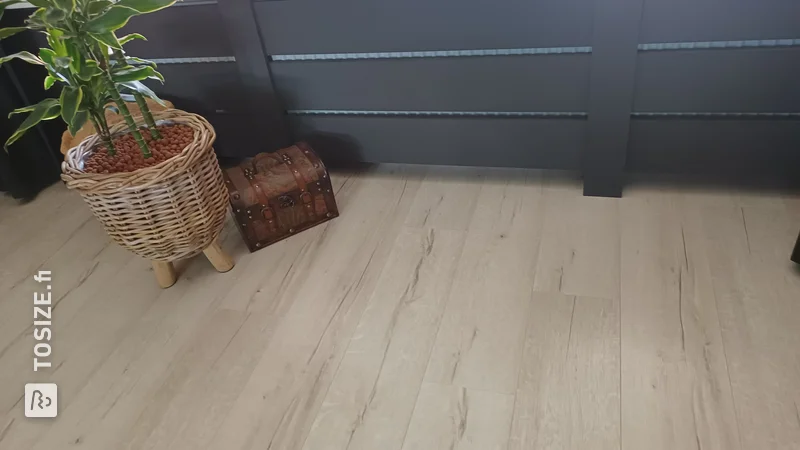
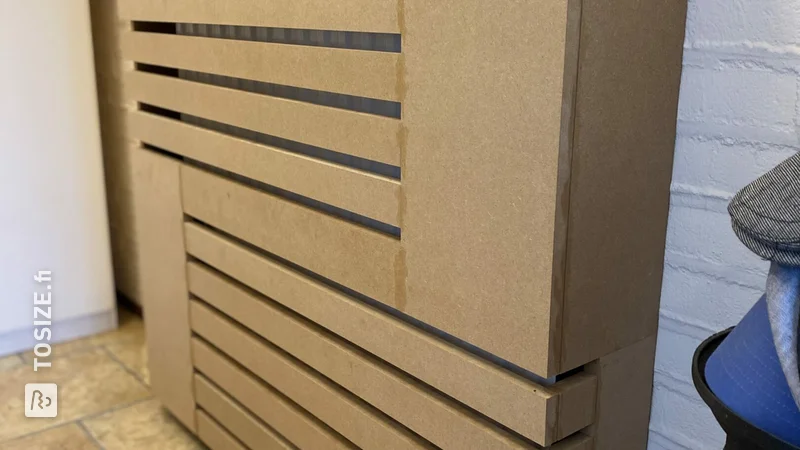
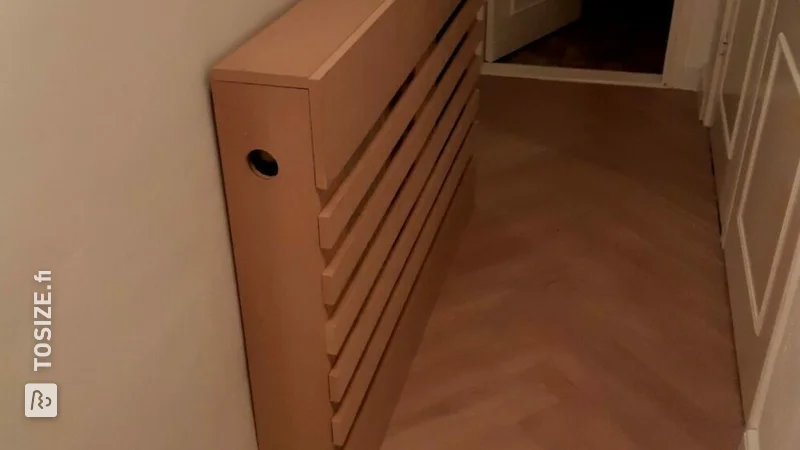
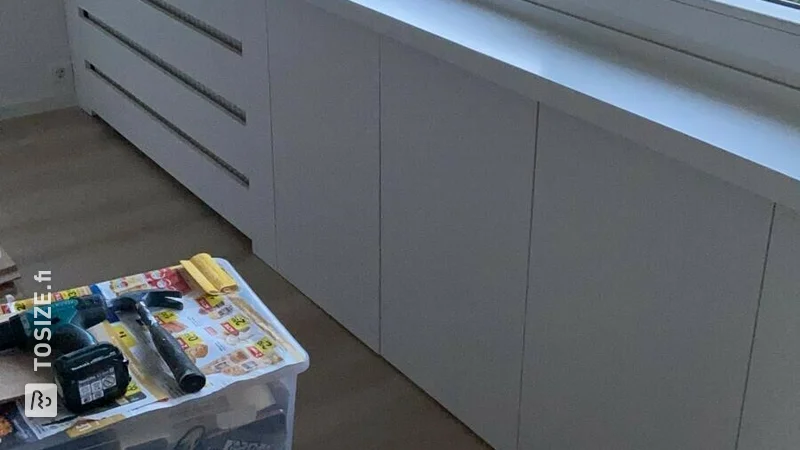
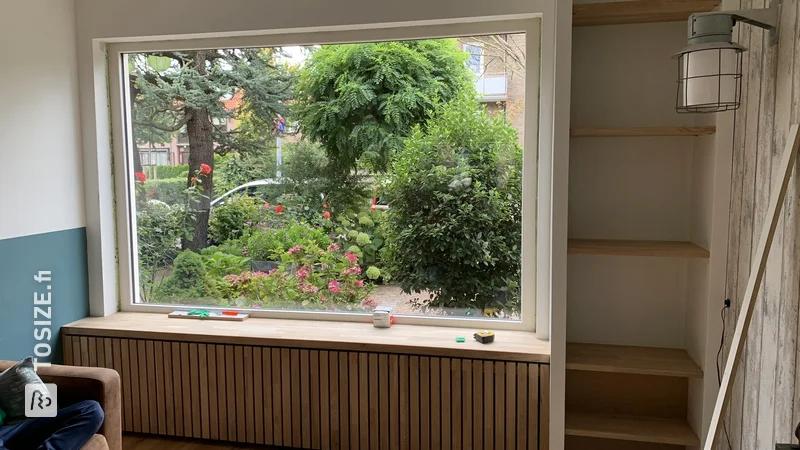
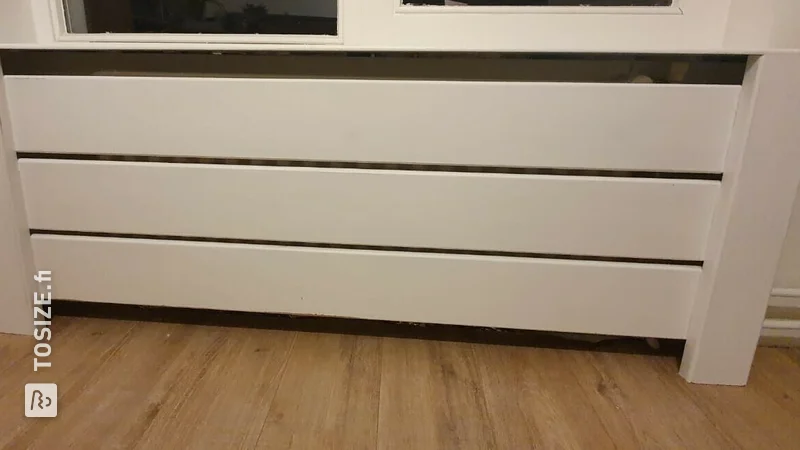
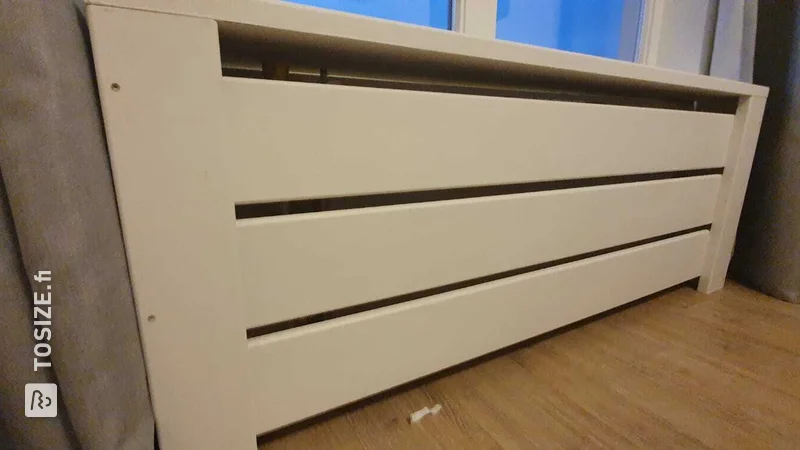
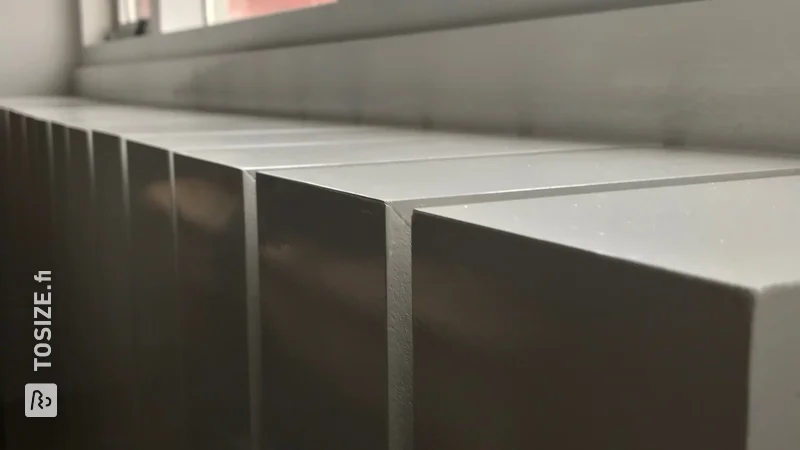
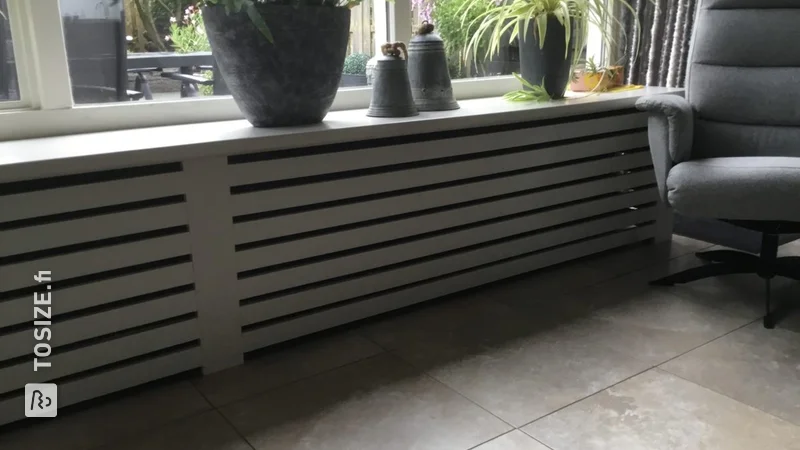
After measuring the pipes and the radiator conversion itself, I ordered all the planks to size. After a few days I received the nice construction kit. All the shelves were clearly labeled with the dimensions so putting them together was a breeze (I have attached the "construction drawing"). Unfortunately, 1 plank had a small deviation compared to 2 other planks of the same size, but this was not disturbing (this concerns the plank in the middle). First of all, the sides of the radiator casing were attached to each other via a separately ordered beam with the same length as the sides. You can attach the screws here without the MDF starting to tear. Then mounted the top and the shelf in the middle of the radiator (also via a small beam of 30mm thick). Then laid the frame flat on the front and attached all the planks to the back. To always maintain the same space between the planks, I ordered a small plank with a thickness of 12mm. This worked perfectly! For the screws I started with special MDF screws from Hornbach and Praxis, but these were both junk. In the end I just used 4.0 x 40 chipboard screws in combination with pre-drill. The screws are nicely sunk into the MDF without cracks. I glued the pipe conversion together step by step with wood glue (no room for an extra beam and no chance of splitting with wood glue). Now it was time for painting/varnishing. First degreased the casing, then filled the screw holes with MDF filler and lightly sanded everything with 240 grit. Then the end edges were 'closed'. with lacquer filler and some parts with wood glue and water (the lacquer filler method works best). Then everything was primed twice for MDF and then lacquered twice. We still had some Sigma paint left over from painting the stairs, so we could still use the leftovers for the conversion. The conversion is now nice and sturdy. The ugly radiator and pipes are now nicely concealed! This project will not cost you much money or time and you can decide for yourself what your conversion will look like!
It took me 3 days to complete the entire project. 1 day (evening) for assembling, filling holes and degreasing the radiator. 1 day for sanding and applying 2 layers of primer. 1 day for light sanding and applying 2 layers of lacquer.
Dimensions of my DIY project
The dimensions of the conversion are all on the "construction drawing".
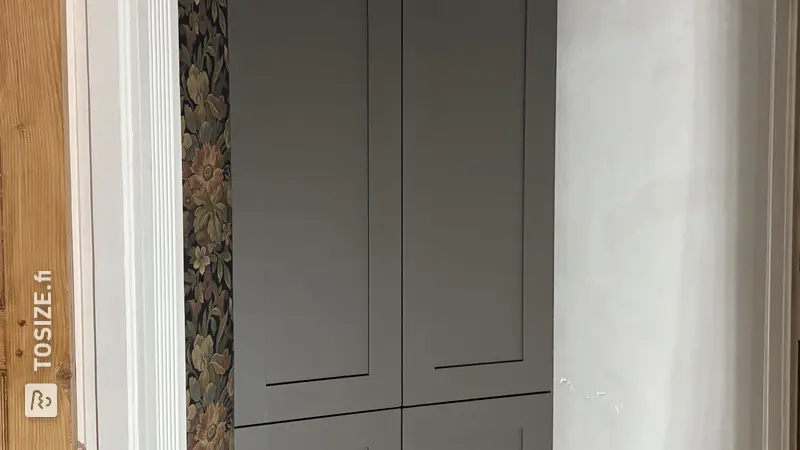
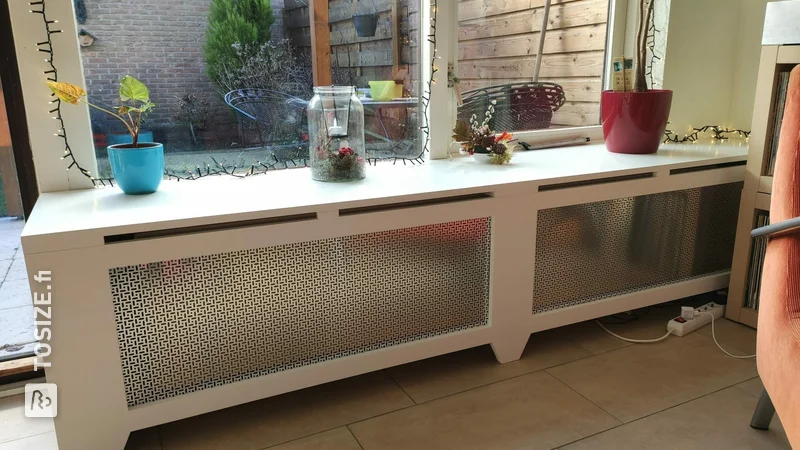
The external dimensions are 158.0 cm wide, 20.0 cm deep and 67.0 cm high.
Tip! Also check out our handy DIY tips!
What now?
Want to make this DIY project? Check out Roy's saw list and complete your order easily.
100,52 €
View all sheet materials