- TOSIZE.fi
- Do it yourself
- DIY Projects
DIY Scandinavian style radiator conversion by Marjolijn (@interiorbymarjolein)
DIY Scandinavian style radiator conversion by Marjolijn (@interiorbymarjolein)
Create this project yourself with sheet material cut to size by TOSIZE.fi!
Marjolein
Easy
3 minutes
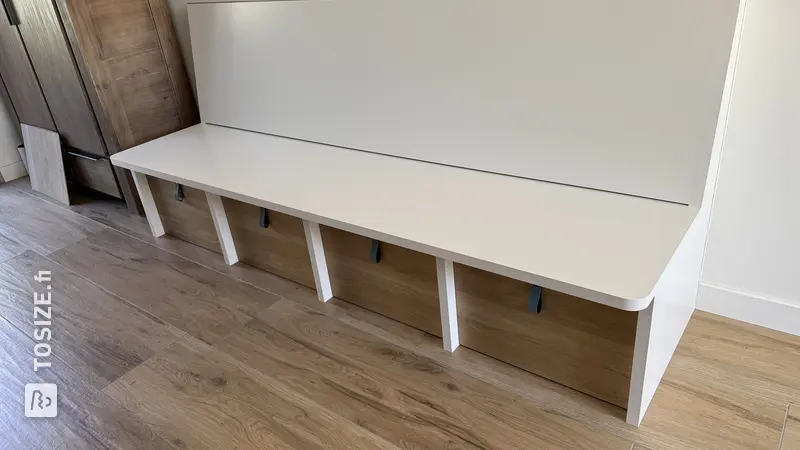
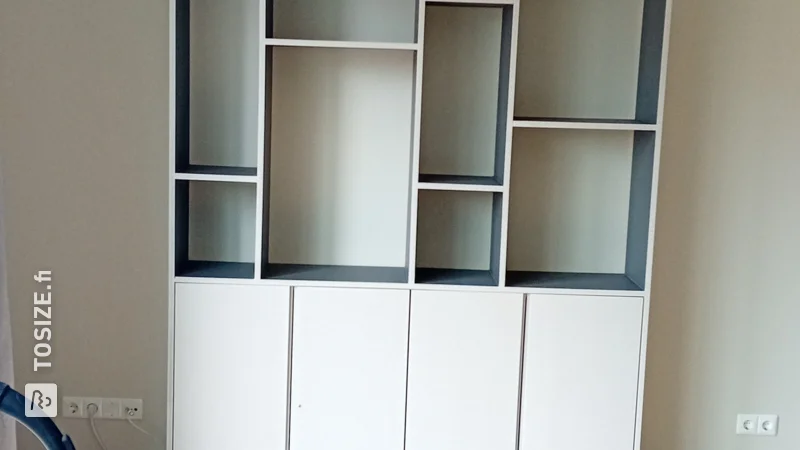
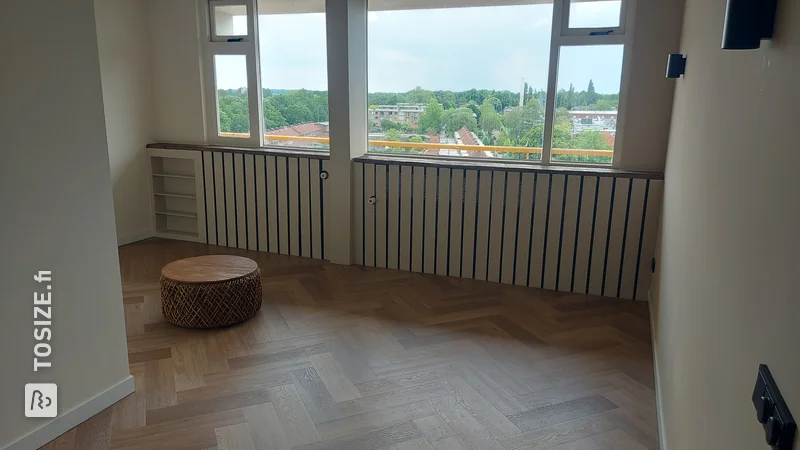
Transform your interior with a DIY Scandinavian-style radiator conversion. These handy DIY tips will show you how to create a functional and aesthetically pleasing solution to hide your radiator. Discover the beauty of Scandinavian style and give your interior a fresh and modern look.
Description of Marjolijn (@interiorbymarjolein)
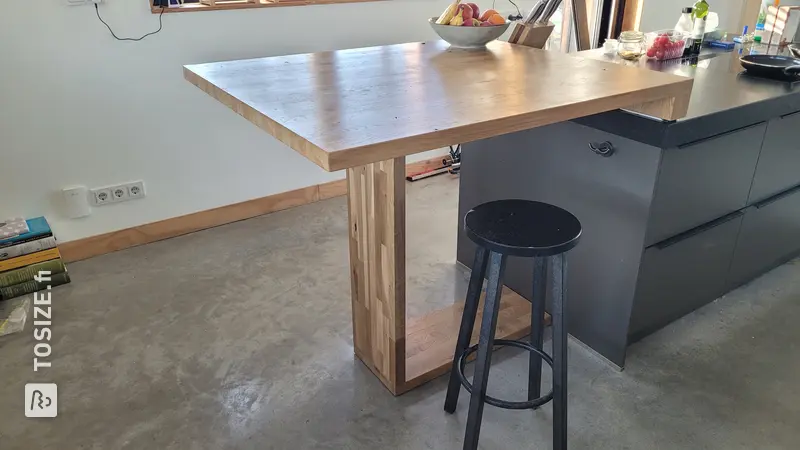
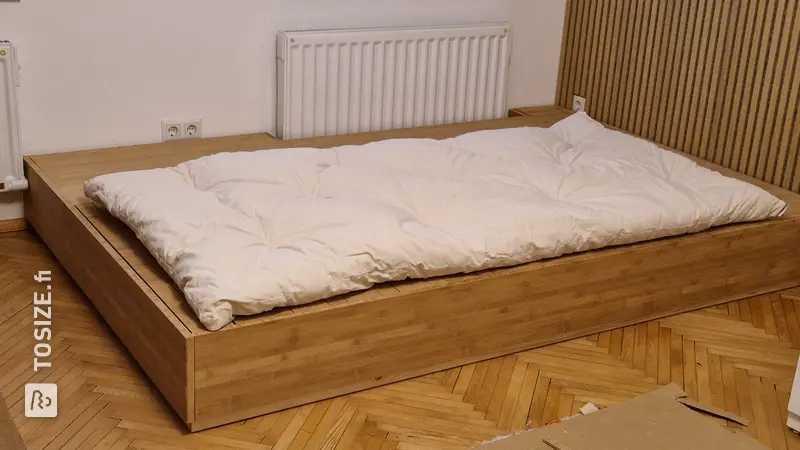
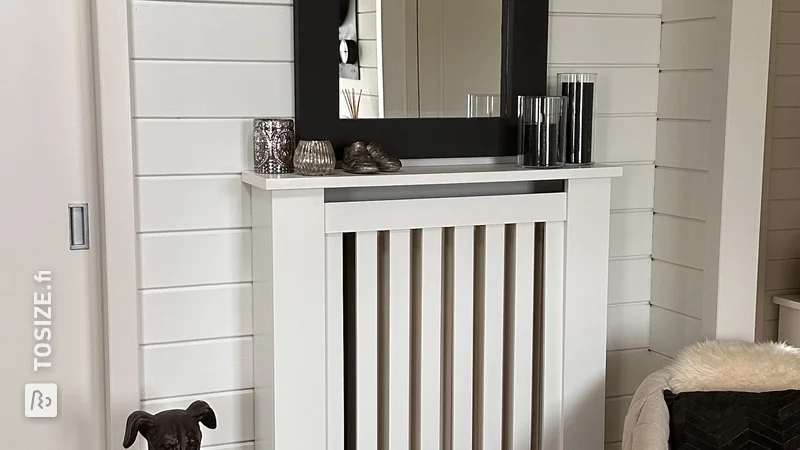
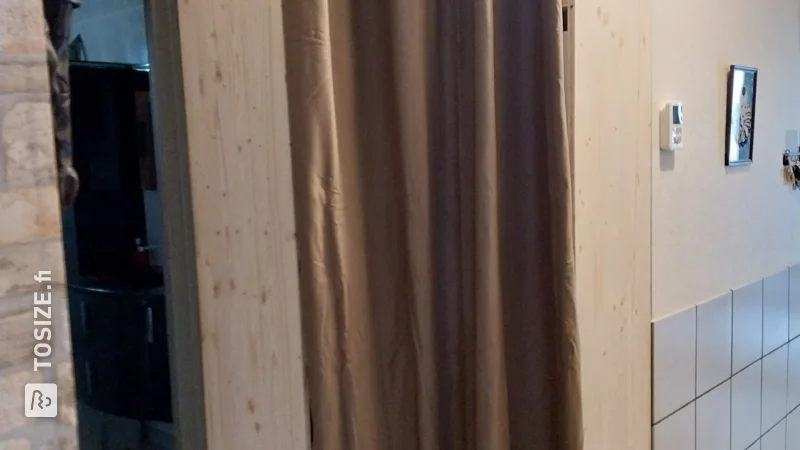
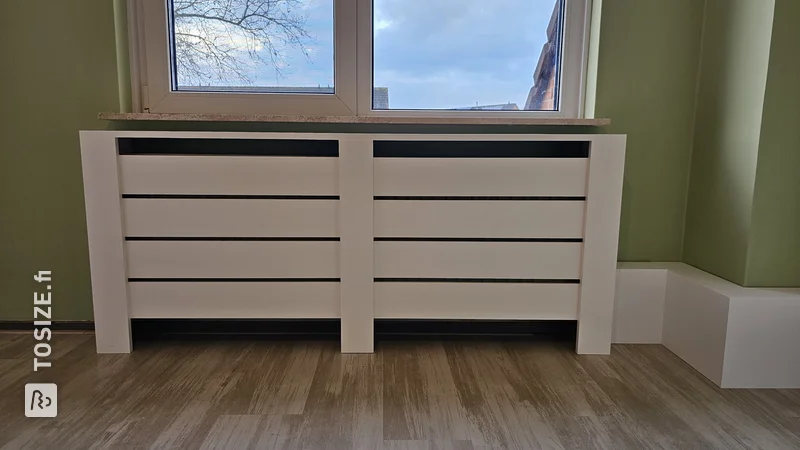
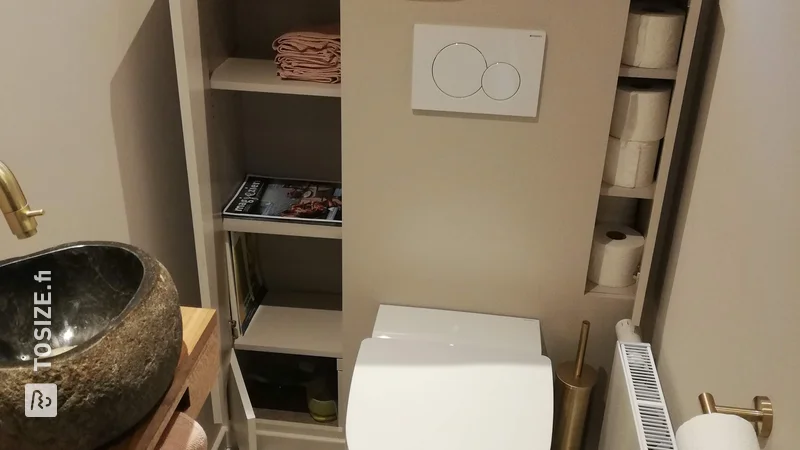
An unfinished radiator is really an eyesore for me. On the ground floor, we have underfloor heating, but upstairs we have radiators. In the bedroom, the radiator is really not a ‘snazzy’ one. I got to work and made my own radiator surround out of oak. In this article, I will show you how to make your own Scandinavian-style radiator surround!
How I made this project
What do you need?
Cut to size
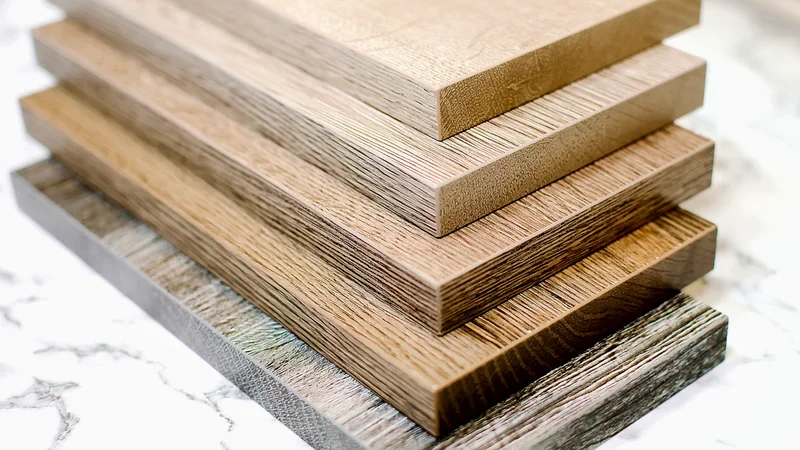
- Timberboard Oak A/B
Type: 19mm
Size: 56,0 x 14,0 cm
Amount: 1 - Timberboard Oak A/B
Type: 19mm
Size: 65,0 x 14,0 cm
Number of: 1 - Timberboard Oak A/B
Type: 19mm
Size: 128,0 x 14,0 cm
Number of: 1 - Timberboard Oak A/B
Type: 19mm
Size: 127,0 x 5,0 cm
Number of: 7 - Timberboard Oak A/B
Type: 19mm
Size: 65,0 x 5,0 cm
Number of: 1
Supplies
Reinforcement corner 40x40
- Screws 4.0 x 16 mm
- Screws 4.5 x 35 mm
- Drill press
- Tape measure
Step-by-step explanation
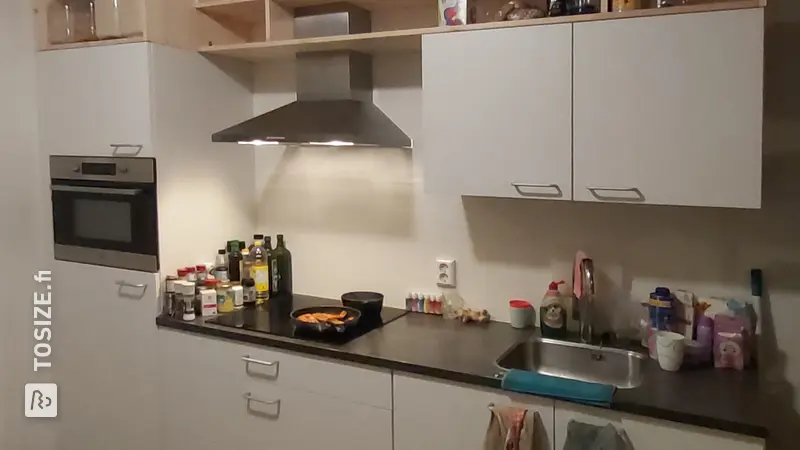
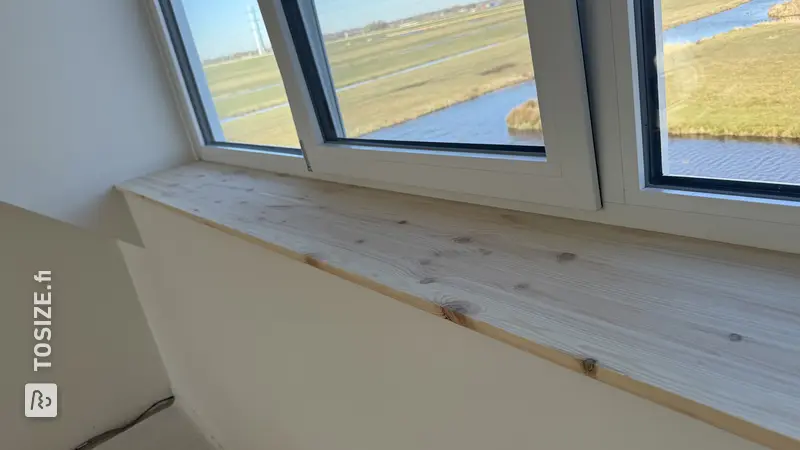
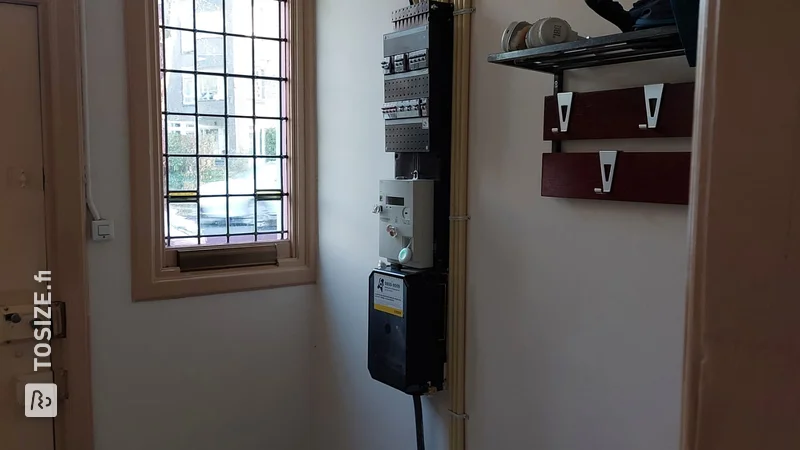
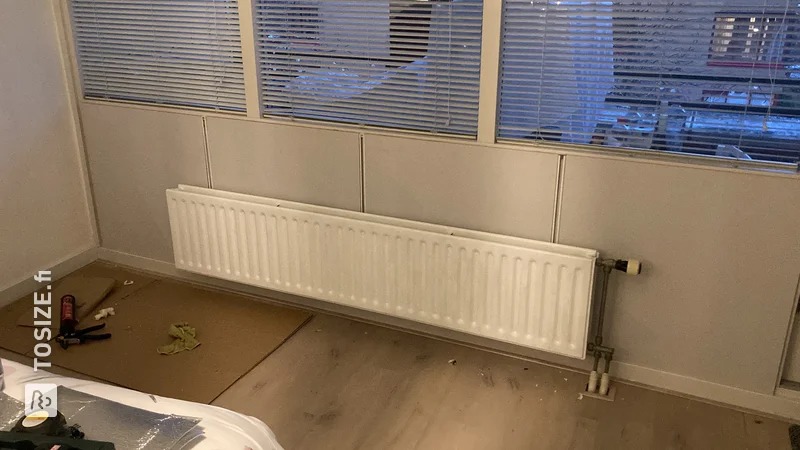
Step 1: Measuring the radiator
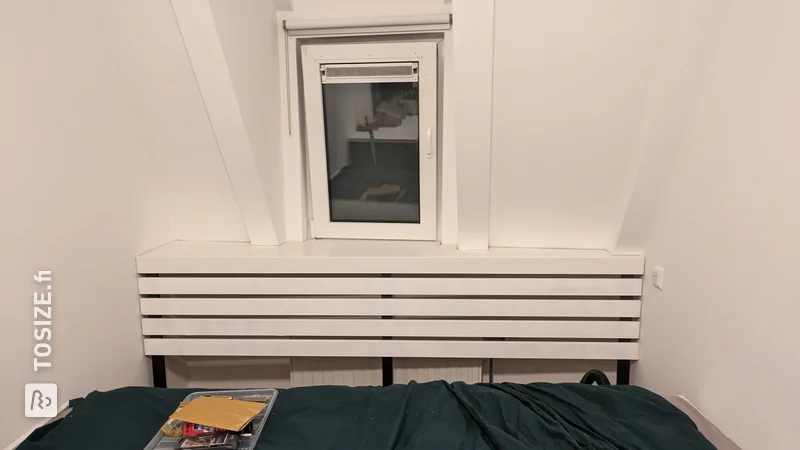
First, measure the height, length and depth of the radiator. Use the measurements to determine the dimensions of the components. Our radiator had the following dimensions: H 50 cm x W 120 cm x D 10 cm. On the right side of our radiator is a large rotary knob. This was taken into account in the design. The shelf on the right side is shorter, than the shelf on the left, so that the knob fits through it.
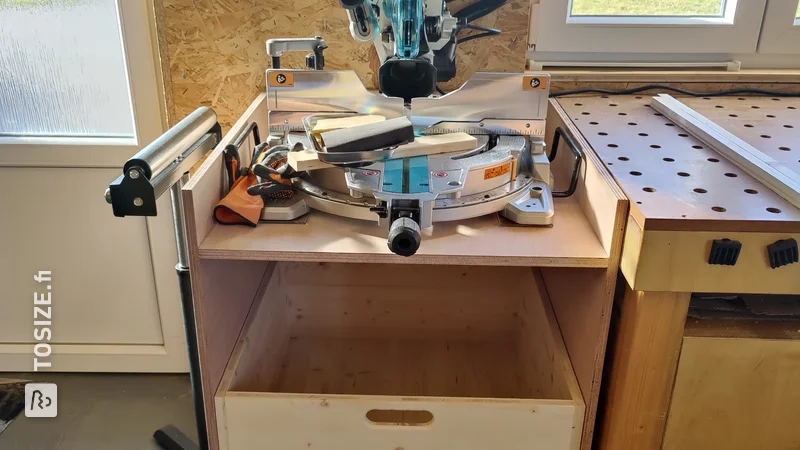
Step 2: Cutting to size
Normally, here are the steps to cut the panels to size. But thanks to the fine service of TOSIZE.fi}, this is not necessary! In fact, they will deliver the panels to your home in the desired size.
Step 3: Marking and pre-drilling the frame
Using an auxiliary flat, mark the spacing of the horizontal slats on the centre frame. Then pre-drill the marked spots in the batten. I used the 2.5 mm size for pre-drilling.
Step 4: Drilling the framework
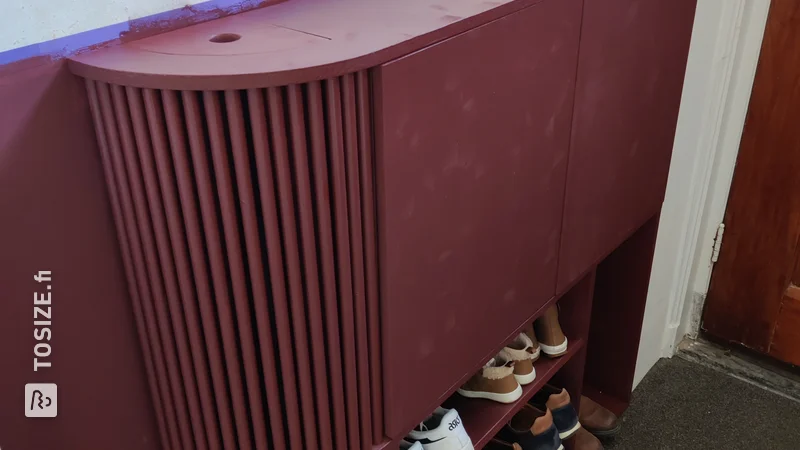
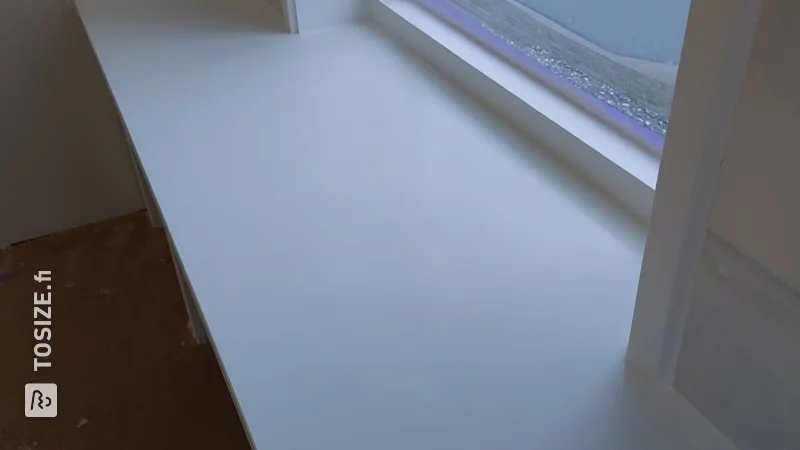
Reinforcement angles have been chosen for fixing the framework, because of the strength they provide. Start by fixing the top and side panels, using a reinforcement corner. Then lay the battens at the correct distance in the framework. Always use a template to determine the distance (always 5 cm between the battens). Then fix the battens to the top and bottom of the side panels with a reinforcement corner.
Step 5: Middle frame screws
The pre-screwed centre frame is fixed against the top board with a reinforcement corner. The slats are then screwed to this.
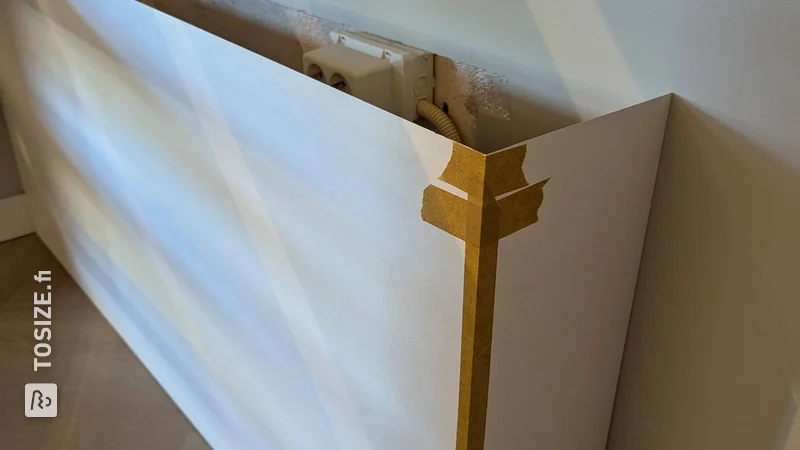
Step 6: Attach reinforcement corner for strength
Basically, the slats clamp down between the side panels. However, we had one batten that did not quite clamp itself between the side panels. We attached this batten to the side panel with an additional reinforcement angle.
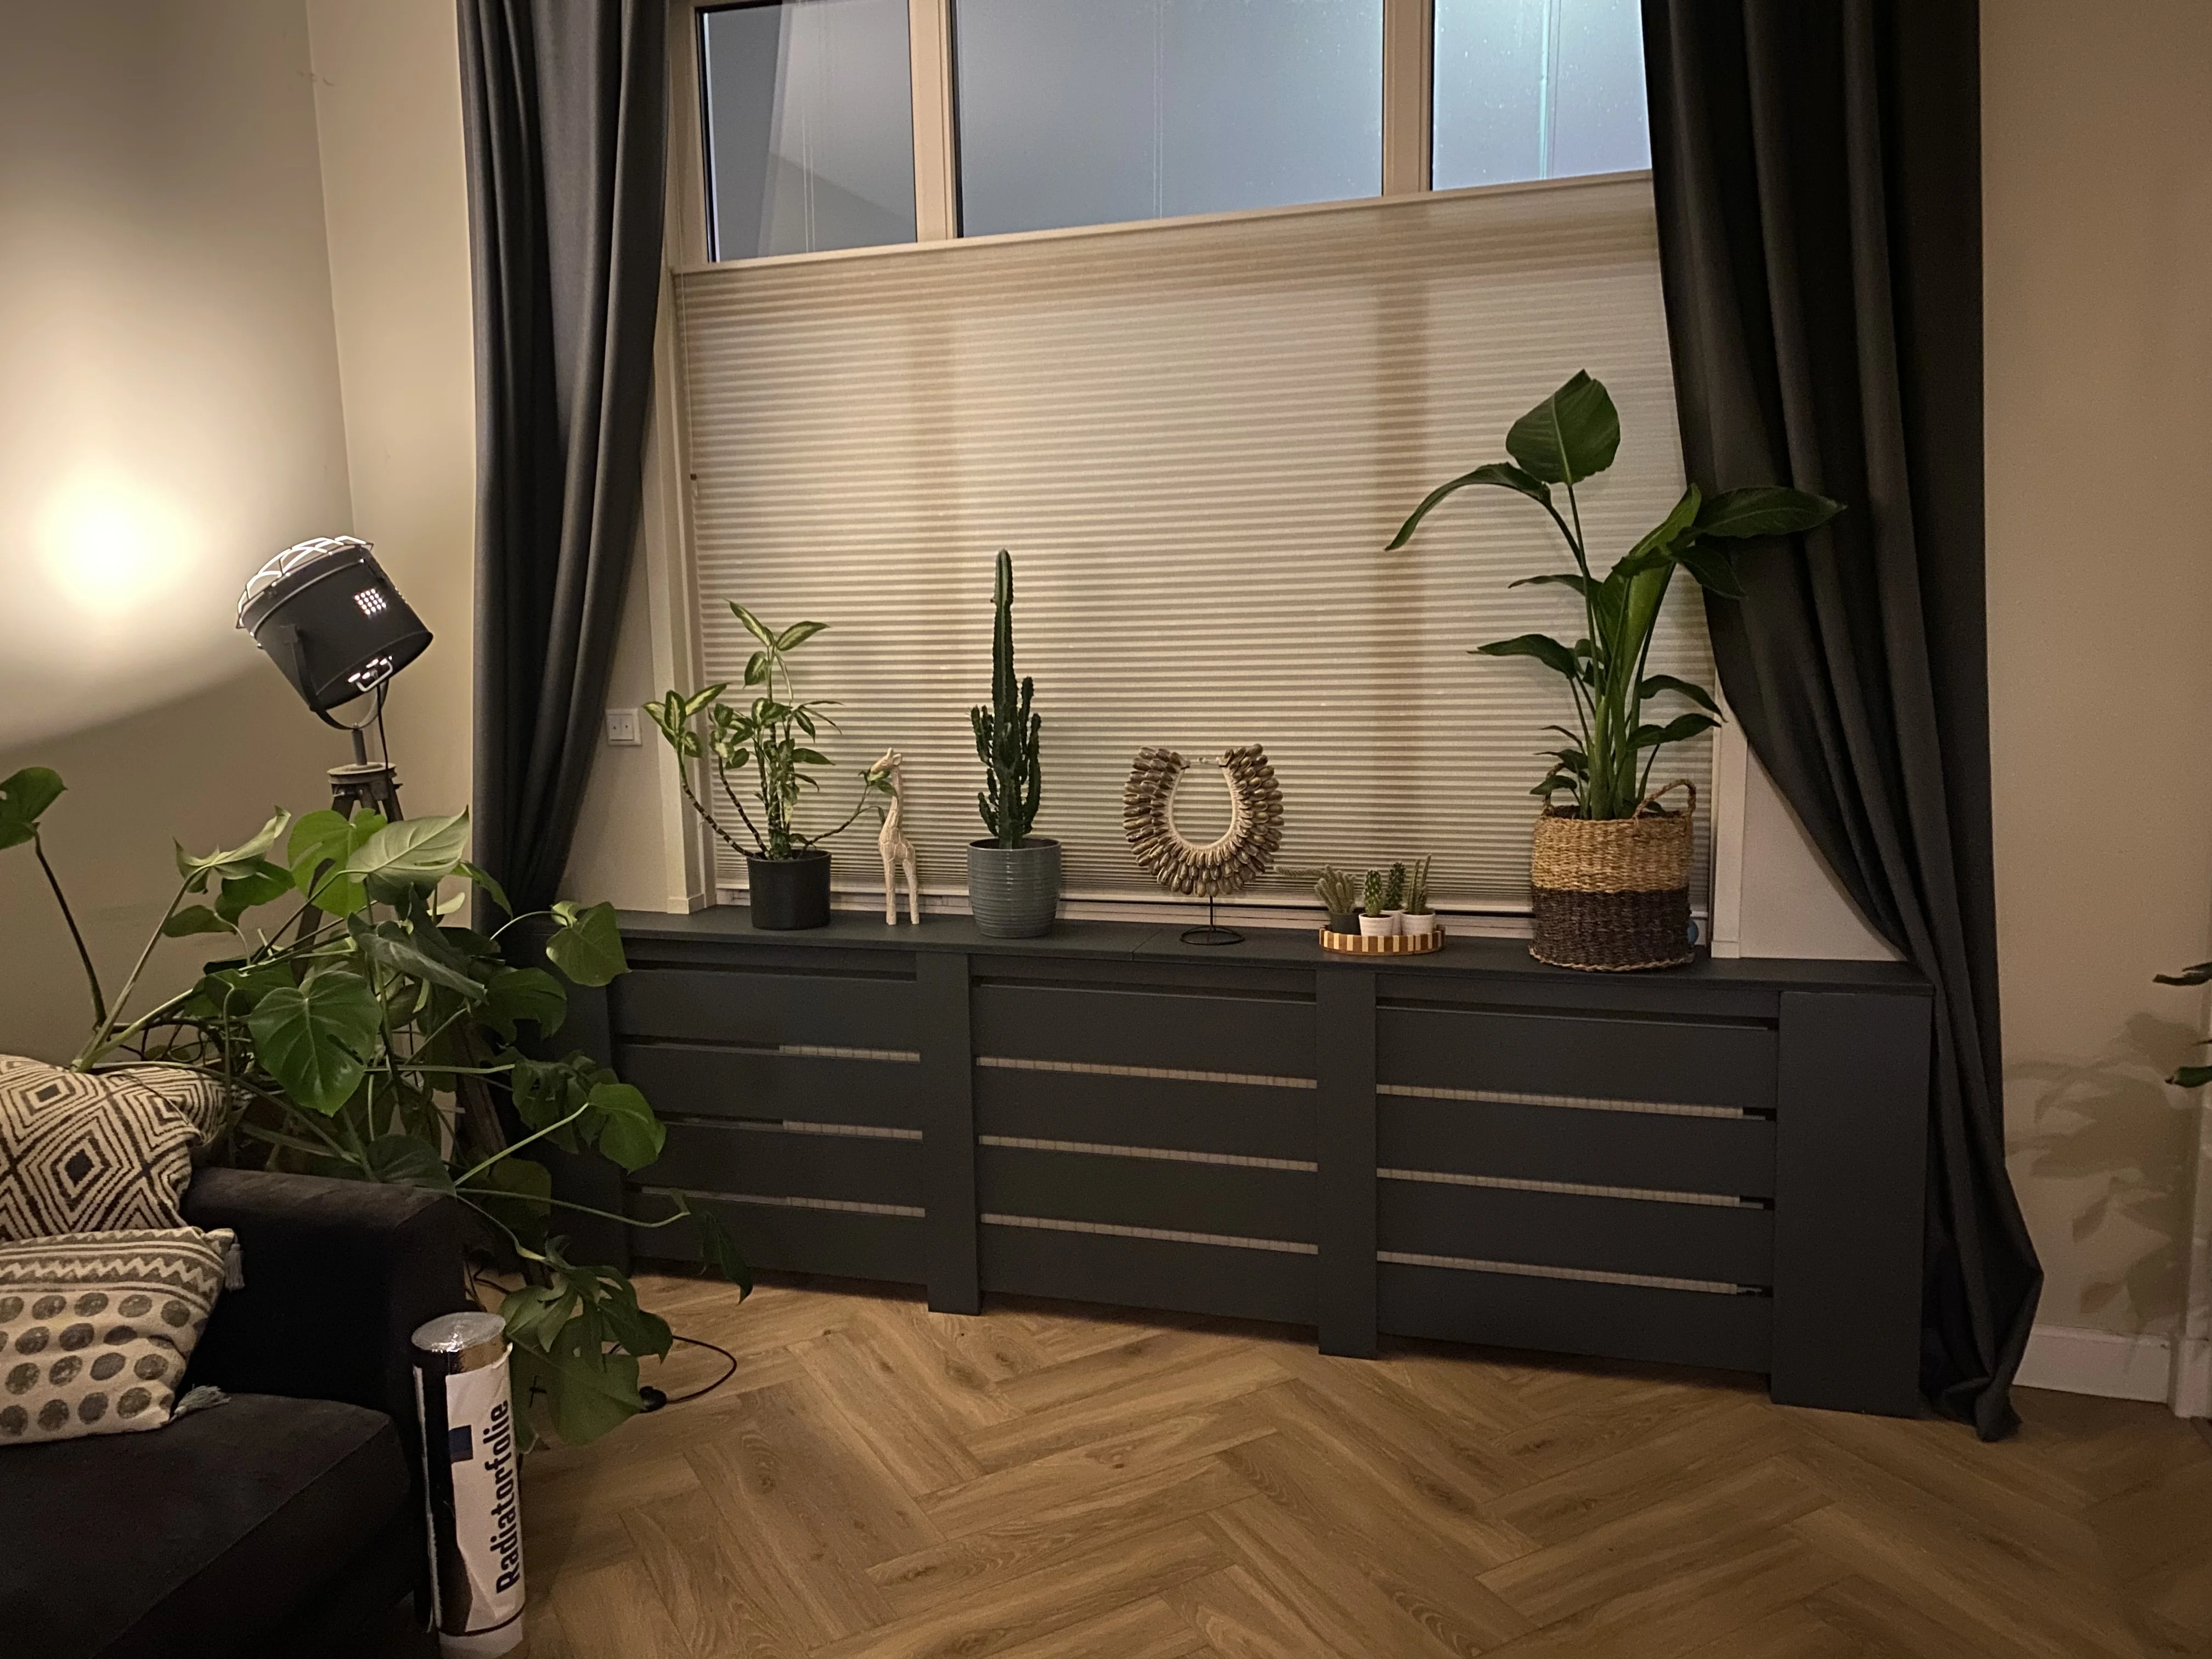
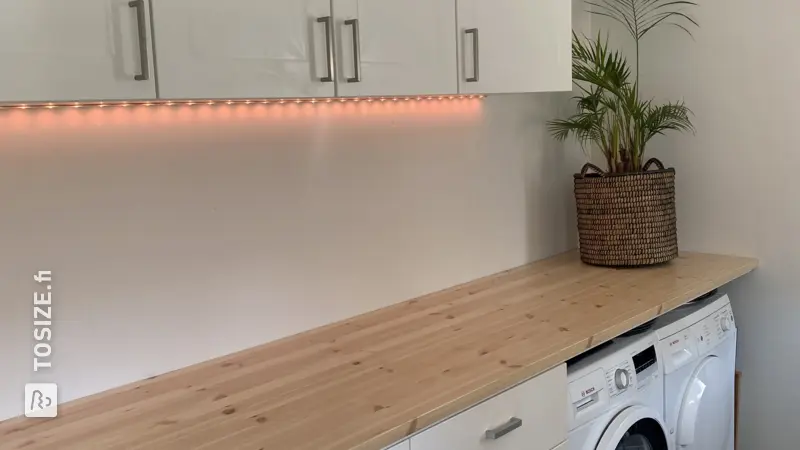
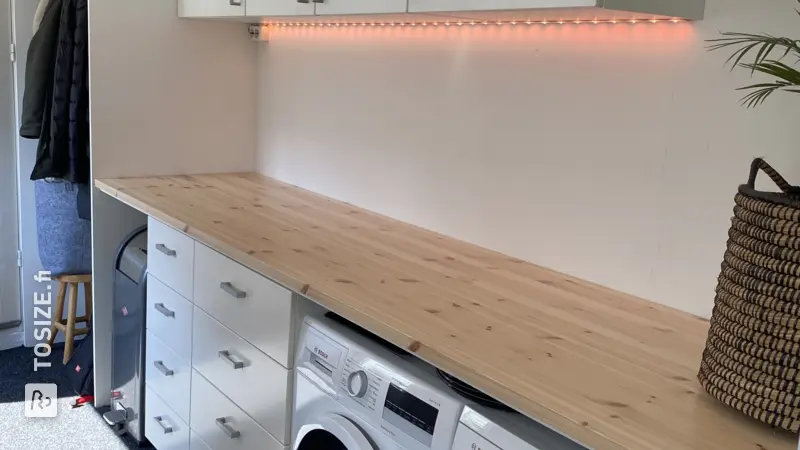
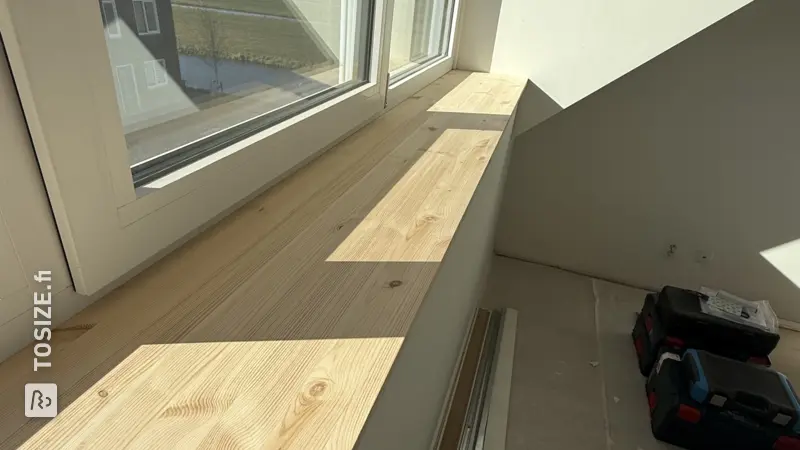
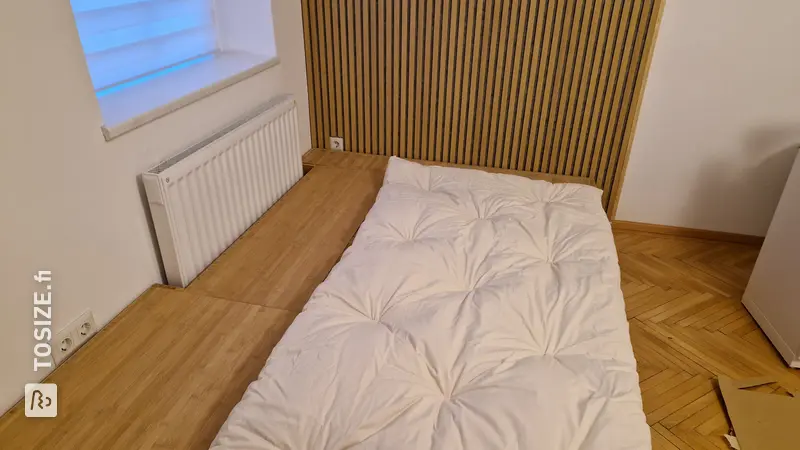
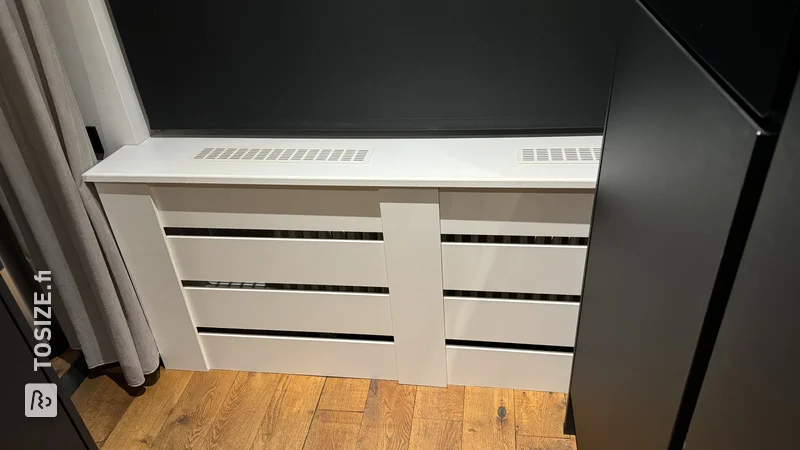
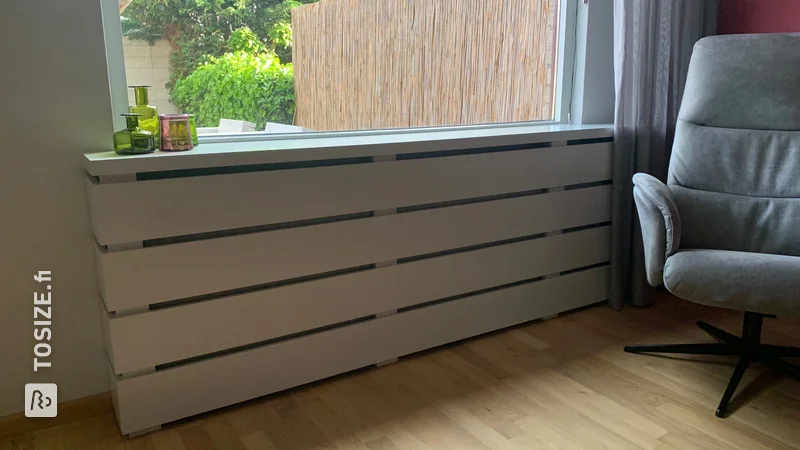
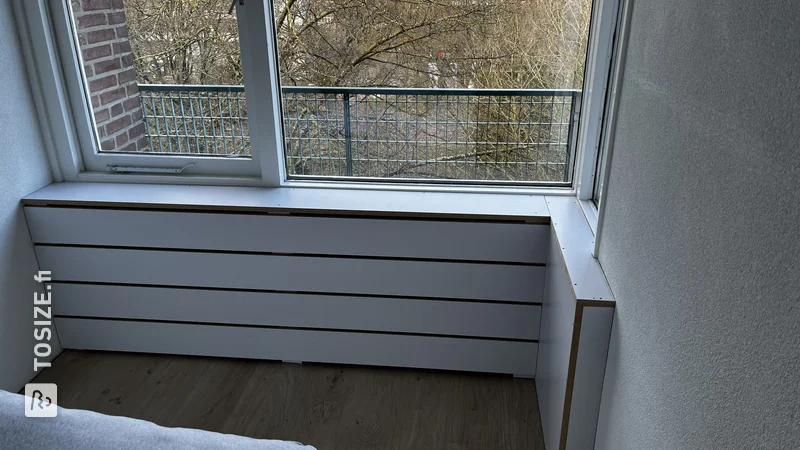
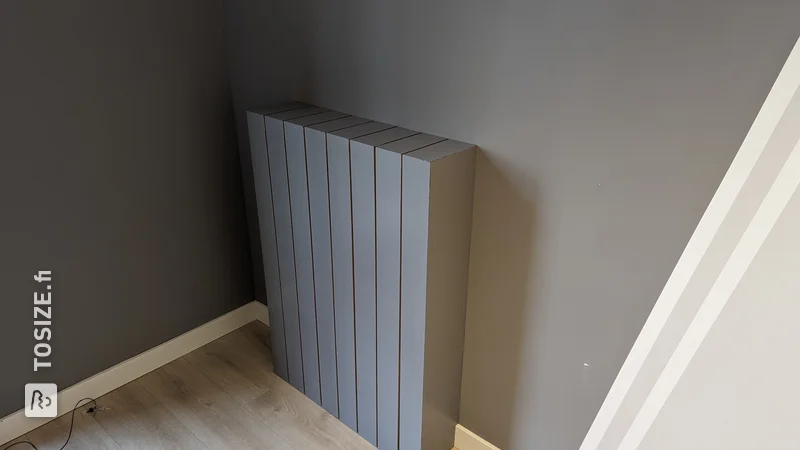
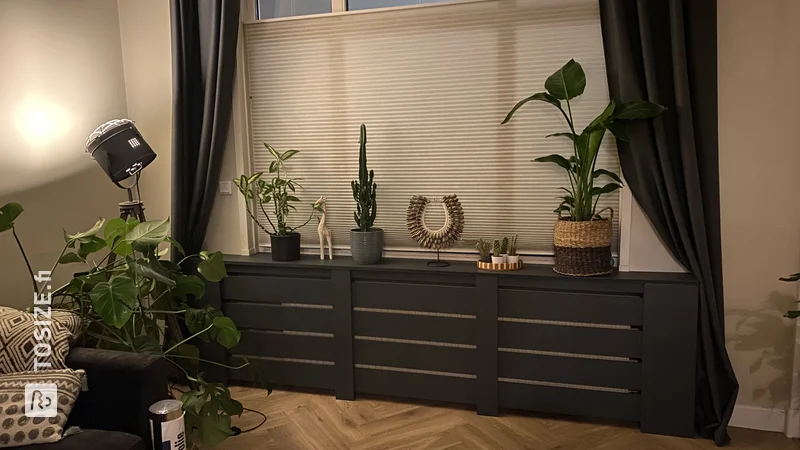
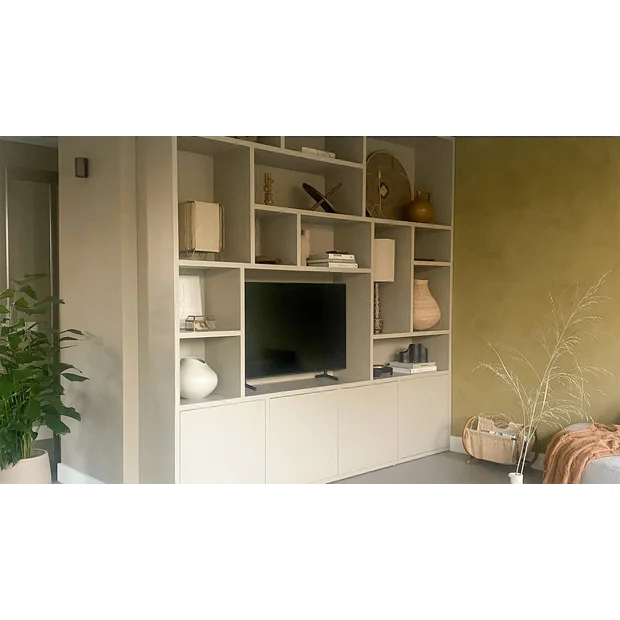
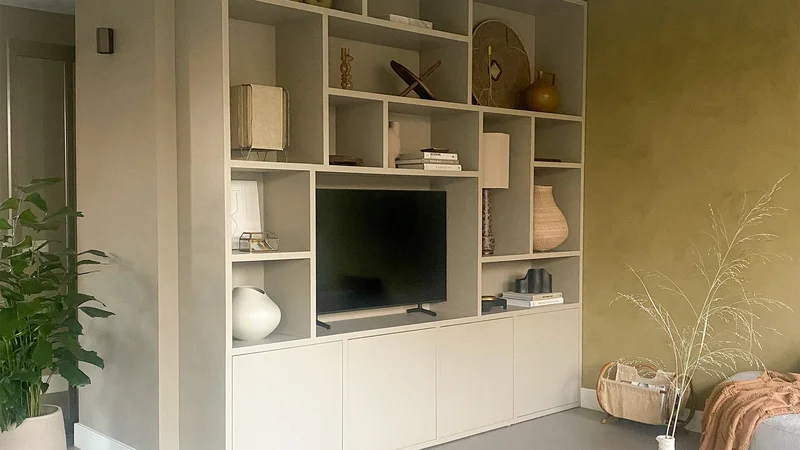
And this is how to make a beautiful radiator surround with oak in Scandinavian style!
What do you guys think of the end result? Do you have any ‘ugly’ radiator(s) in your home to get started with? Hopefully I was able to inspire you! Want more inspiration for DIY ideas? Then take a look at our projects
Dimensions of my DIY project
~169,0 x ~65,0 x ~14,0 cm
Tip! Also check out our handy DIY tips!
What now?
Want to make this DIY project? Check out Marjolein's saw list and complete your order easily.
617,57 €
View all sheet materials