- TOSIZE.fi
- Do it yourself
- DIY Projects
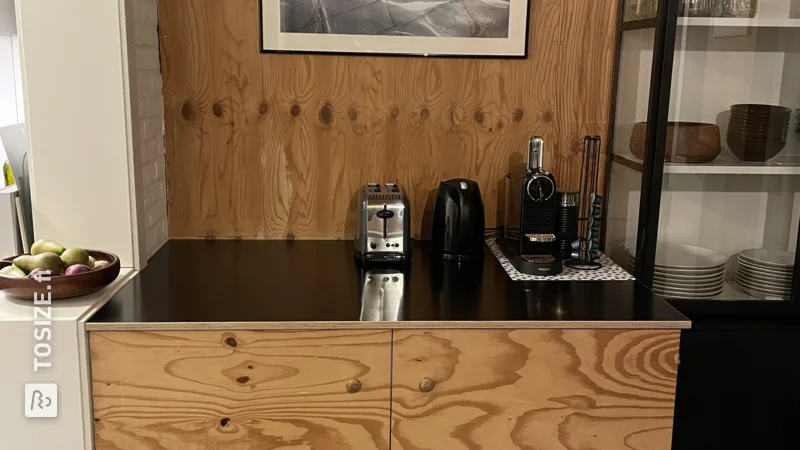
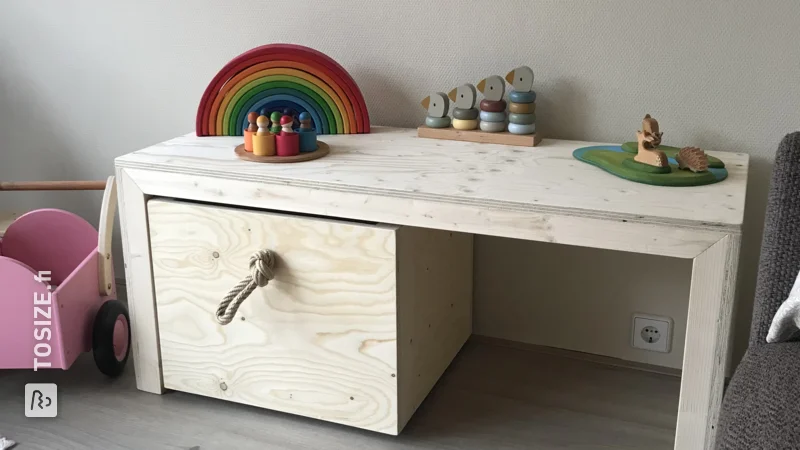
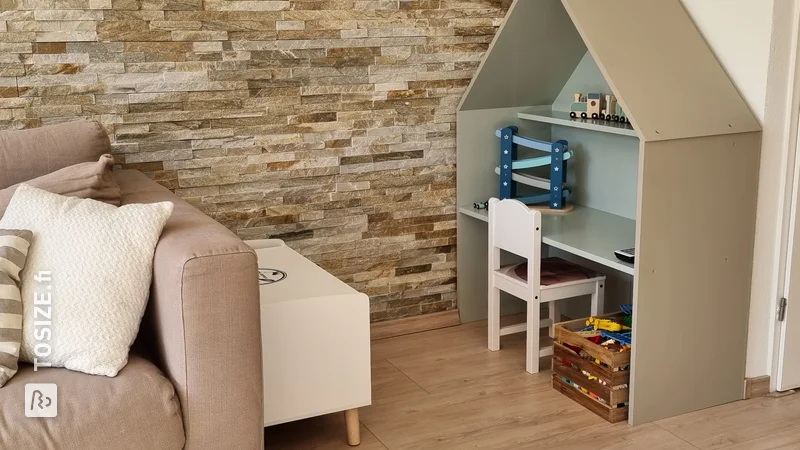
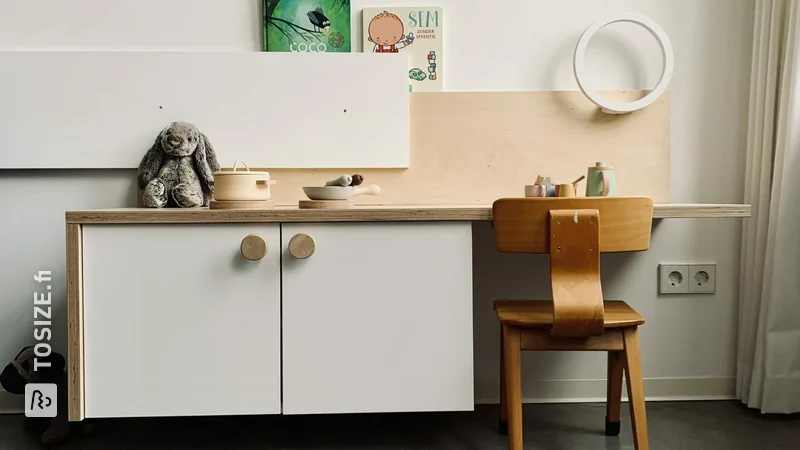
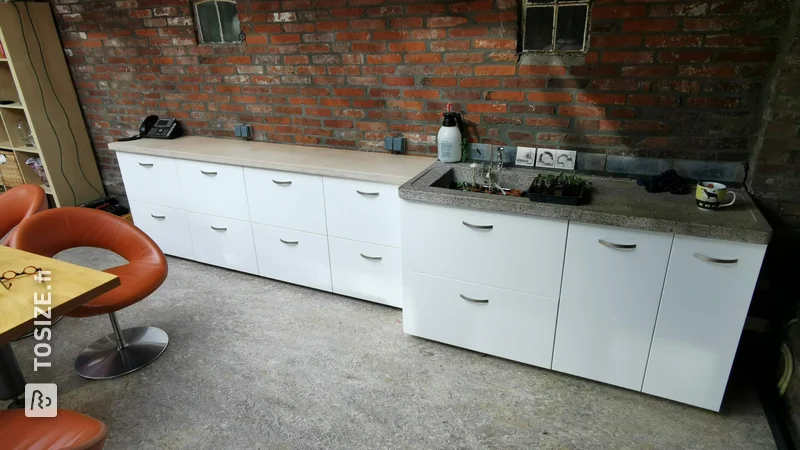
Kitchen / workbench for children from Multiplex Interieur Populier, by Steven
Kitchen / workbench for children from Multiplex Interieur Populier, by Steven
Create this project yourself with sheet material cut to size by TOSIZE.fi!
Steven
Challenging
4 minutes
Description of Steven
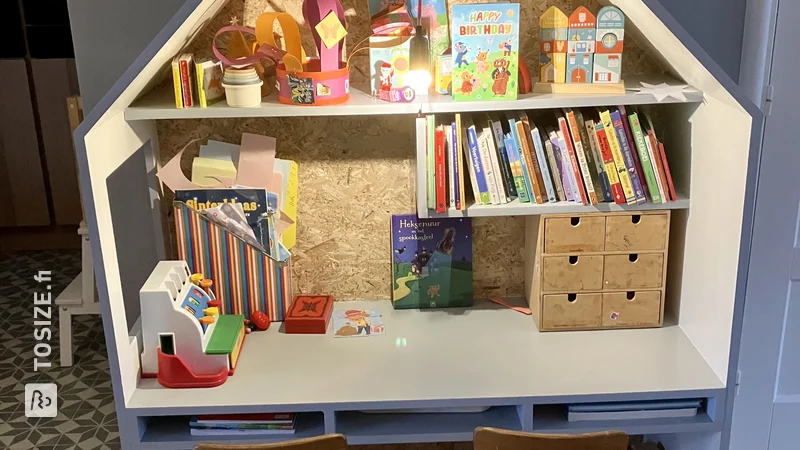
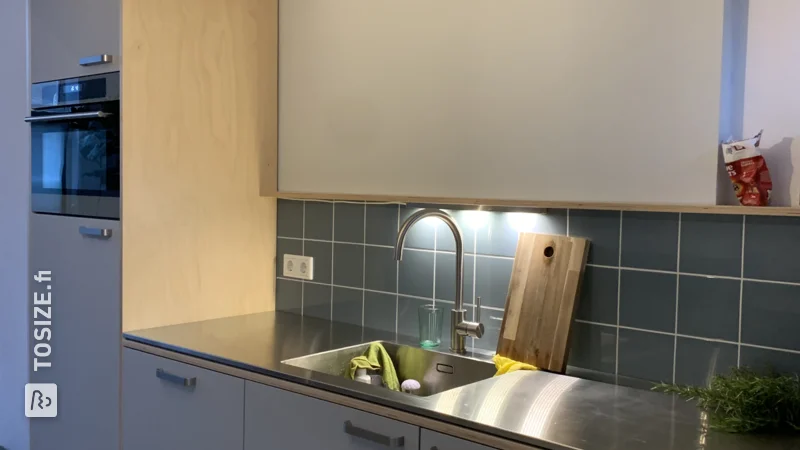
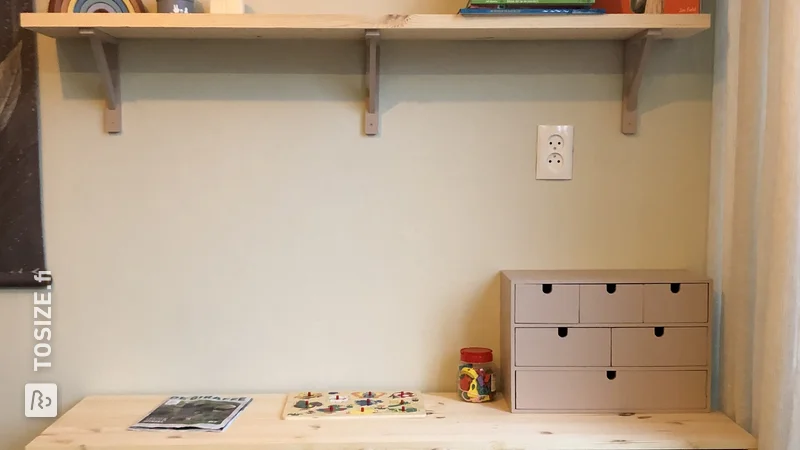
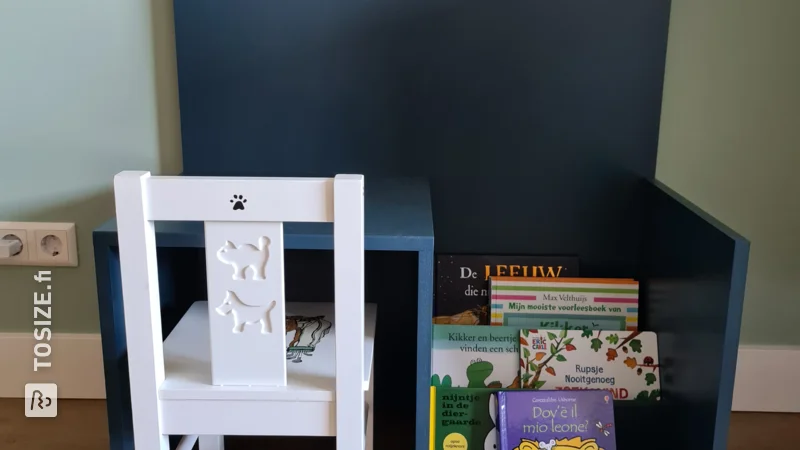
For my son I made a combination of a kitchen and workbench. He can transform, as it were, because the hobs are not permanently fixed, but are attached with invisible magnets. This also provides opportunities to play, for example with other magnetic toys. Furthermore, there are holes in the back panel in which he can turn screws from his toolbox, the control knobs can turn freely and the door has soft-close hinges so that his fingers do not easily get caught between them. And as a bonus, the back is provided with blackboard paint, so that he can chalk if he likes.
How I made this project
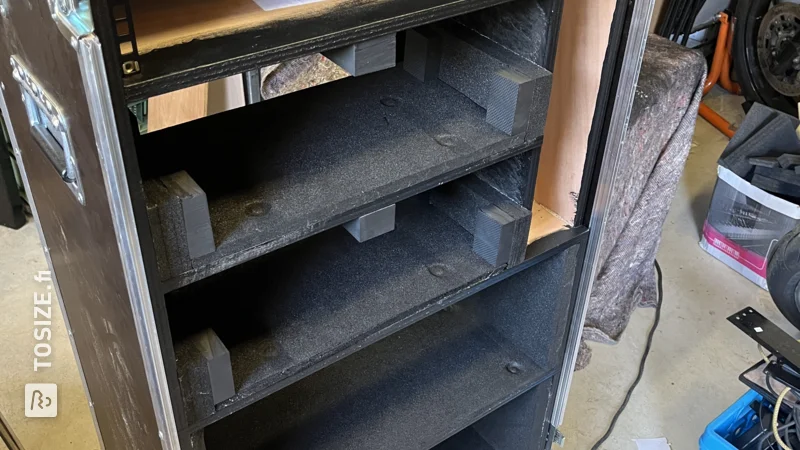
# Step 1: Dimensions & working drawing First I started investigating what the usual / correct sizes for children are. I wanted to take into account standing height for the worktop, and ensure that the back wall remains accessible. Ultimately I opted for a worktop height of 57 cm. If necessary, it can be grown by adding longer legs over time (they are now 12 cm). I first designed the whole thing in SketchUp (see working drawings), so that you can discover what the correct sizes & proportions are there. # Step 2. Sawing details, dowels & dry fitting I first sawed the notches and curves out of the back panel. Then I pre-drilled holes for dowels (with a dowel template) and first assembled the whole thing with dowels, but without glue. This way I could see clearly whether everything would fit. I also made the control knobs and hobs round with a jigsaw (because I could not order that size round, but only square) and then sanded them. I have also sanded the rest of the pieces. # Step 3. Gluing When I was happy with the dry assembly, I took the whole thing apart. Then I applied wood glue to all the necessary parts and put the whole thing back together. Then I secured it all around with pieces of scrap wood (so that the work is not damaged) + glue clamps, I let it dry like that. Afterwards I only secured the worktop with dowels (so without glue). I may want to be able to access it in the future, e.g. for the magnets. It already clamps very well with the dowels, so glue is not necessary here. # Step 4. Magnets To place the magnets without them being visible, I used very strong magnets and a Forstner drill for the 'flat' holes. First I tested the drill and the necessary depth for the magnets on a scrap piece. The trick here was to drill deep enough, so that the magnets adhere to the other side, but not completely through the material. In the end I drilled 8 holes (2 rows of 4) in the underside of the worktop, so that the hobs can be attached in eight places. This is to be able to play with it, and also offers the possibility to (make or add) other magnetic items. I attached the magnets themselves in each hole with a strong glue. The same applies to the hobs, but with much flatter magnets & holes. These are not very strong in themselves, but adhere well to the thick/strong magnets in the worktop. # Step 5. Pre-drilling With the same Forstner drill as for the magnets, I pre-drilled the hinge holes. Then I also pre-drilled the holes for the shelf supports. # Step 6. Painting & varnishing Now I could paint the whole thing. Here I chose the color called 'Criterium' (at Praxis). I taped off some edges and later varnished them with a transparent matte varnish. I also painted the other wooden parts, such as the control knobs, the hobs and legs in the same varnish. This way you get a nice combination between the material and the chosen paint color. # Step 7. Drilling holes for control & back panel To get nice, straight holes (otherwise you have to mask or paint the hole), I only drilled and painted the holes for the back panel and the front after painting. Using a scrap piece of wood clamped to it, I made sure the holes didn't get bigger than I wanted or splinter. # Step 8. Assembly After painting, I screwed the legs underneath, mounted the door, and added the shelf with the shelf supports. Furnish with toys: the kitchen utensils & toolbox, and you're done!
Dimensions of my DIY project
Height: 92 cm Width: 70 cm Depth: 42 cm
Tip! Also check out our handy DIY tips!
What now?
Want to make this DIY project? Check out Steven's saw list and complete your order easily.
189,92 €
View all sheet materials